I guess that I’m just a glutton for punishment. I’ve talked several times in the past in this blog about my issues (shaky hands, bad eyes) with building fragile stick and tissue free flight planes. And I’ve said after each of those builds that despite the fact that I really like this category of model planes, I’ll stay away from building any more of them and focus only on more ‘robust’ builds. Yet every time I say that, I find myself with yet another stick and tissue plane to build for one reason or another.
This time around it was due to two different factors. One is something that I’ve mentioned a couple times in this blog and that is that for years now, I’ve wanted to rebuild the first two models that I ever built in my youth. And one of them was the Guillow’s Fokker D.VII stick and tissue free flight plane. The second factor is that 2026 is the 100th anniversary of the Guillow’s manufacturing company which makes so many of the stick and tissue planes that I love so much. And in celebration of that anniversary, the FAC (Flying Aces Club) is hosting a series of Guillow’s themed events at their 2026 NATS meet in Geneseo, New York this coming July. I decided that I’d really like to fly at least one Guillow’s plane at the NATS so I decided to combine the two factors into one build and relive my first ever build, the Fokker, and then try to fly it at the NATS this summer. And here we are!
Of course, true to form, this turned into yet another frustrating build for me but for a different reason than what I’ve run into in the past. The main frustration with past builds has been the fragile nature of the wood and structure of the model itself. When handling parts of the plane, my hands go into overdrive with their shaking and I invariably end up breaking one or more pieces of the model in the process. I’ve commented that I often end up building a model 3 times during the build process due to having to rebuild/repair many of the parts in the process. Well, my frustration was of a different nature this time around.
The original Fokker (Kit WW-4) that I built so many years ago, was a classic die cut (crushed) kit with wood of dubious integrity. I have another copy of that kit in my inventory which I intended to build. But then, last year, Guillow’s reissued the Fokker as a laser cut kit (Kit No. 103) with much higher quality wood included. I decided that the laser cutting itself would make the build go so much easier for me and so would be worth the price of the newer kit. And I was right. Both the laser cutting and the wood of the new kit were superb! The laser cutting made the fit of all the structural pieces go together so nicely and formed a much more robust structure so that it negated many of the shaky hands issues I’ve had with other models. In the end, I had very few of the construction issues that plagued me in the past and was very happy with the resulting structure build.
Here are a few photos which show both the old and new kits, the contents of the new Guillow’s kit, and the structure of the model that I was able to accomplish with the new kit. So far so good!
(Click on photos to zoom in on them)
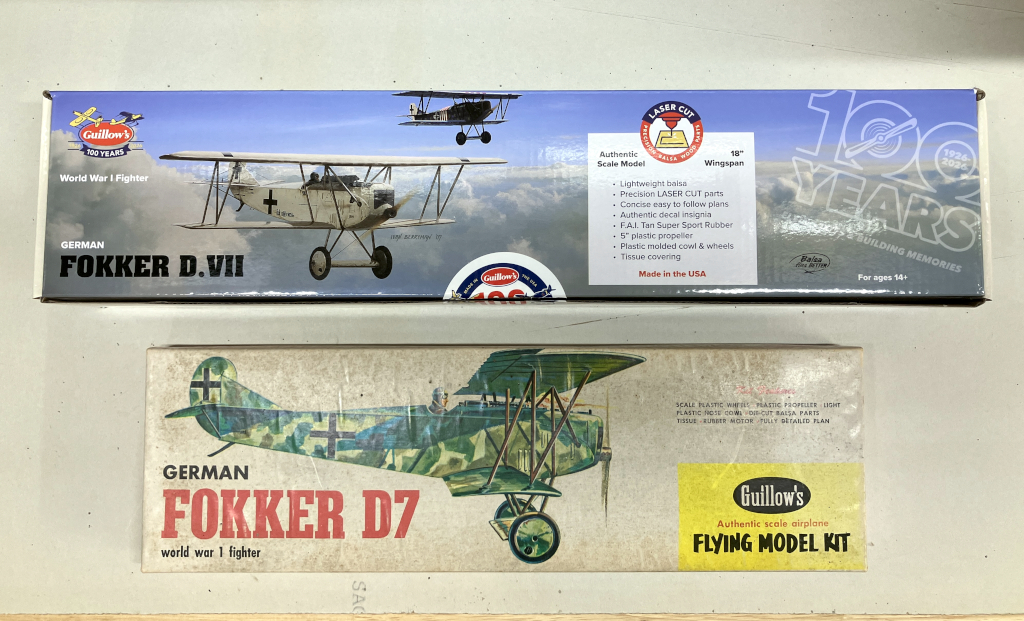
New laser cut Kit No. 103 on top, old die cut Kit WW-4 on bottom
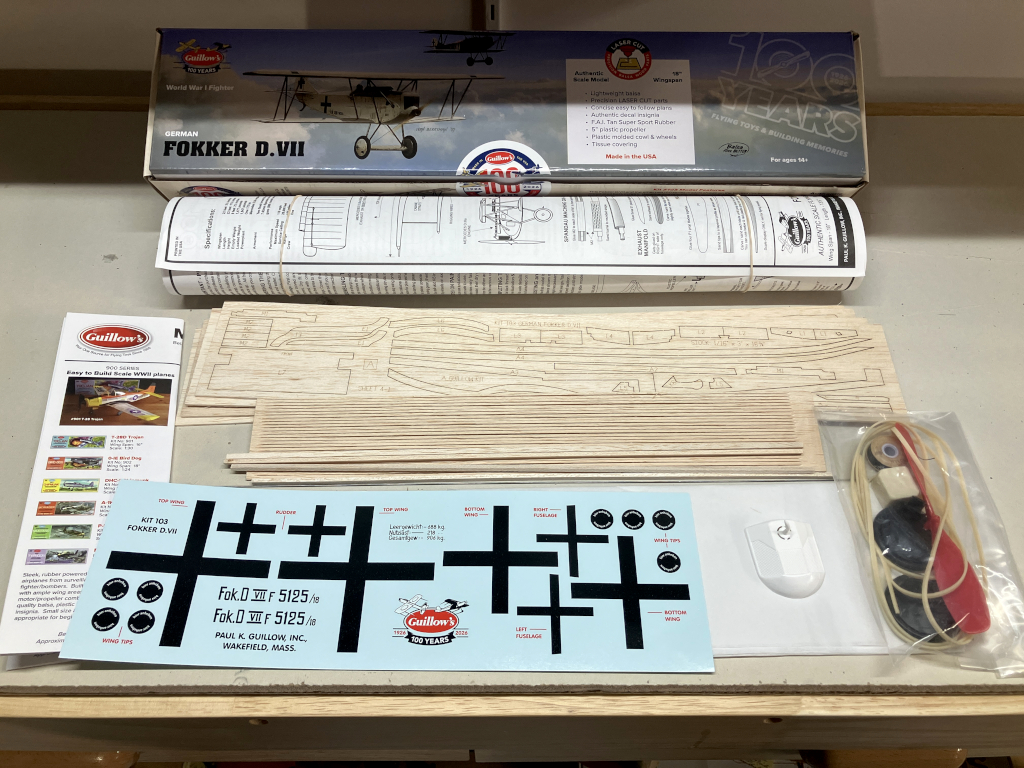
Laser cut Kit No. 103 contents. The wood was excellent…light weight yet strong.
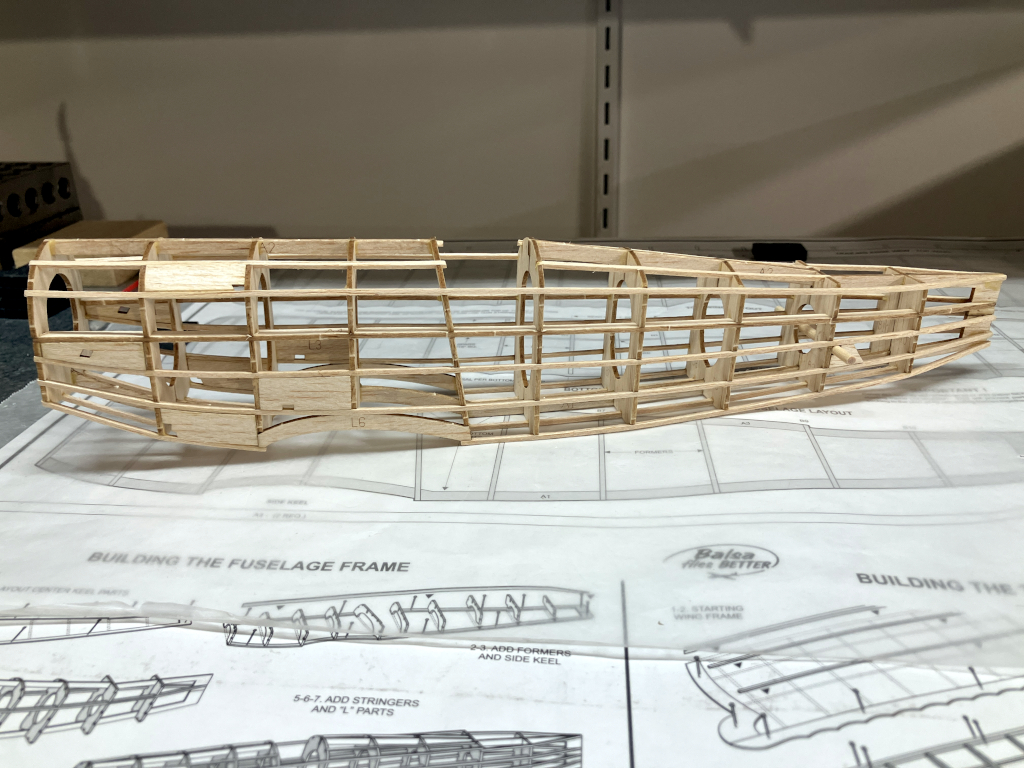
Completed fuselage (before sanding)
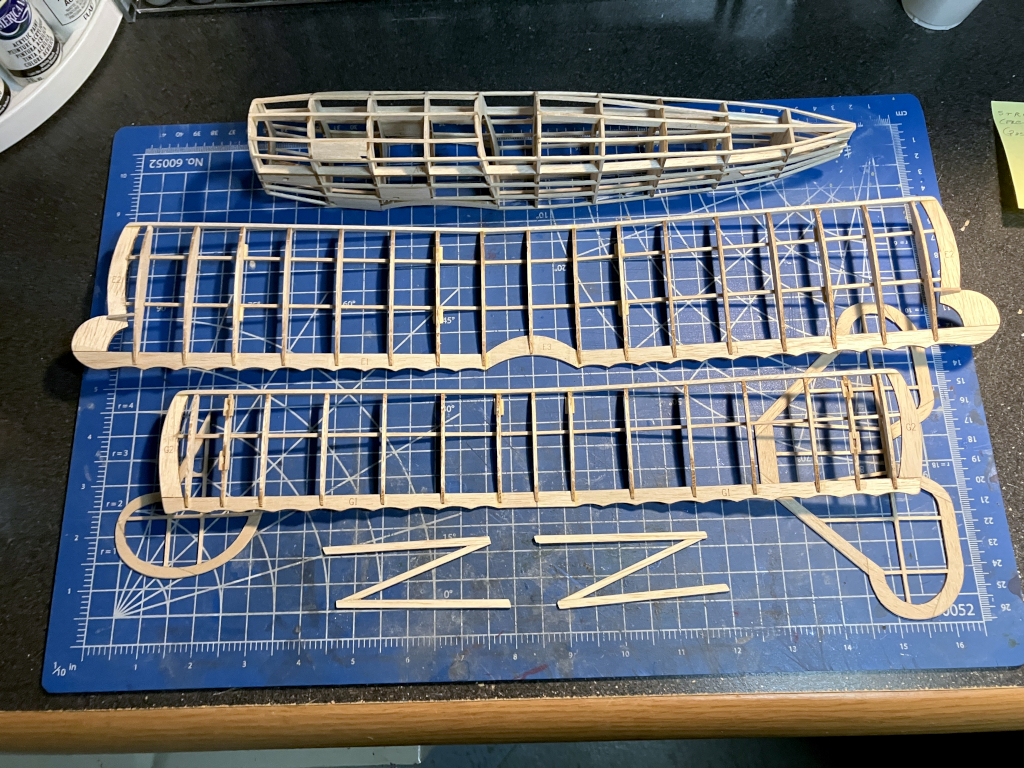
All primary structure components completed
I decided to cover the kit in red and white tissue following the color schemes of the Jasta 18 Fokker Fighters flown by the Germans in WWI. I chose the second color scheme shown in the photo below.
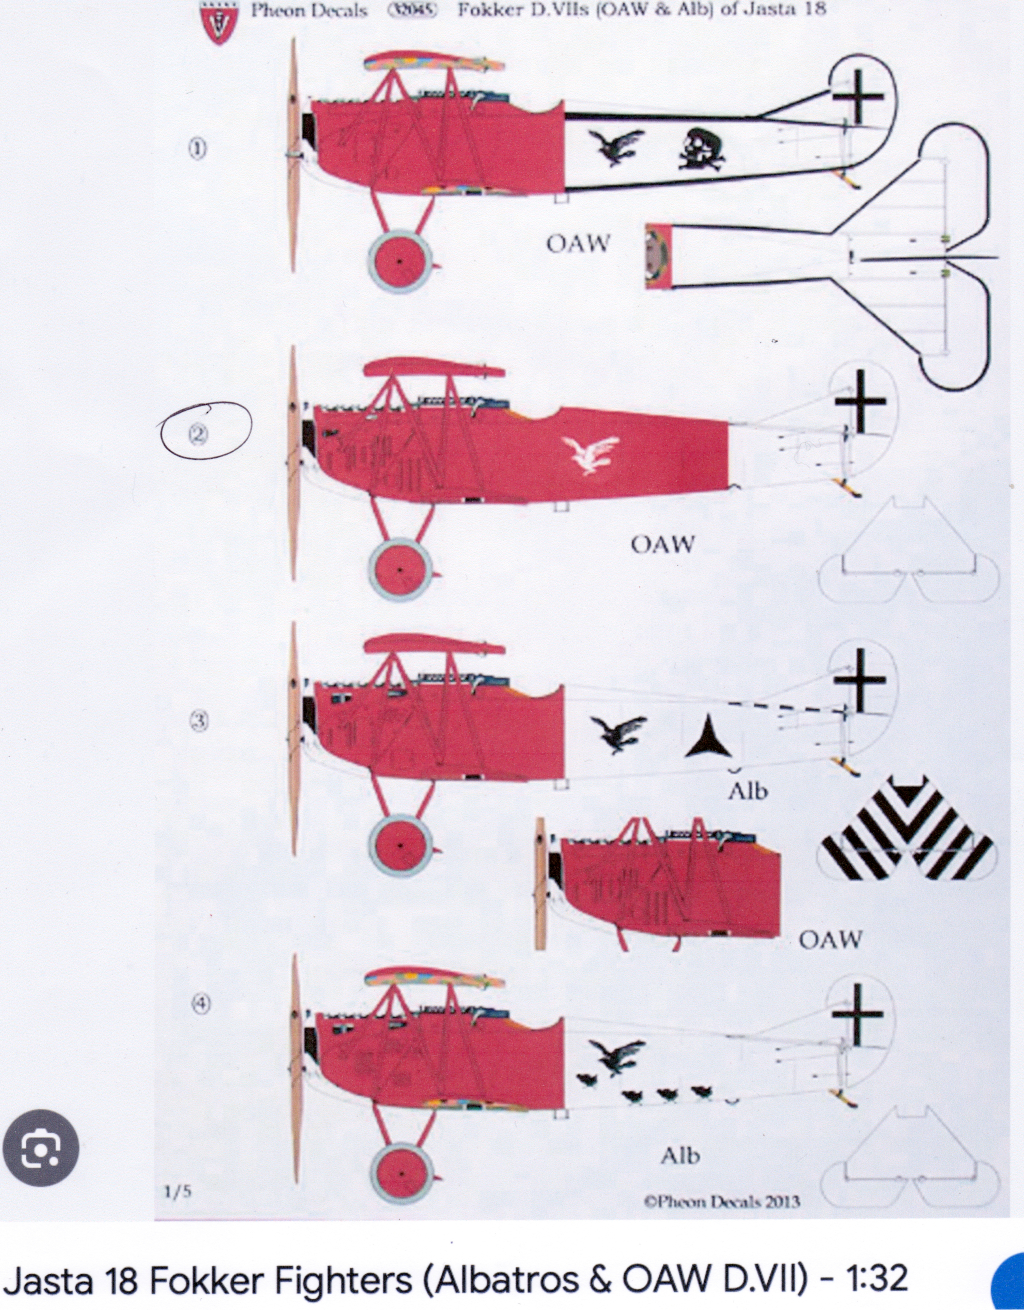
Jasta 18 color schemes. I chose the second scheme down for my model.
The kit came with white tissue which proved to be excellent to work with. Unfortunately, the kit did not come with any red tissue so I went to my inventory for that. I had a small pile of red tissue which I had recovered from several old kits from my FlyBoyz Store which had been unsellable. Good deal I thought, I’ve got the colors I need so let’s move on to covering.
The first step in the covering process was to pre-shrink the tissue which I did using the wooden stretcher jig that I had built. It was at this point that I noticed that the red tissue didn’t shrink as much as the white tissue. In fact, it hardly shrunk at all. No problem as I’d just make sure to take extra care to work out any wrinkles during the covering process. I started covering with the white tissue and before long had all the tail structures covered. I was thrilled because this was the first time I ever covered the tail of a stick and tissue model without any warps in the vertical or horizontal surfaces!!

Red and white tissue with my tissue pre-shrink jig

Tail structures all covered
Then I moved on to the red tissue which would be used to cover the entire remainder of the model. And here is where the frustrations began. Right from the git-go, I found that using the red tissue was like trying to use single ply toilet tissue to cover the model with! It was super flimsy and so thin that it practically dissolved when it made contact with the glue from the glue stick I was using. And when I lightly brushed alcohol on it in order to loosen the glue so as to adjust the tissue after it was applied to the wood, it did virtually dissolve. Then, when I lightly misted water on it to shrink it after the glue was set, it got totally saturated and extremely fragile. Finally, after all that, handling the model after the red tissue was applied and totally dry became a battle to keep from puncturing it at the slightest touch. And here is where my shaky hands came into play again as a major detriment to the rest of the build. When all was said and done and the model was finally covered and assembled, it sported at least a dozen repairs to the red tissue on the fuselage and wings. It was extremely frustrating and disappointing to see the great structure I had built now be covered with a patchwork of red tissue repairs.
Once the fuselage and then later when the wings were covered, I sprayed on a couple coats of clear sealer in an attempt to add some strength to the red tissue. This did add strength to it but it also added a brittle-like texture to the red tissue.
I had some red acrylic craft paint that exactly matched the red color of the tissue so I used that to paint the struts, engine cowl, wheels, and axle sub-wing. This paint also helped with color touch-ups in several places where my tissue repairs were made. Finally, I added the decals which were another exercise in extreme caution when applying them to the red tissue on the wings. At this point the model was ready for final assembly.

Fuselage after covering

All components covered and painted and ready for final assembly
When final assembly was completed, I added the motor and propeller. I used the stock motor and propeller from the kit as the FAC has encouraged builders to use these (rather than the higher caliber products used on standard FAC models) as a tribute to the original parts included with Guillow’s kits of old. Fortunately, the rubber included with the laser cut kit was of high quality and very much in line with the rubber used by the FAC vs. the old hard rubber included in Guillow’s kits from years ago.
Final weight of the model, with motor and propeller included is 52.5 grams. I’m not sure if that is good or bad for a biplane with an 18″ wingspan but it is what it is and we’ll see how it flys at that weight. It still needs to be balanced and trimmed but I’m waiting for some good weather (i.e. NO WIND!) and tall grass for the trimming process. If push comes to shove, I’ll just wait and do the trimming at the FAC NATS. That way, I know the model will at least arrive at the NATS in one piece!
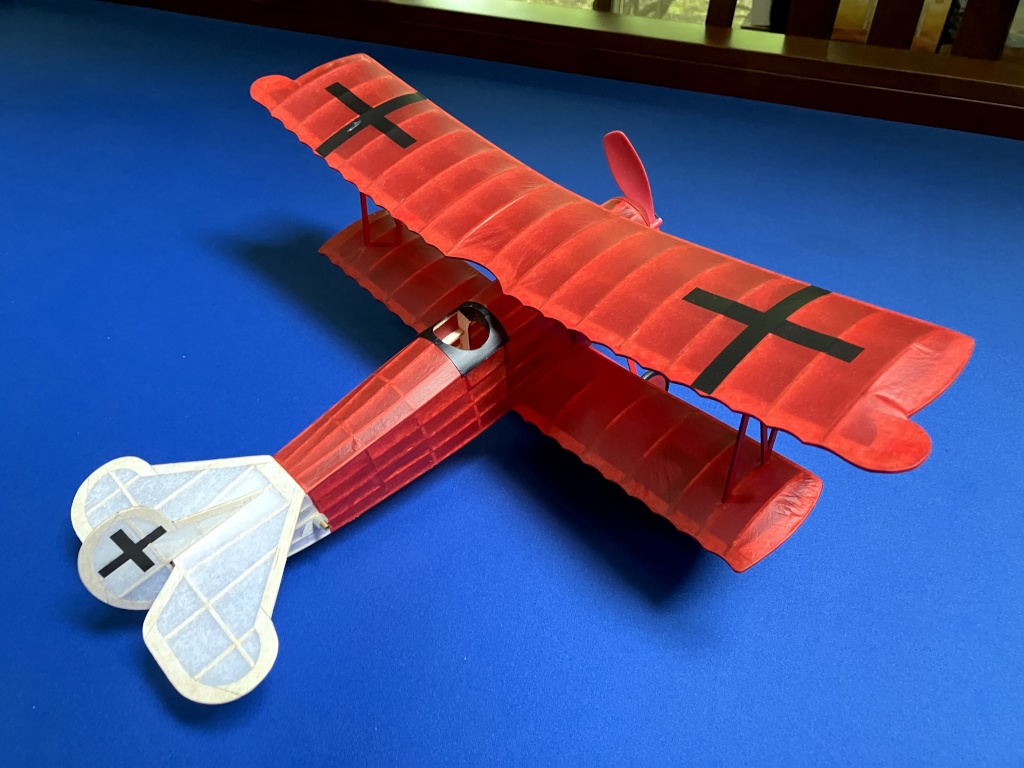
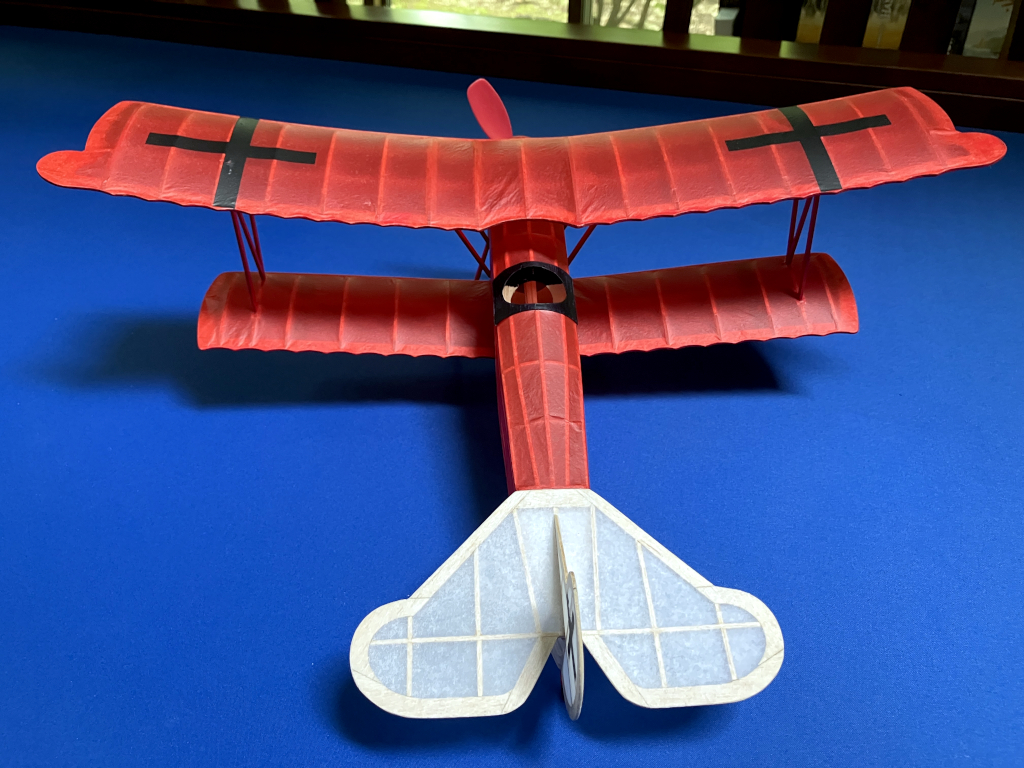
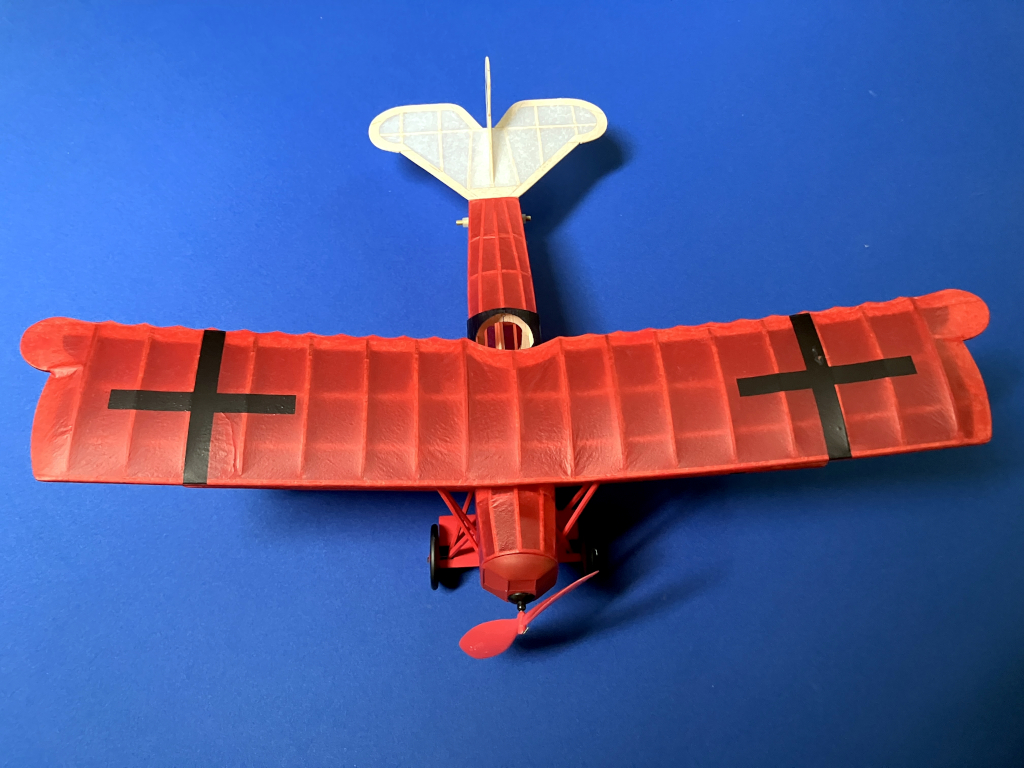
So, finally, here are a variety of photos of the finished Guillow’s Fokker D.VII as it looks today. I think it looks ‘OK’ despite the covering frustrations but, having said that, I will also say once again that I am finished building free flight stick and tissue models for now. And, despite all the frustrations, I can now cross off one of the two models from my model rebuild list.





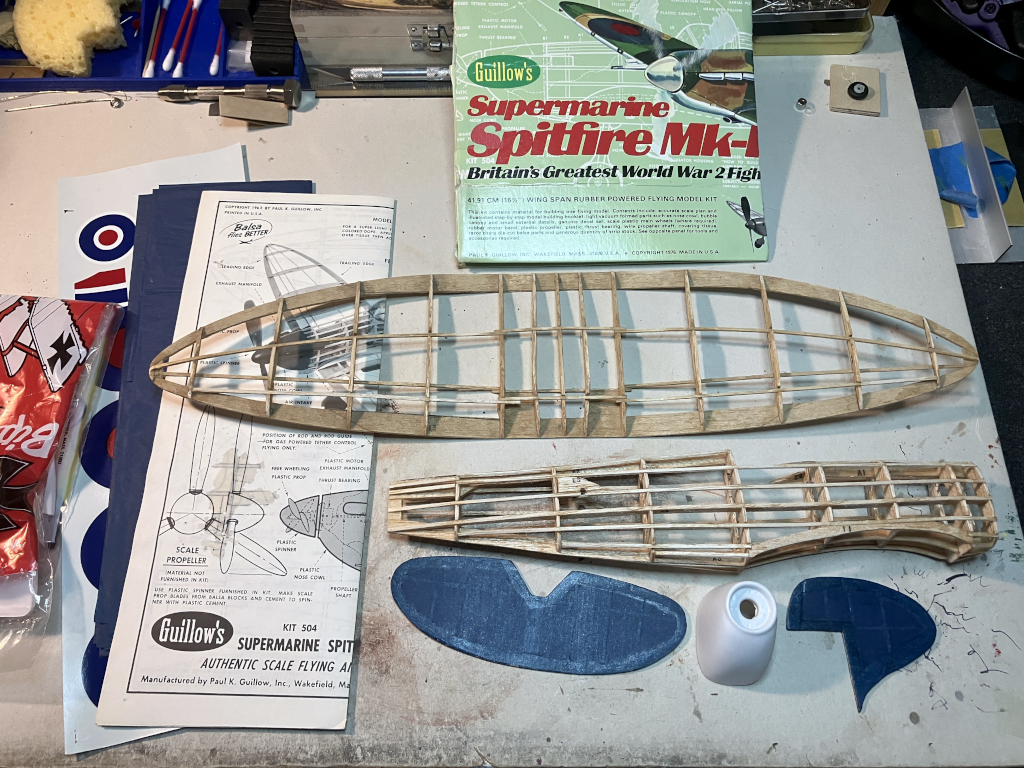
P.S. Uh-Oh. I just found a partially built Guillow’s Spitfire in one of my building storage drawers. Maybe I should also finish it before the FAC NATS next month??
Yet another free flight build?!