This Mustang build has become very frustrating for a variety of reasons.
First off, it is taking forever. Besides all the interruptions from daily life that keep me from building in the first place, I have come to the conclusion that I am just a very slow builder. Which would be a good thing if the extra time I spent on a build resulted in a superior product, but to date I see no evidence of that. Rather, I’d consider my results on the Mustang as being mediocre at best. I remain very impressed by the very high quality levels that I see in models built by many other modelers. I often wonder how many man-hours they invested in a given model to get those results and how my results would compare if I invested the same amount of man-hours. I know that my results will improve as my experience and skill level improves but I do wish that at this point, I had a higher quality product to show for the amount of effort I’ve invested.
Another area of frustration is having the proper materials and tools to do the sort of job I’d like to do. I wanted to approach this model by using ‘traditional’ covering materials, i.e. dope and silkspan. While I have plenty of good quality silkspan available, the dope has become a real issue. The color selection of dope seems to be somewhat limited, especially within a given manufacturers product line. And I have learned that mixing dope from different manufacturers can be a big ‘No-No’, so this tends to limit you to what is available from within a given manufacturer. Also, a big issue to me is the lack of dope in spray cans. Back when I was modeling in the ‘old days’ (i.e. the 1970’s), virtually every color of dope sold by a manufacturer was available in spray cans. Now, I cannot find a single spray can of any kind of dope offered by anyone. But, this problem can be overcome by mixing your own dope/thinner and using some sort of airbrush or paint sprayer in combination with an air compressor. No problem if you have the funds available for some good equipment. I have had to make those equipment investments. Along the way, I have learned that you cannot effectively spray dope (no matter how much you thin it) from an internal mix airbrush. This has meant the purchase of an external mix airbrush. And that has lead to a search and online purchase of an air hose that will connect the airbrush to the compressor. The issue here is that one solution seems to lead to another issue. I am hoping that I am nearing the end of issues to at least be able to spray the dope.
While trying to solve the ‘lets spray some dope issue’, I’ve been trying to make progress utilizing other paint options. Here the compatibility of one product with another gets compounded exponentially. Add in the need for a final covering coat of some sort of clear that is FUEL PROOF and you get an almost impossible situation to effectively achieve any sort of ‘nice looking’ paint job.
So how does all this translate into progress on the Mustang? Well, I covered the entire model, including the solid wood fuselage and other surfaces, with heavy (GM) silkspan. I brushed on SIG Clear Butyrate dope to attach the silkspan and then brushed on 3 coats of clear after attaching it. I then used spay cans of Tamiya (lacquer) for the color coats. These cans are small and cost a fortune so while there is a good color selection and the color sprays on wonderfully, it is a cost prohibitive solution that I will not do again. Also, there is no fuel proof clear coat available so I am back to using dope for the final clear coats. Brushing clear dope over the Tamiya color is not an option as it will not flow on over the color coat without ruining it. So, I am waiting on delivery of the air hose needed to connect the external mix airbrush up to the compressor so that I can spray on the clear coats of SIG Fuel proof dope. Hopefully that will all work as desired!
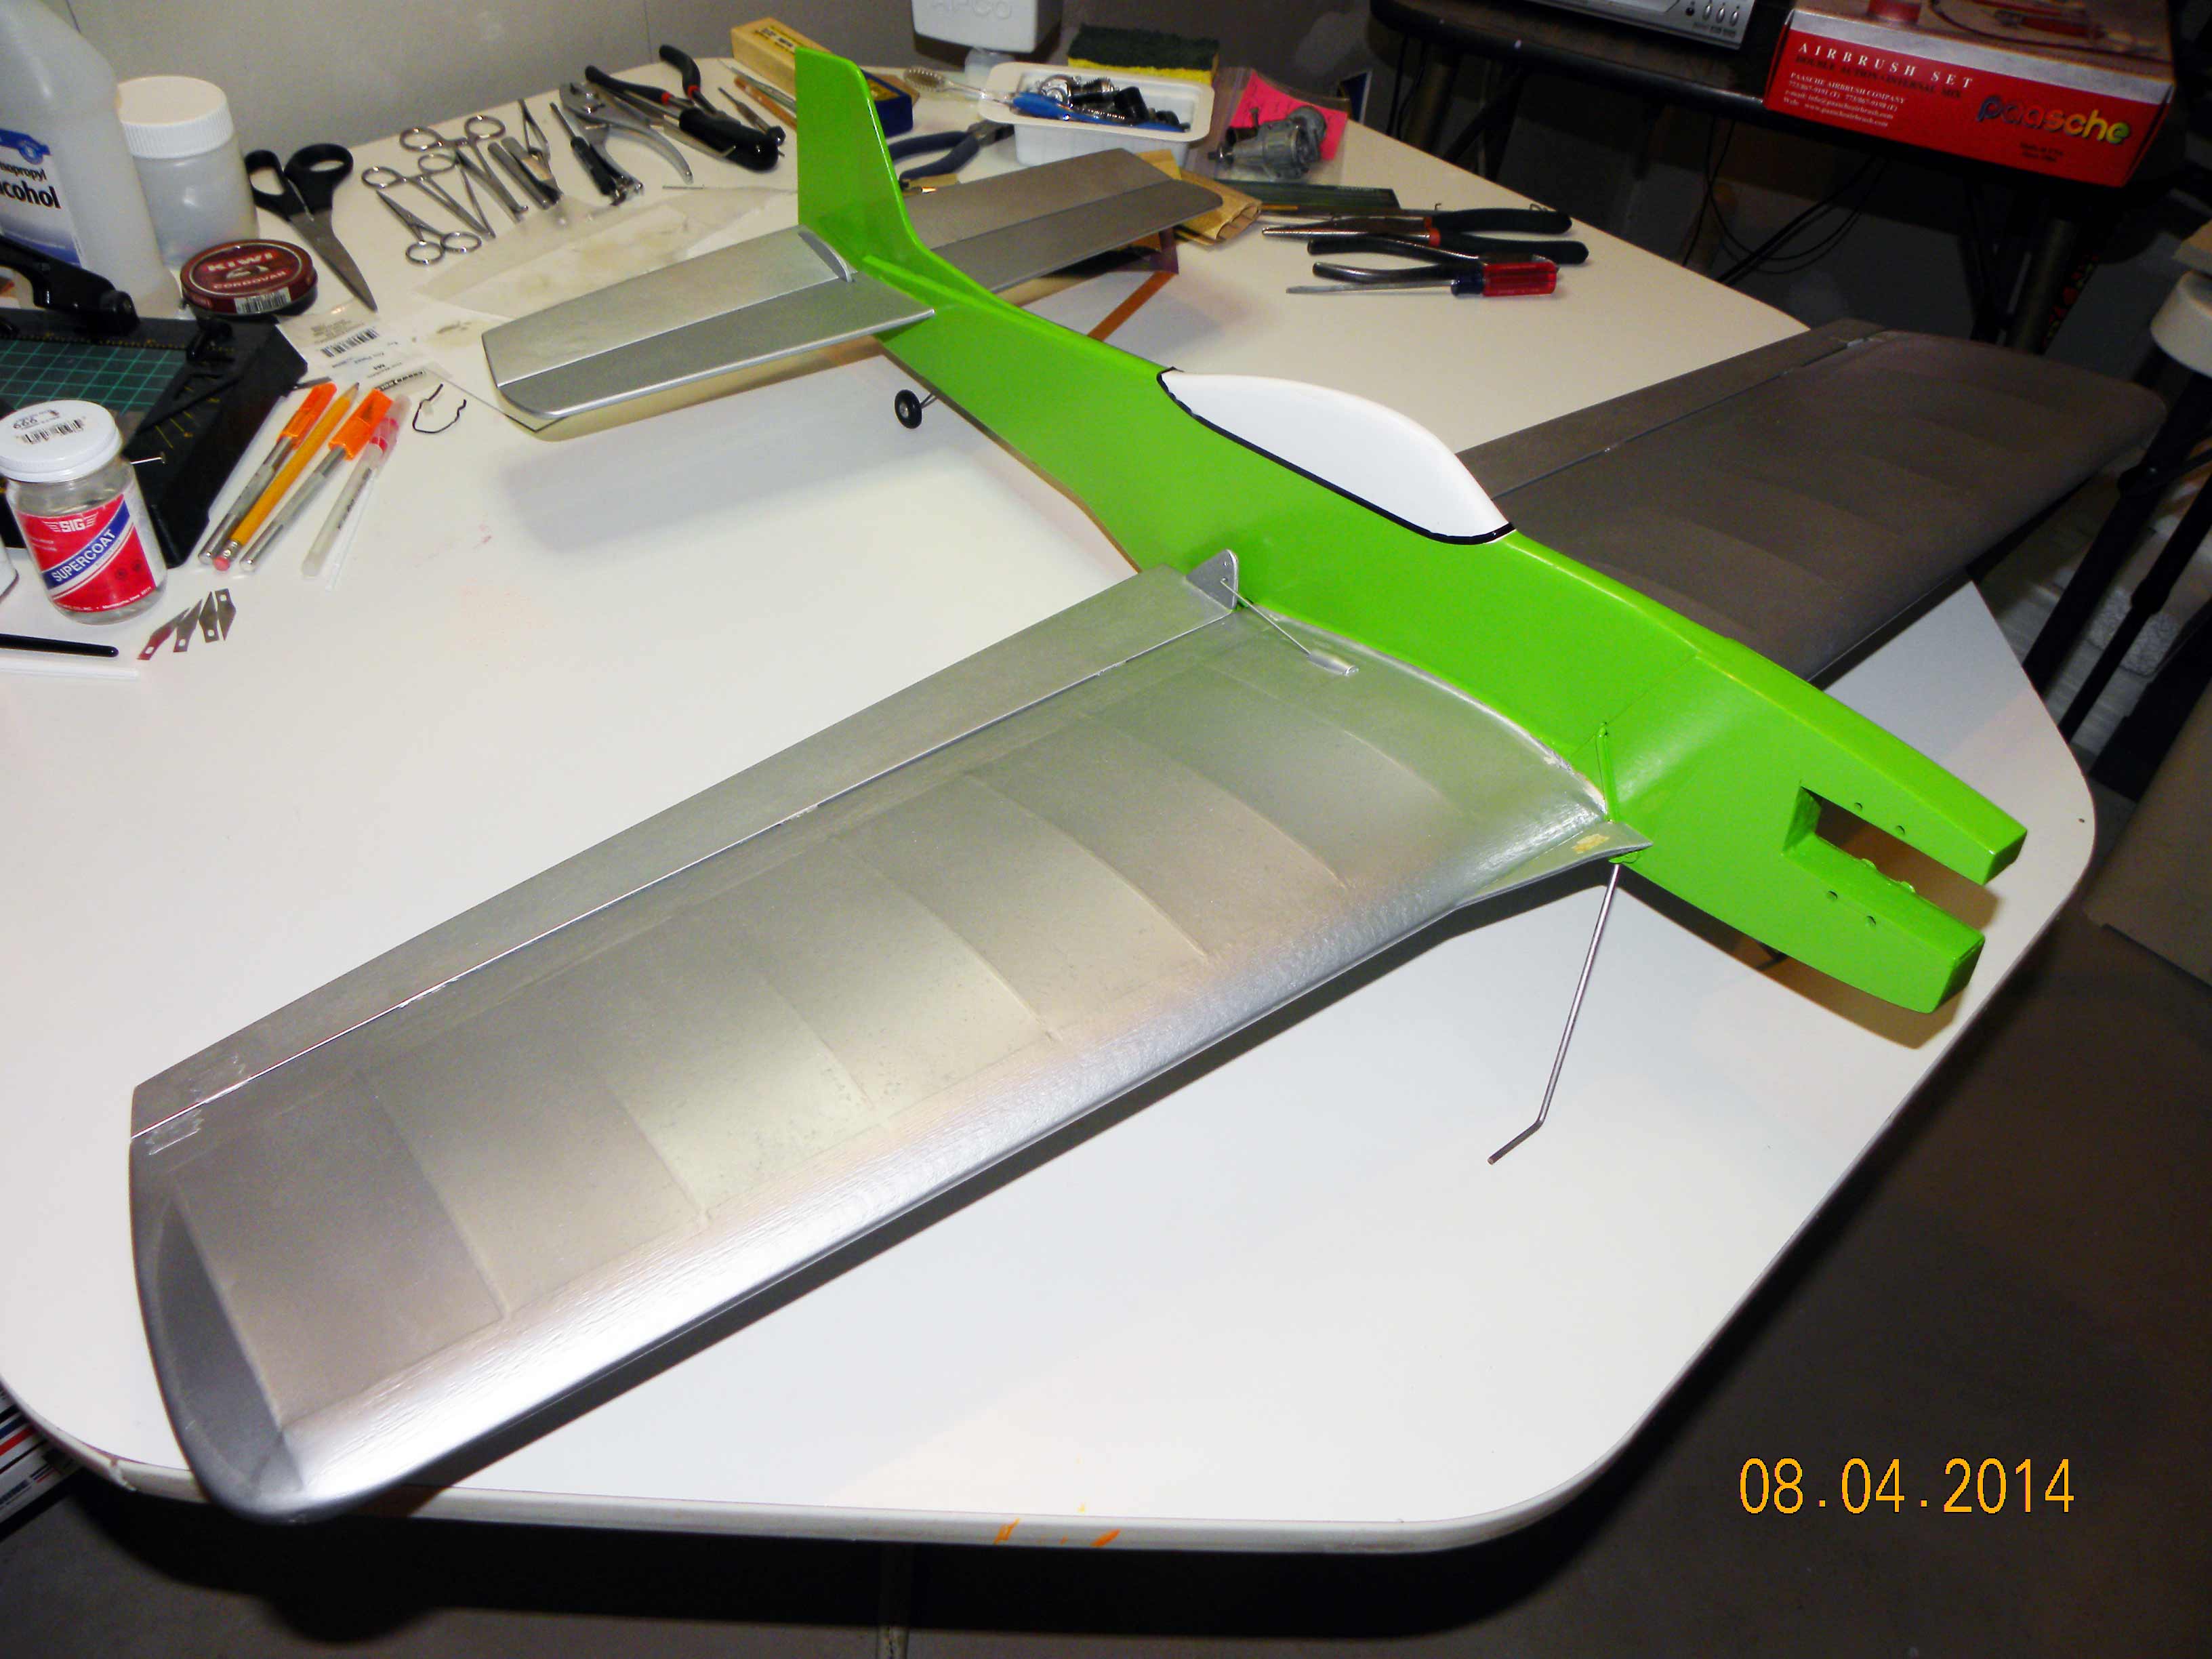
Mustang progress to date. The paint scheme is totally prototypical…NOT!
At this point everyone reading this will tell me to use monocoat or buy an ARF that is already covered. Those options are all well and good, but as anyone who has read this blog will tell you, I am trying to stick to ‘traditional’ methods in my modeling. Sooner or later, I will figure out how to do that successfully and hopefully the frustration level will go down while the quality results will go up.
Another area of frustration with this build has been the engine area. I have spent more time working on the engine mounting area of this model than any other area. First off, the engine opening in the mounting area was too wide for the engine mounting bolts to have anything to attach to. This required me to epoxy layers of plywood to the hardwood mounting blocks to reduce the width of the opening and give the engine something to mount to. Next, I drilled mounting holes for my Fox .35 engine. Subsequently, a long time control line expert convinced me to replace the Fox engine with a new O.S. Max 25LA-S. Of course, the mounting holes for this new engine did not line up with the holes I had drilled for the Fox. This meant filling the holes for the Fox and drilling new holes for the OS. All this adding of wood extensions and drilling and filling holes left the engine mount area looking like it had been run thru a buzz saw, so a fair amount of cosmetic cleanup and sanding was required. Next, I drilled holes in the plastic profile engine mounting plate that I am using to add 3 degrees of thrust offset to the engine. Once done, I realized that I had drilled the holes in the mount in the wrong locations! So, I needed to refill the bad holes and then re-drill new holes. At this point, I was about ready to switch over to rubber band power for the plane! I finally arrived at an engine mounting configuration that worked and it actually does not look too terrible given all the rework that I did to the area.
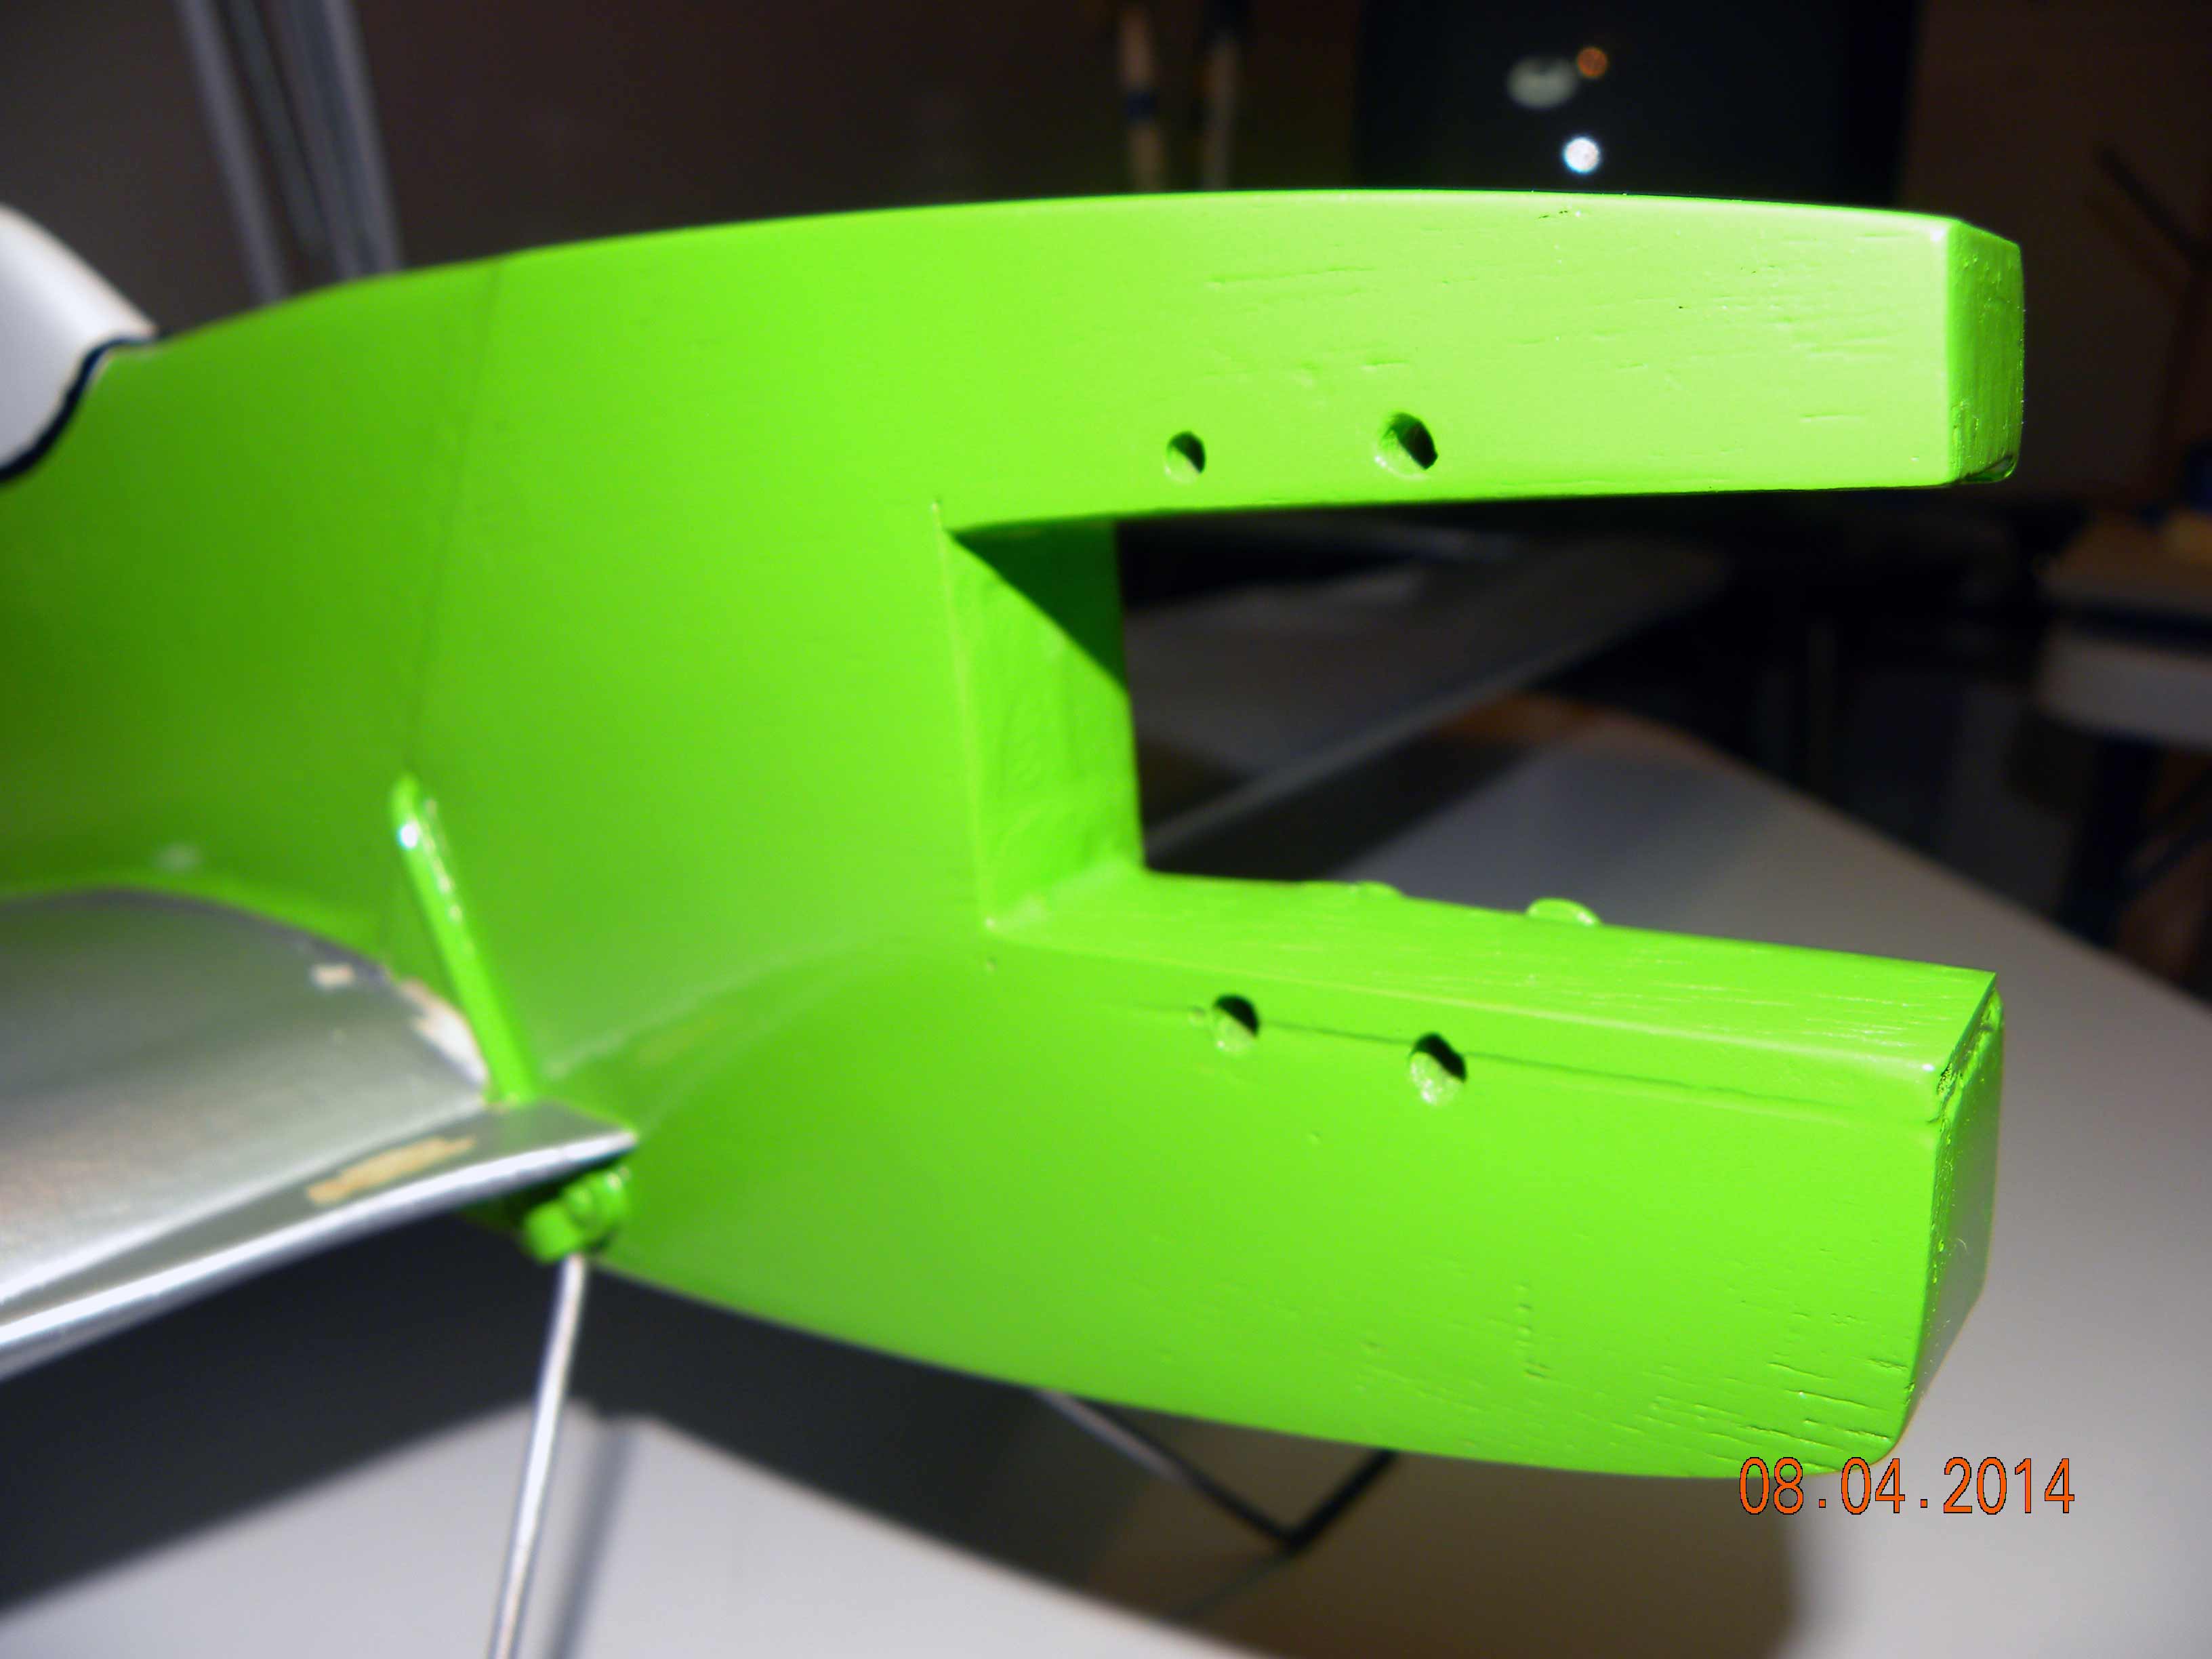
Re-worked engine mounting area
While not necessarily a source of frustration, several other minor changes (additional aileron hinges, a shroud over the cutout in the wing where the control rod exits, etc…) were also made at the suggestion of my control line mentor. None of these modifications were difficult to incorporate but they did add more time to the build process.
Finally, my frustration level hit a peak yesterday when I managed to poke my thumb thru the silkspan on the underside of one of the wings! That means a (crappy looking) repair that needs to be made before the plane has even made its’ maiden flight. The thumb incident was the last straw for me and threw this build into the ‘just get it done so we can go and fly this stupid airplane!’ category.
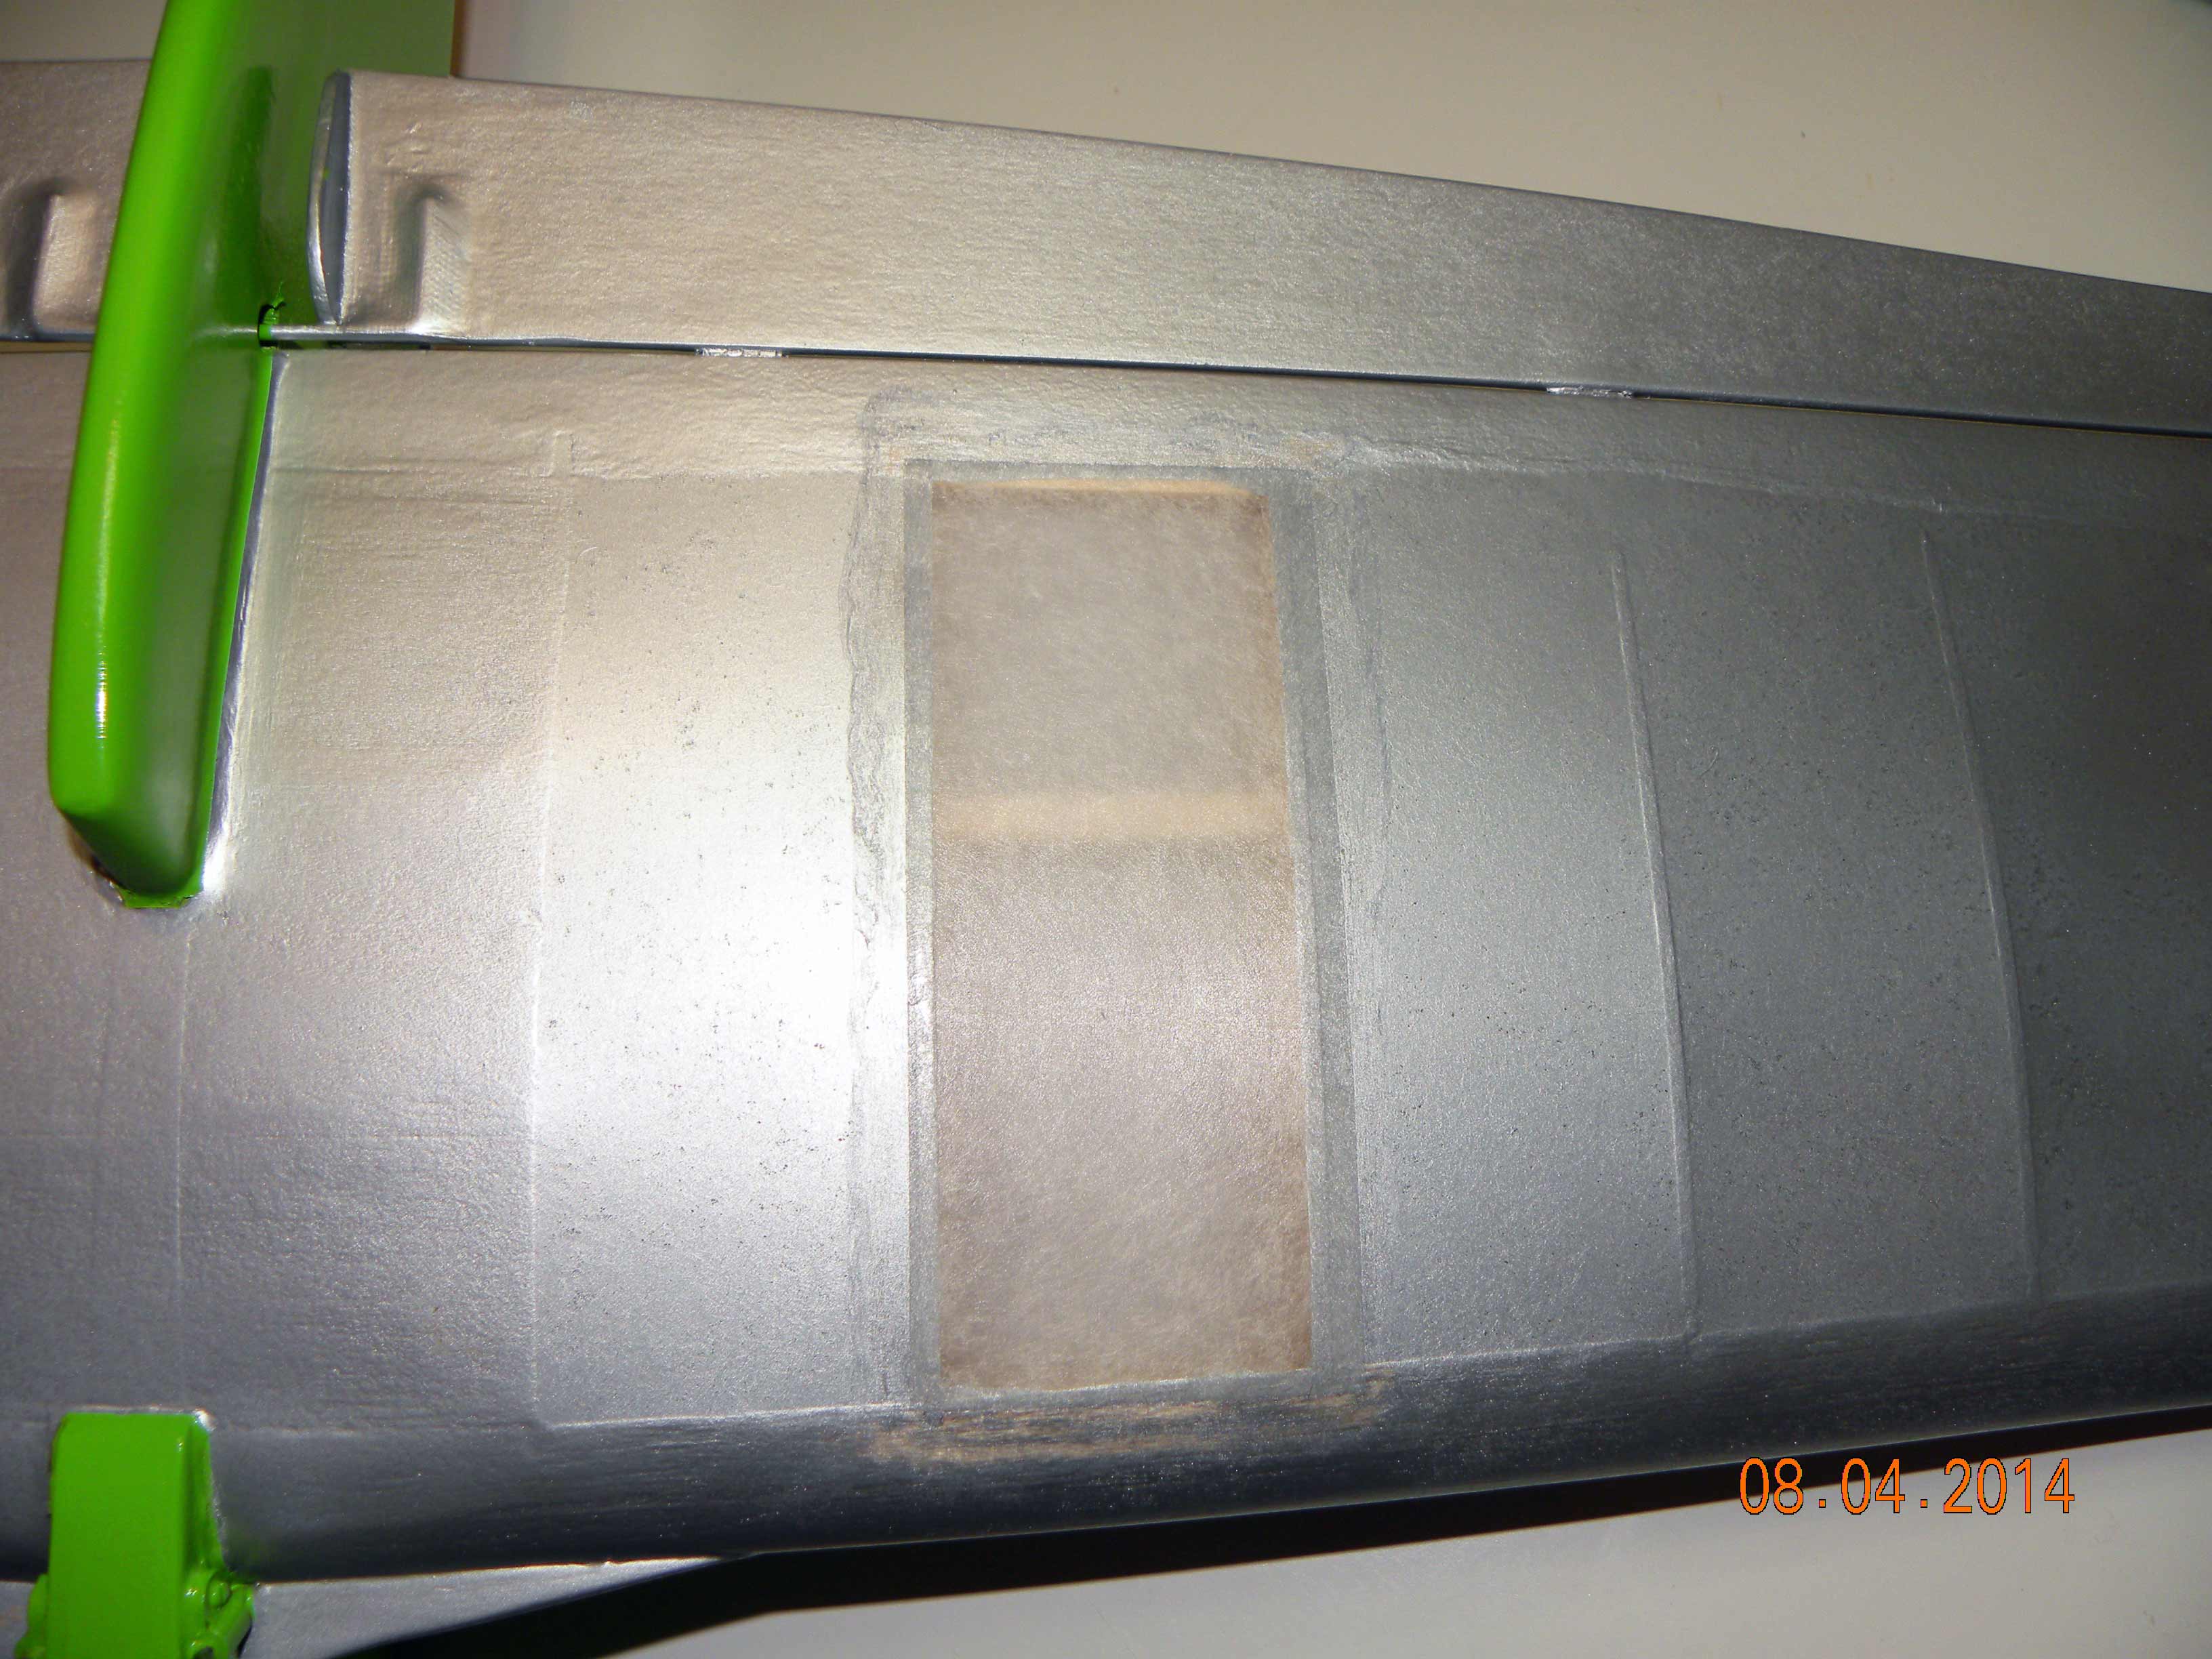
Repair in progress to underside of wing.
Despite all the frustrations, I will keep pushing ahead with this build. I am hoping to have it done before the snow flies and the flying season is over with for this year. Stayed tuned!