I ended my last FW-190 build report with the comment: ‘Hopefully, by the next build report, I’ll be able to show you a plane that has all the major components added and is ready for covering and hardware.‘ Well, I can’t quite show you that yet!
Since my last report, I finished the horizontal stabilizer and elevator assembly and attached it to the fuselage. This allowed me to finalize the position of the bell crank assembly in the forward section of the fuselage and I glued it into position. I also completed assembly of the vertical stabilizer and rudder but I have not yet attached them to the fuselage. They still need final sanding and covering with silkspan and the planking strips need to be added to the fuselage prior to the rudder assembly being attached.
One thing I almost forgot about was the tail wheel wire assembly! I should have added it earlier in the fuselage assembly but managed to miss it. With the fuselage at its’ current stage of construction (including some of the planking strips), it made adding the tail wheel wire problematic. However, after a bit of effort and more time than should have been spent on it, the wire was added and actually came out pretty good.
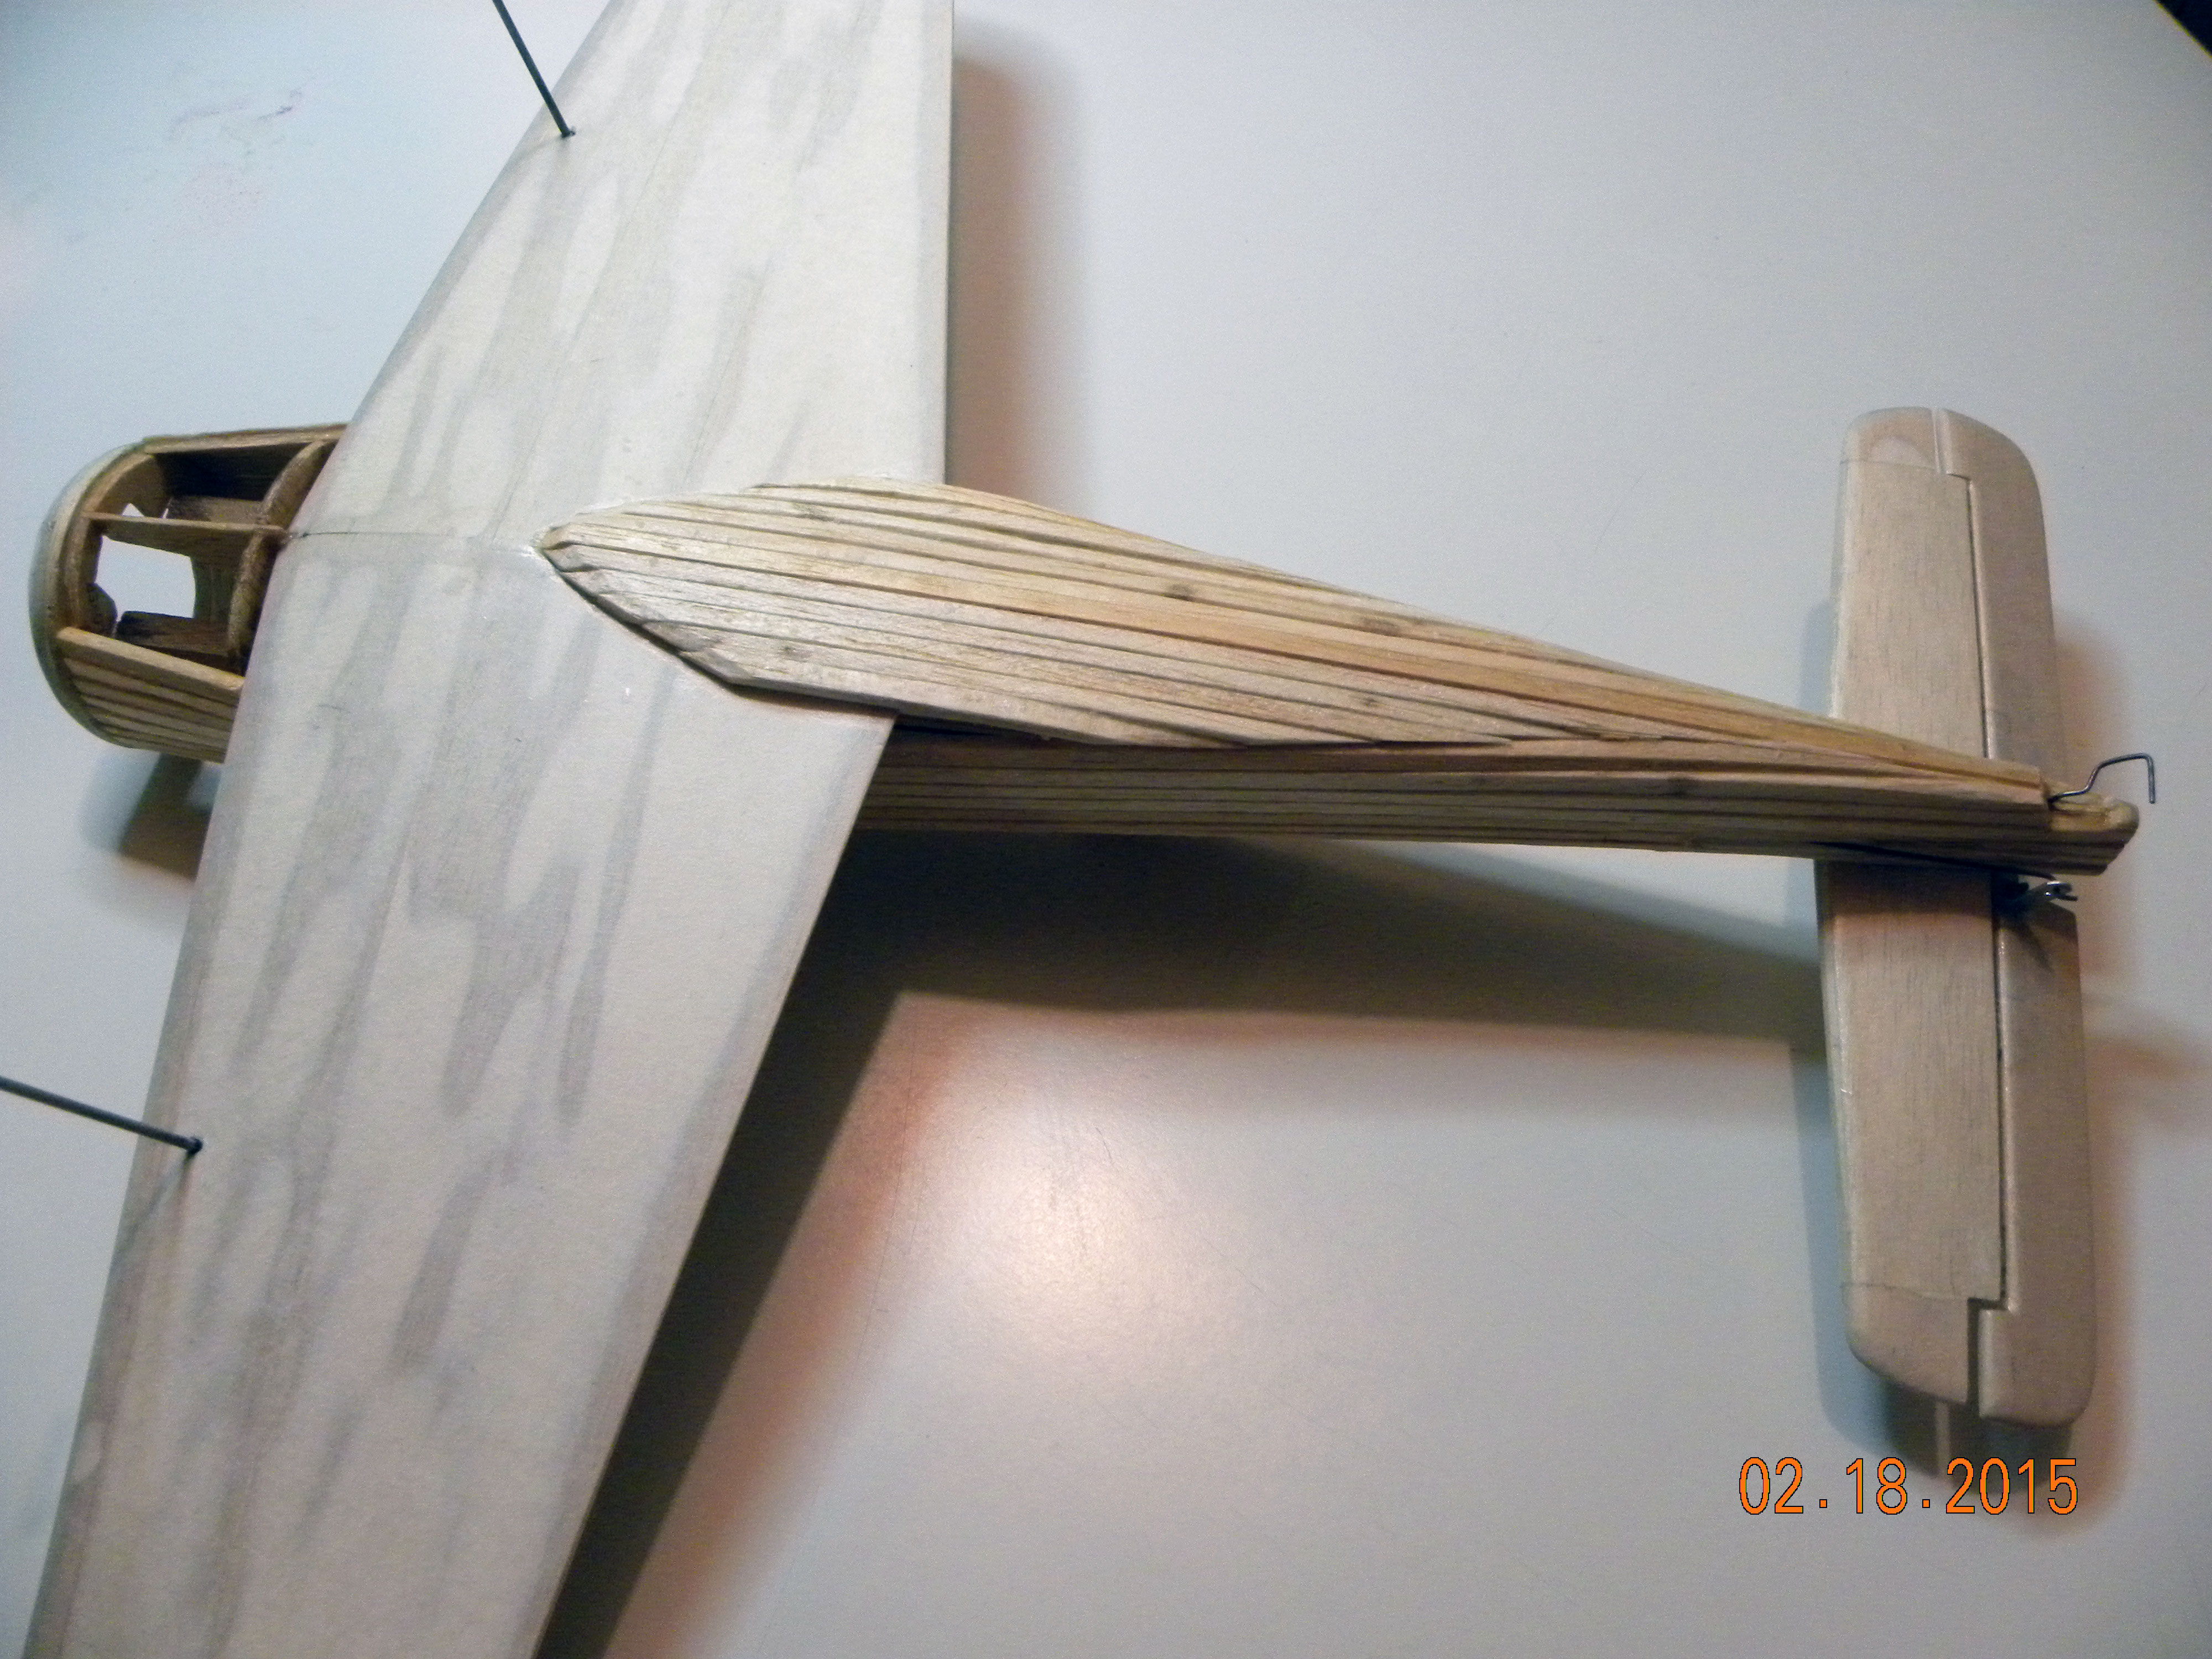
Underside of stabilizer showing elevator horn/pushrod assembly as well as pushrod fuselage exit slot.
(Click on photos to zoom in on them)
My attention next turned to adding the rounded edge planking strips to the fuselage. With the use of CA glue, these strips go on fairly easily. I can’t imagine how I had the patience to add these to my P-47 back in the early ’70’s when all I had available was (never setting) Ambroid glue! I like the way these strips work but even with CA, applying them is a slow process as each strip needs to be cut to the correct length and then tapered and trimmed to fit prior to glueing in place. A lot of sanding, filling, and more sanding will be needed once all the strips are installed. Despite all the work associated with them, these strips follow the curvature of the fuselage very nicely and result in a fuselage that is as strong and solid as a Sherman tank!
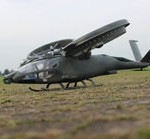
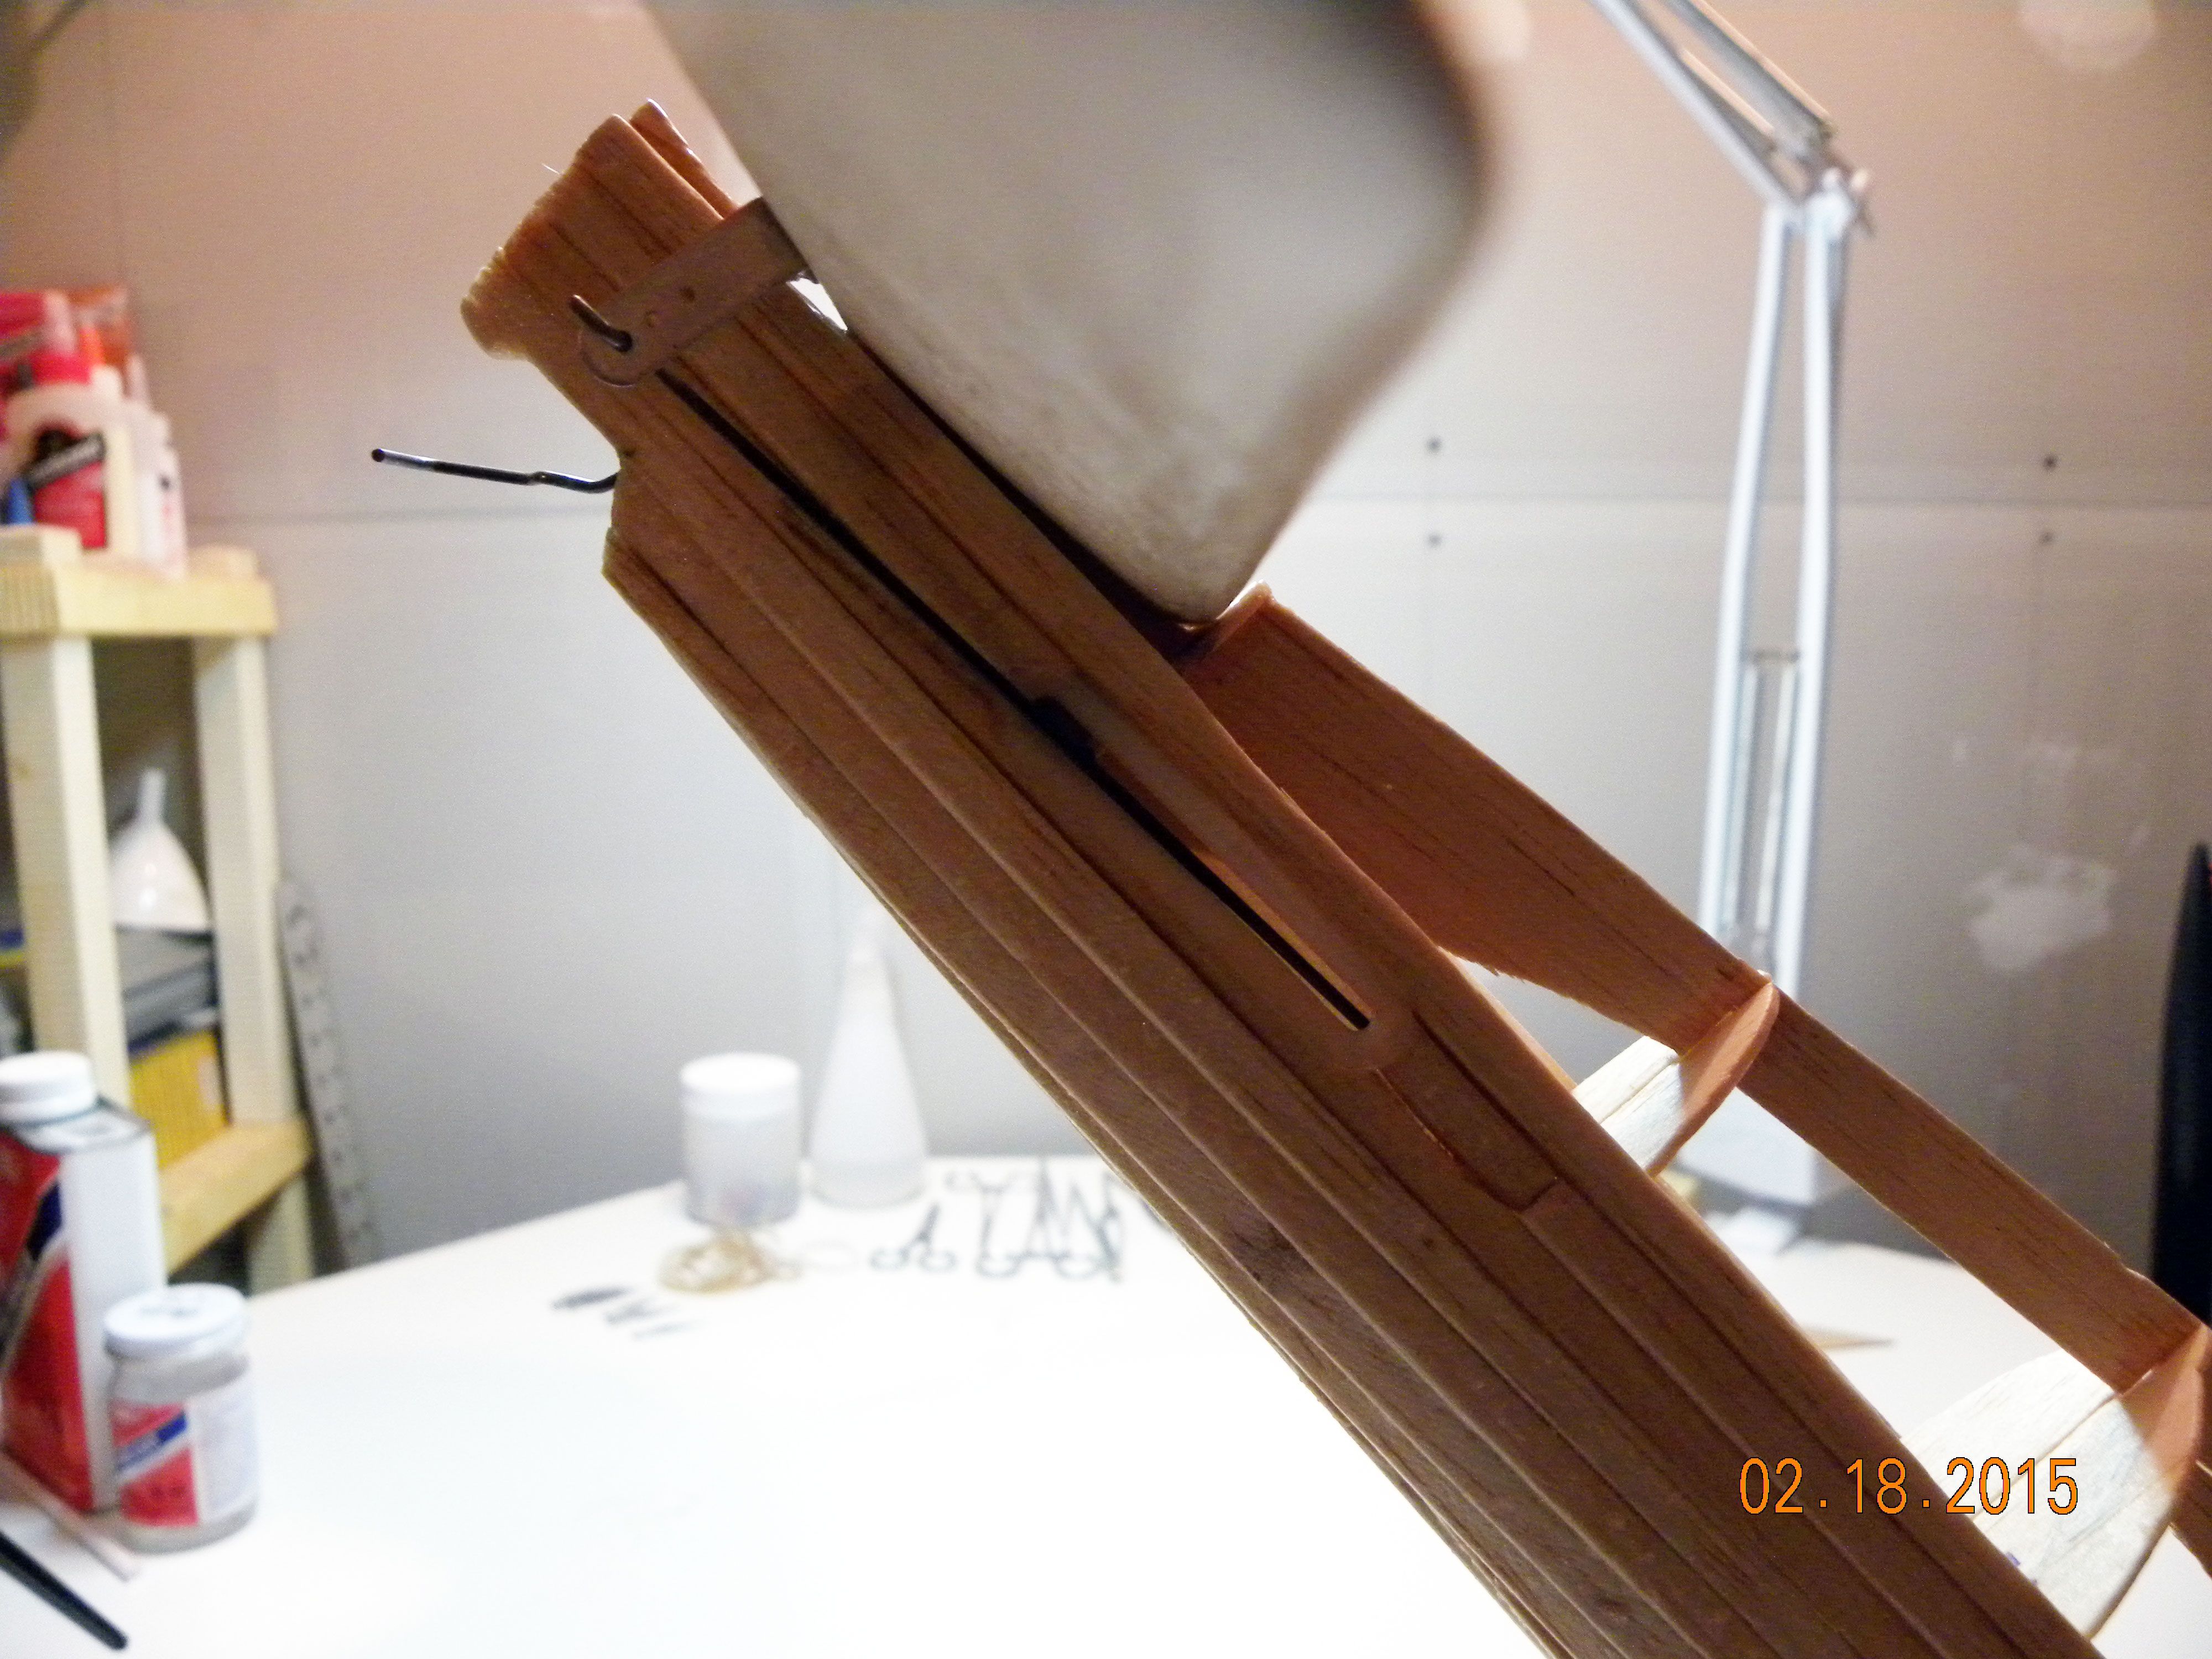
Rounded edge planking strips being installed to underside of fuselage. Horizontal stabilizer and elevator assembly seen installed along with tail wheel wire.
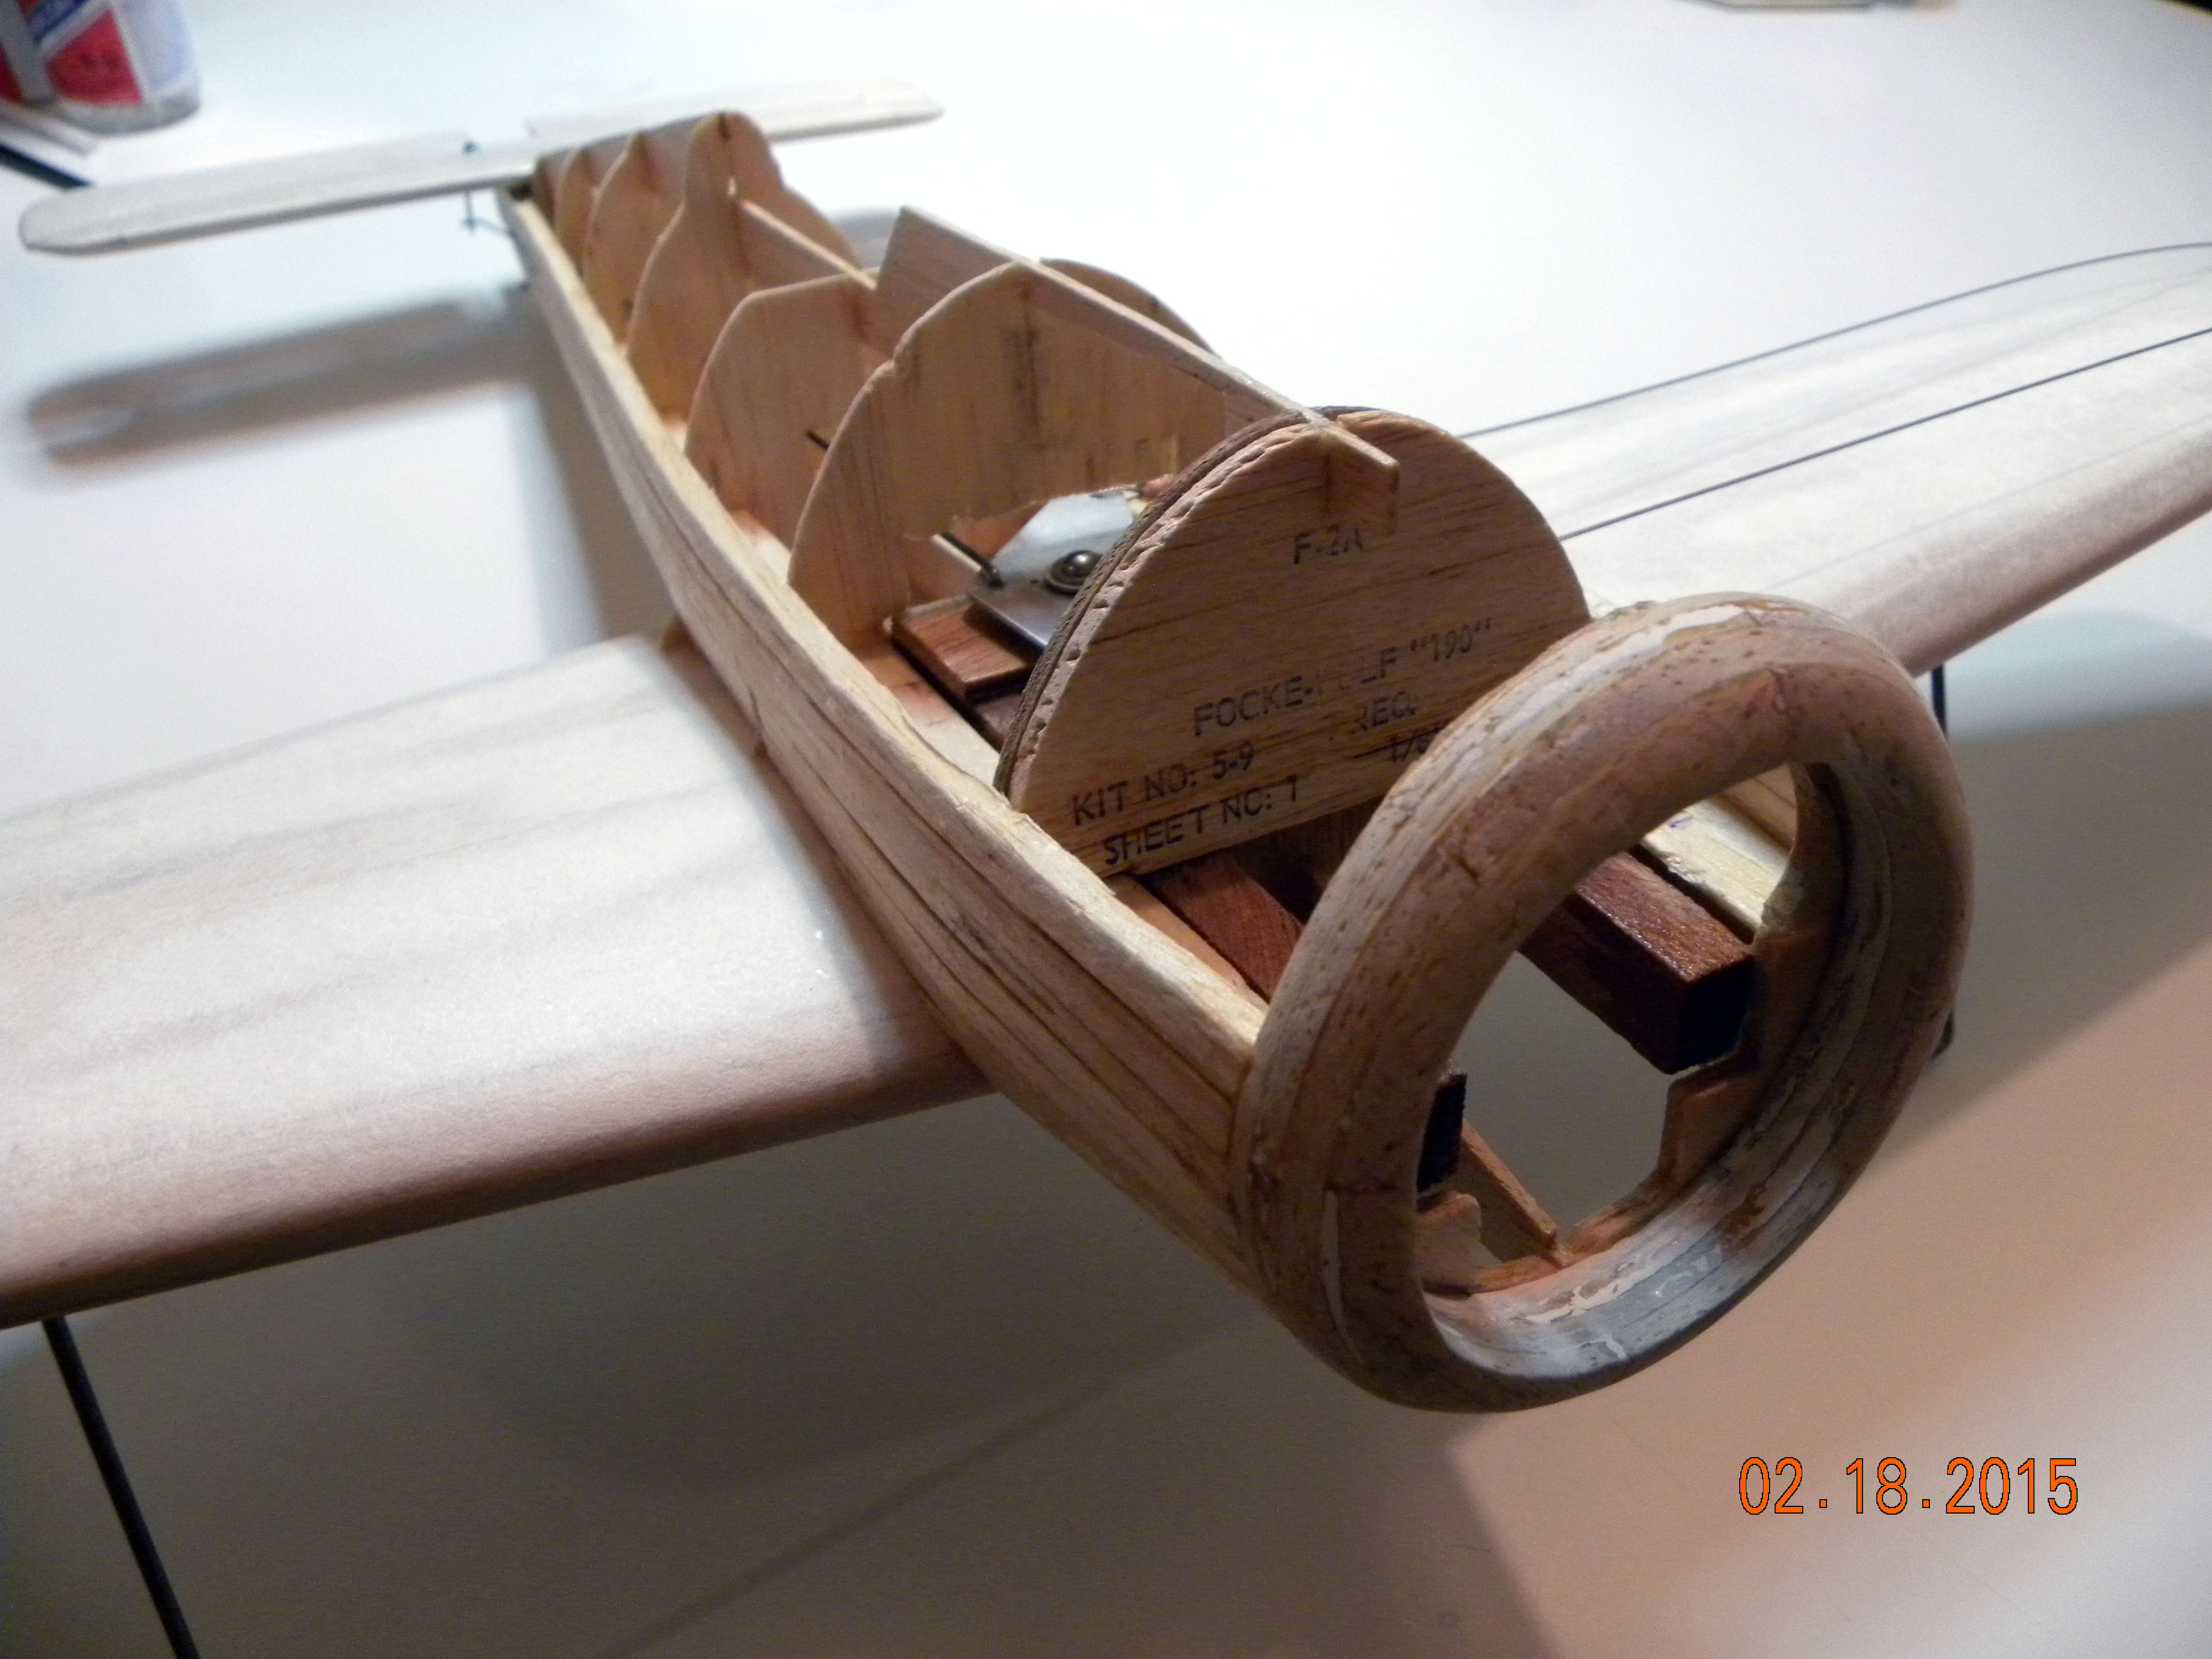
Rounded edge planking strips being faired into nose cowl ring.
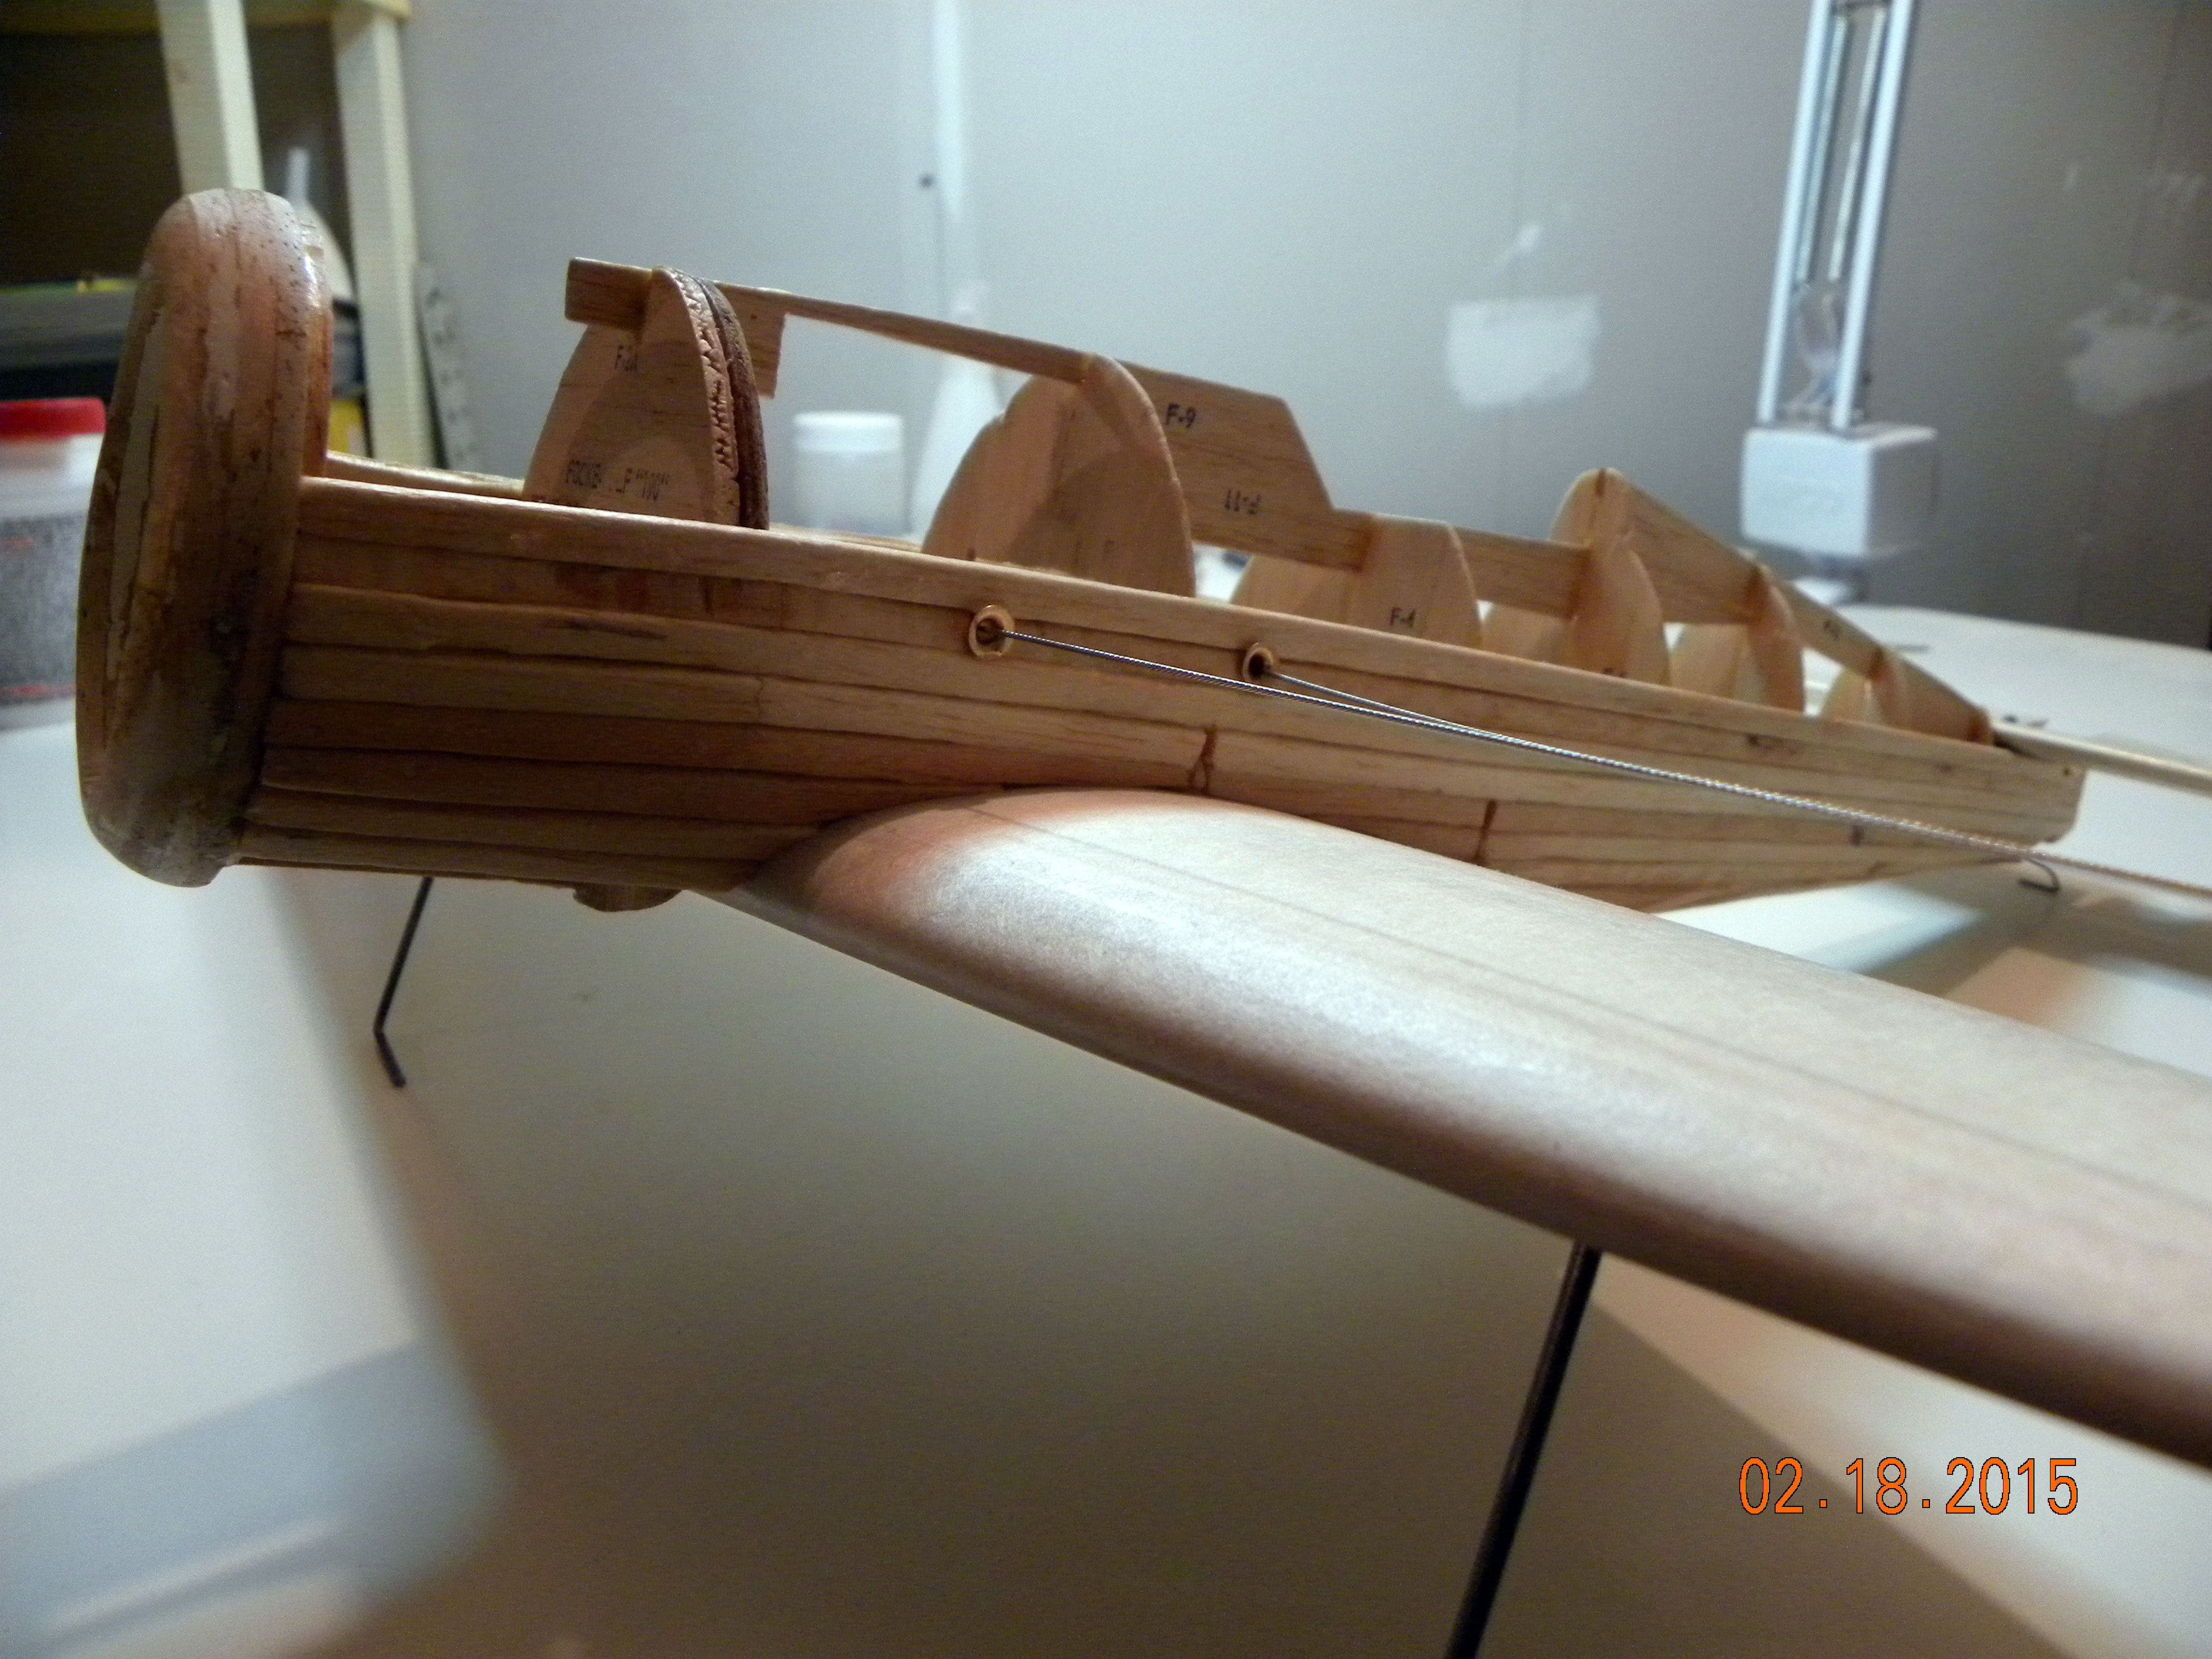
Side view of rounded edge planking strips being installed.
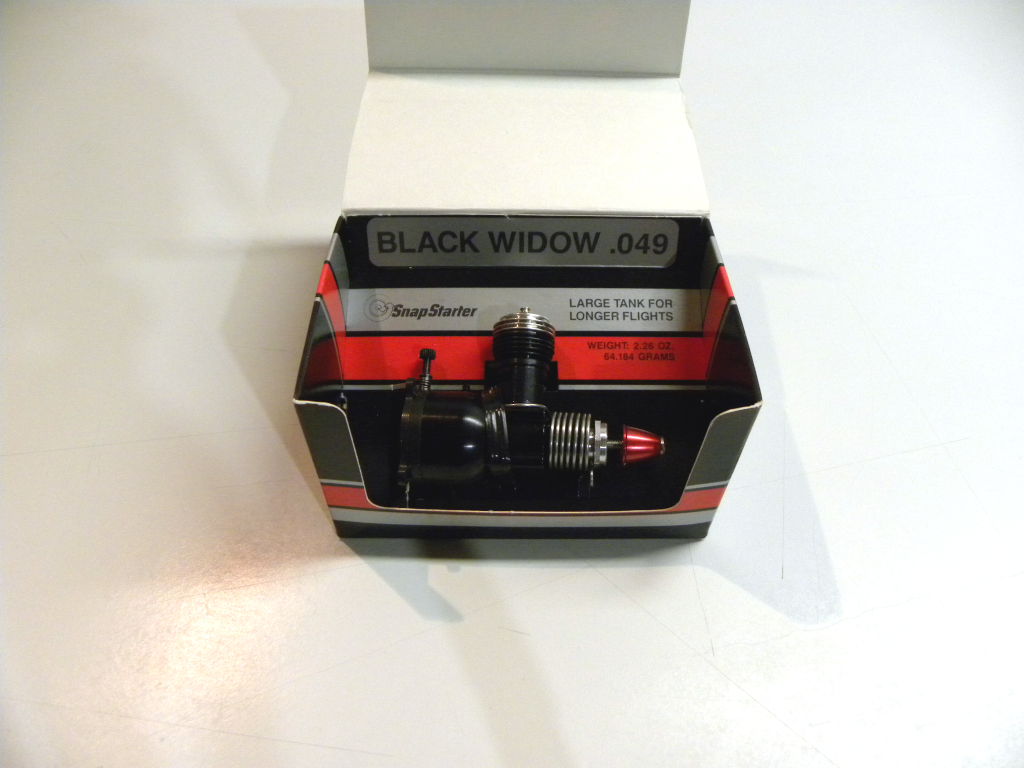
In my last report, I also wrote that ‘My biggest concern at this point is how to fit a gas tank into the small compartment allotted for it. It would not be a problem except the tank will share this compartment with the bell crank and its mount. I still haven’t settled as to what size/shape tank I’ll need to get to fit into this small space.‘ I ended up spending time going thru the Brodak catalog and looking at all the tanks that might fit the compartment space I had available. I narrowed the selection down to one tank that would give me the maximum fuel capacity for the available tank size and shape. I then made a cardboard mock-up of the 1-1/4 oz. tank and test fit it before placing an order for it with Brodak.
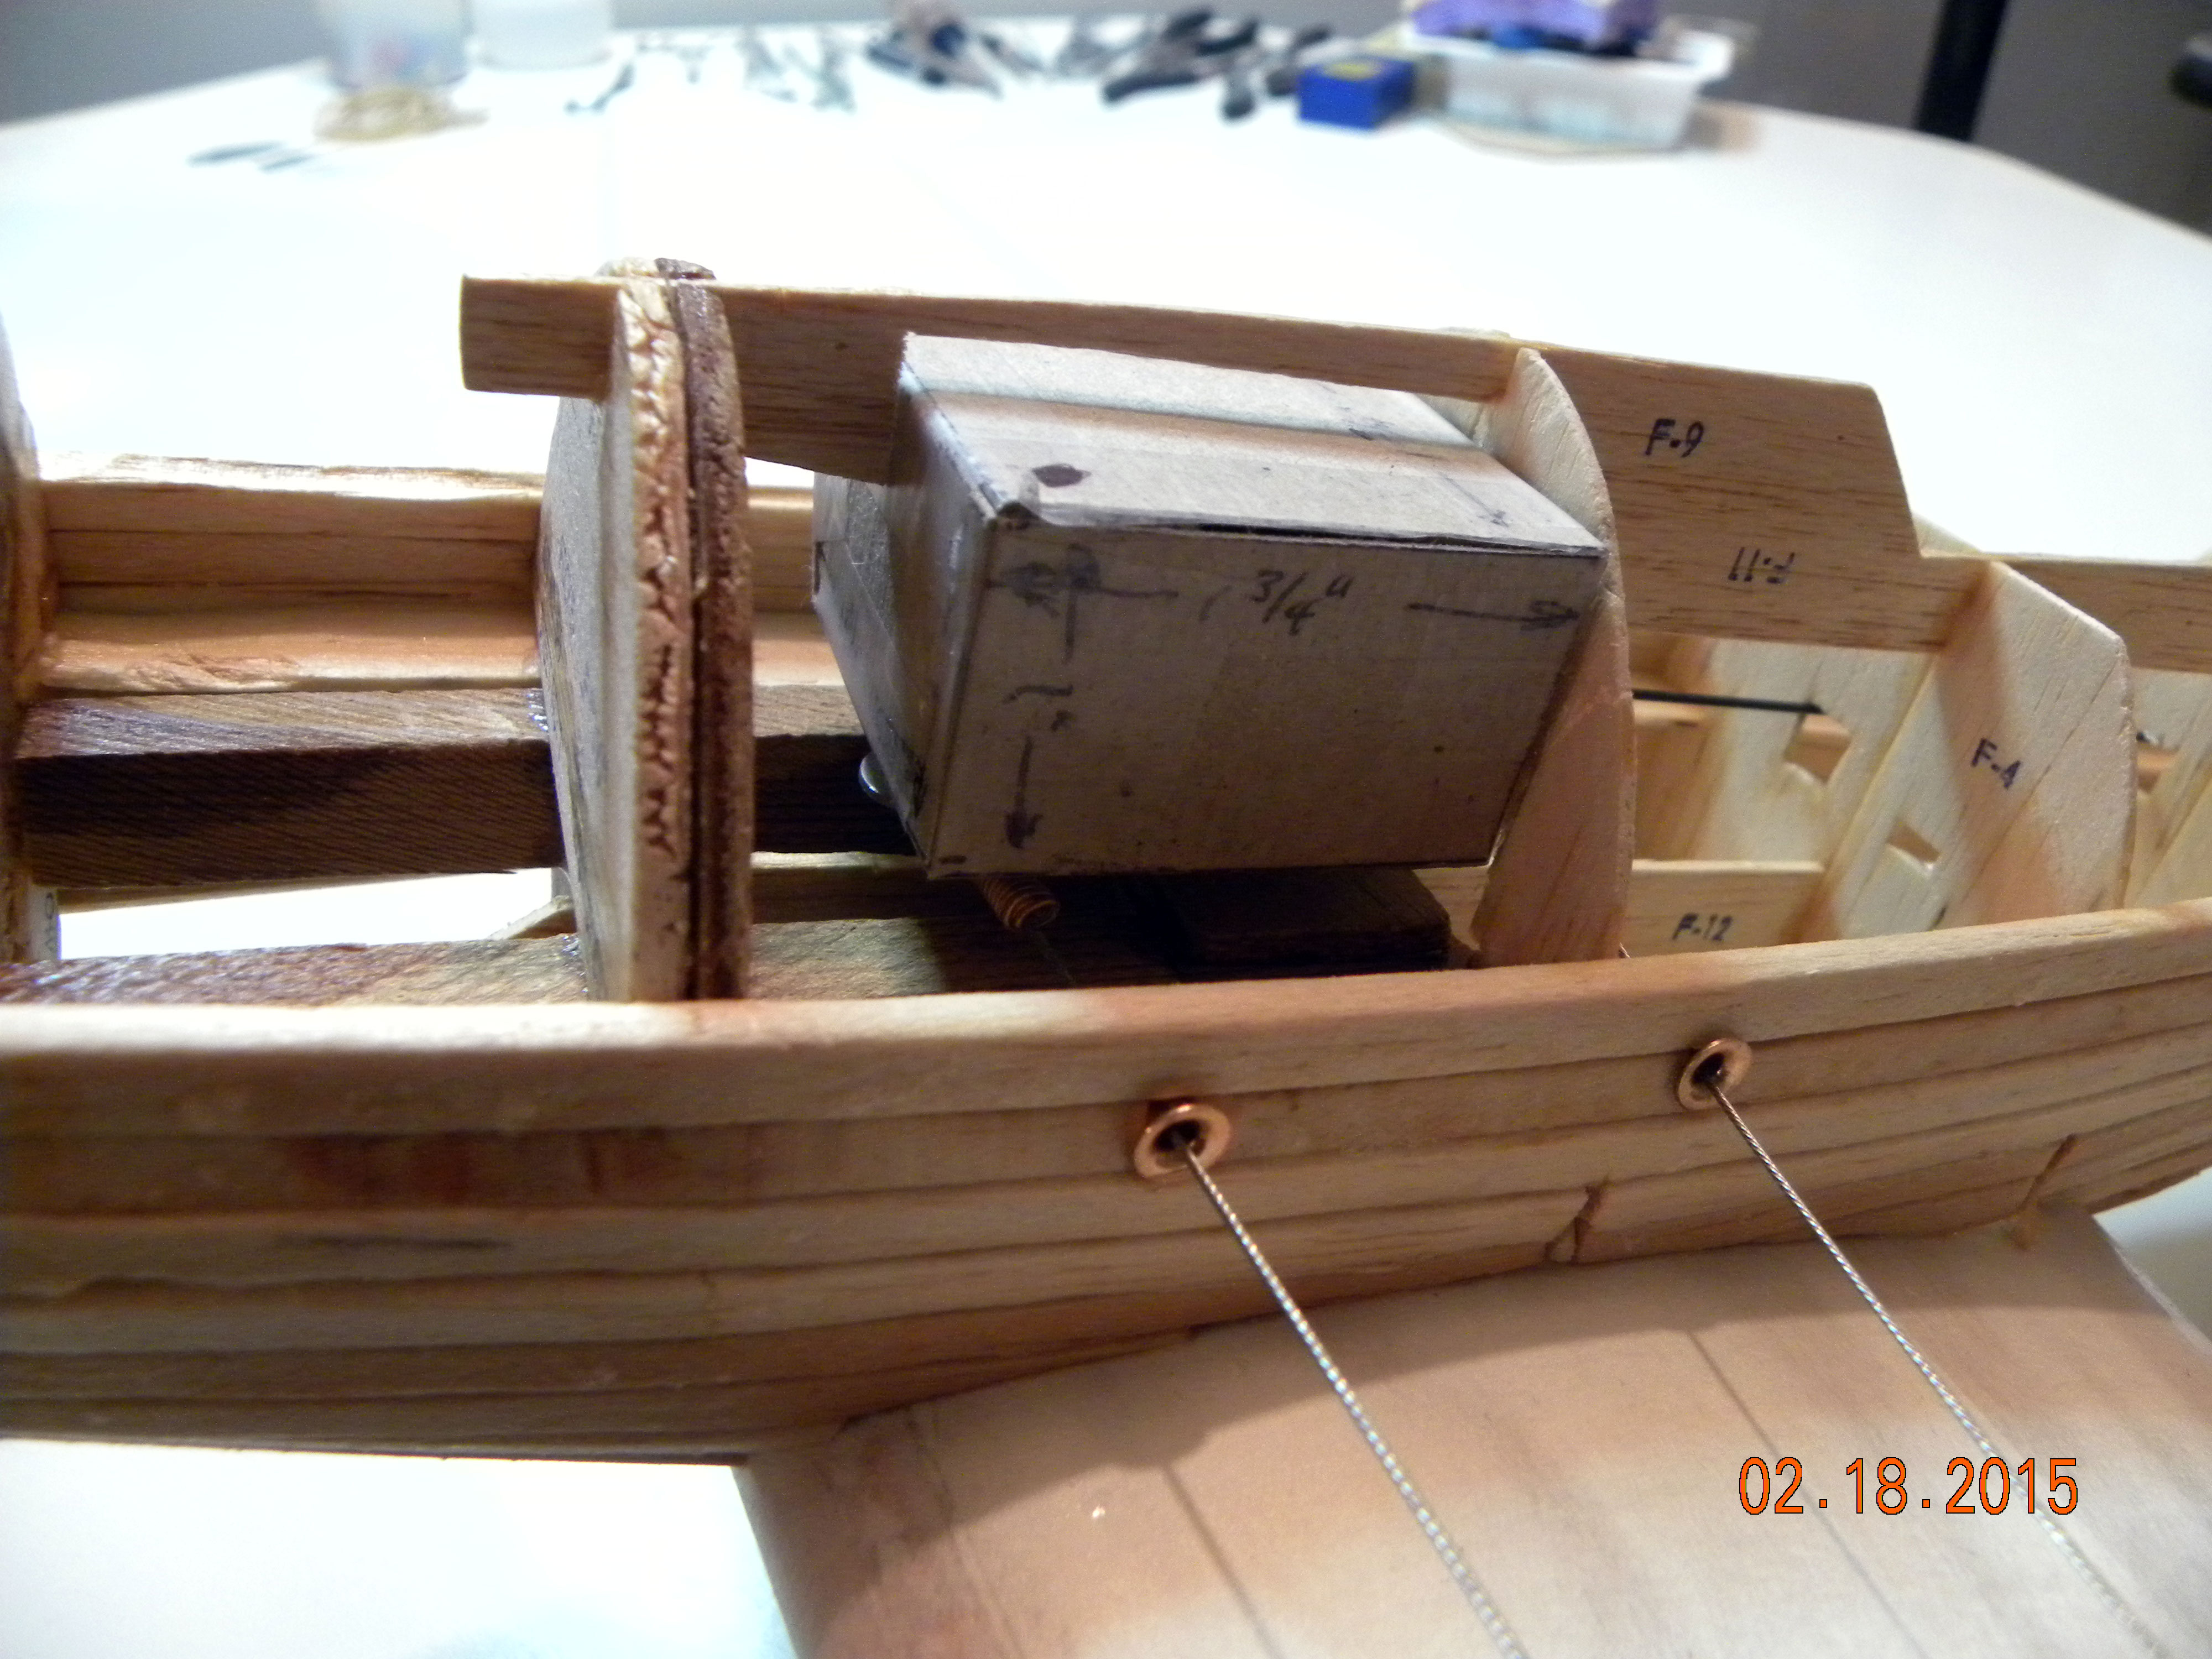
Fuel tank mock-up being test fit.
Fitting and installing the fuel tank ended up being a two night affair with results that are not very pretty but that work! There were several variables that all had to work together to get the tank installed properly. The small size of the fuselage compartment gave very little working room that was further compounded by the space taken up in the same compartment by the bell crank assembly. I ended up cutting away a majority of the top keel piece to make room. This structural integrity will be more than made up for once the planking strips are installed over this area.
The position of the three fuel tank vents was also an issue, in particular, the vent coming out the bottom of the tank for the fuel overflow tube. That vent ended up right in the middle of the forward bell crank lead out wire rendering the bell crank inoperable! I finally solved that by shifting the tank to the front of the compartment against the firewall. This meant that the fuel vent to the engine needed to extend thru the firewall and into the engine compartment itself.
Finally, I had to figure out where to route the fuel overflow tube. Typically, this would extend straight down to the underside of the plane. Doing so in this case would mean drilling thru the maple engine mounts and the entire wing itself. Not a very appealing option! I ended up routing the tube out the side of the fuselage just like the lead out wires. Once the fuselage is completed, I’ll attach the tube down the side of the fuselage to the underside of the plane.
Once the position for the tank was set, I epoxied it to the firewall but determined that a hard landing could possibly snap it off the firewall. So, using some scrap plywood from the kit, I epoxied support brackets to the top and two sides of the tank. At this point, I don’t think the tank is going anywhere!
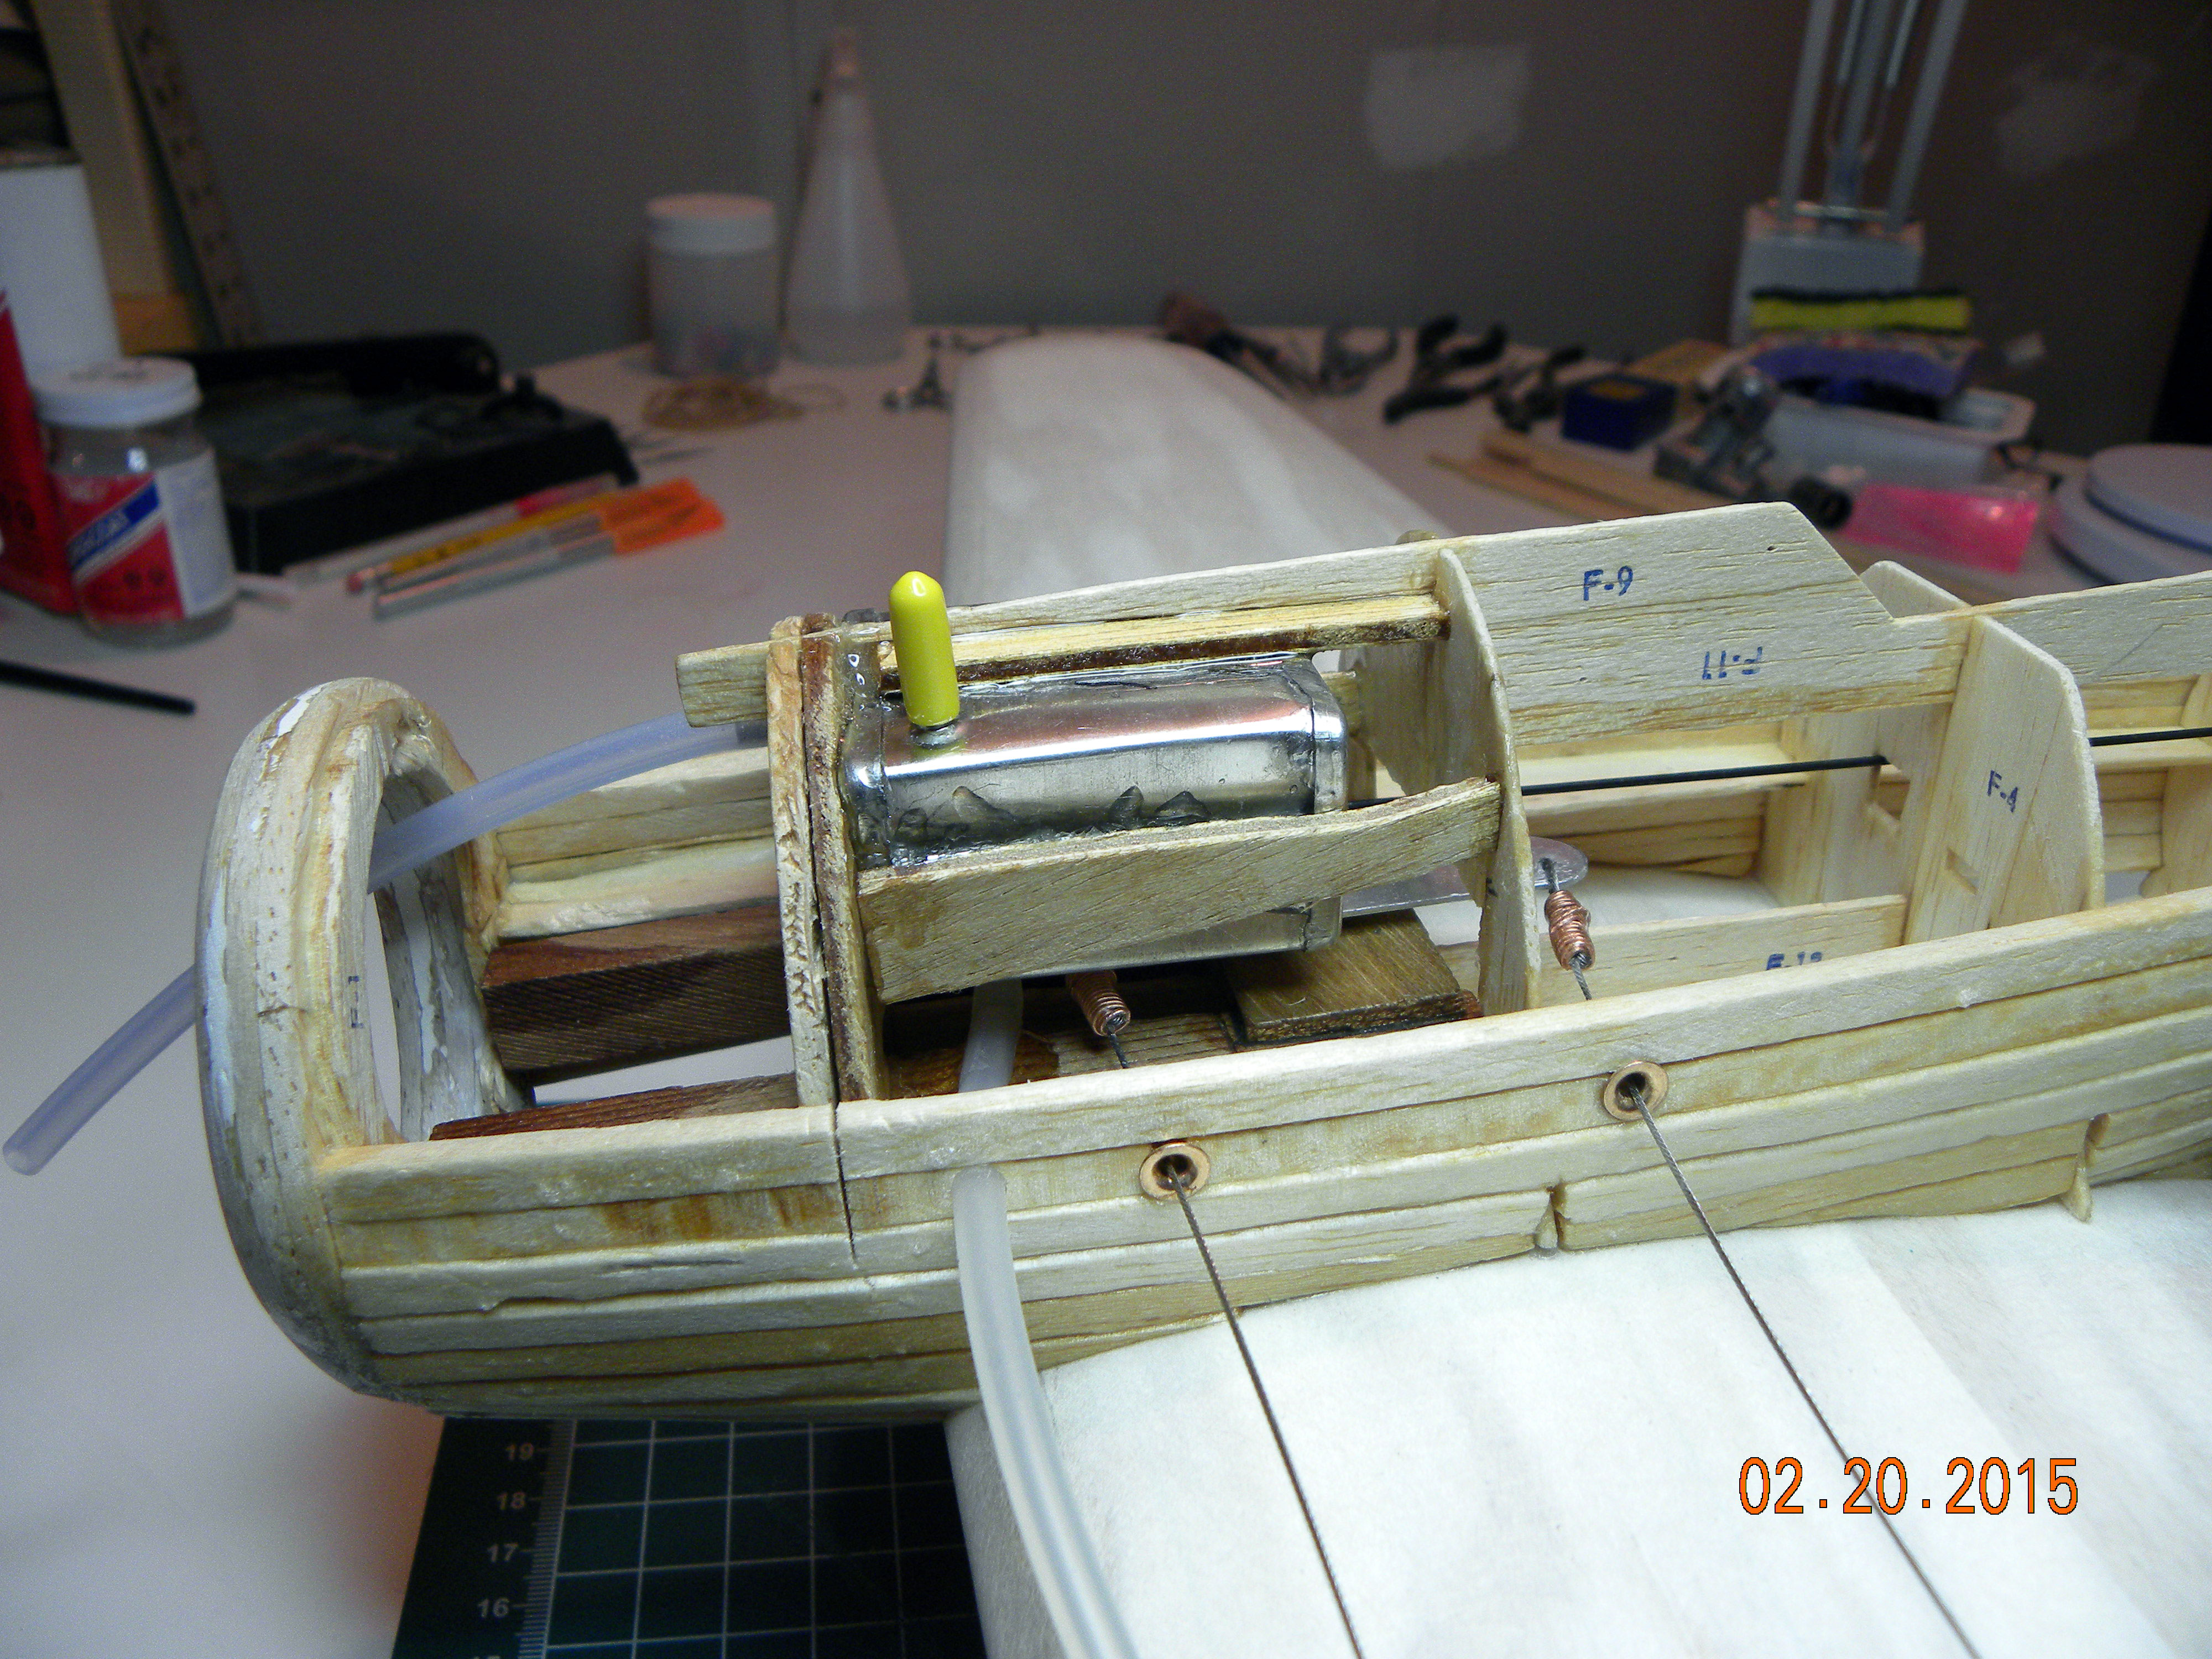
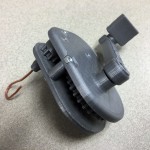
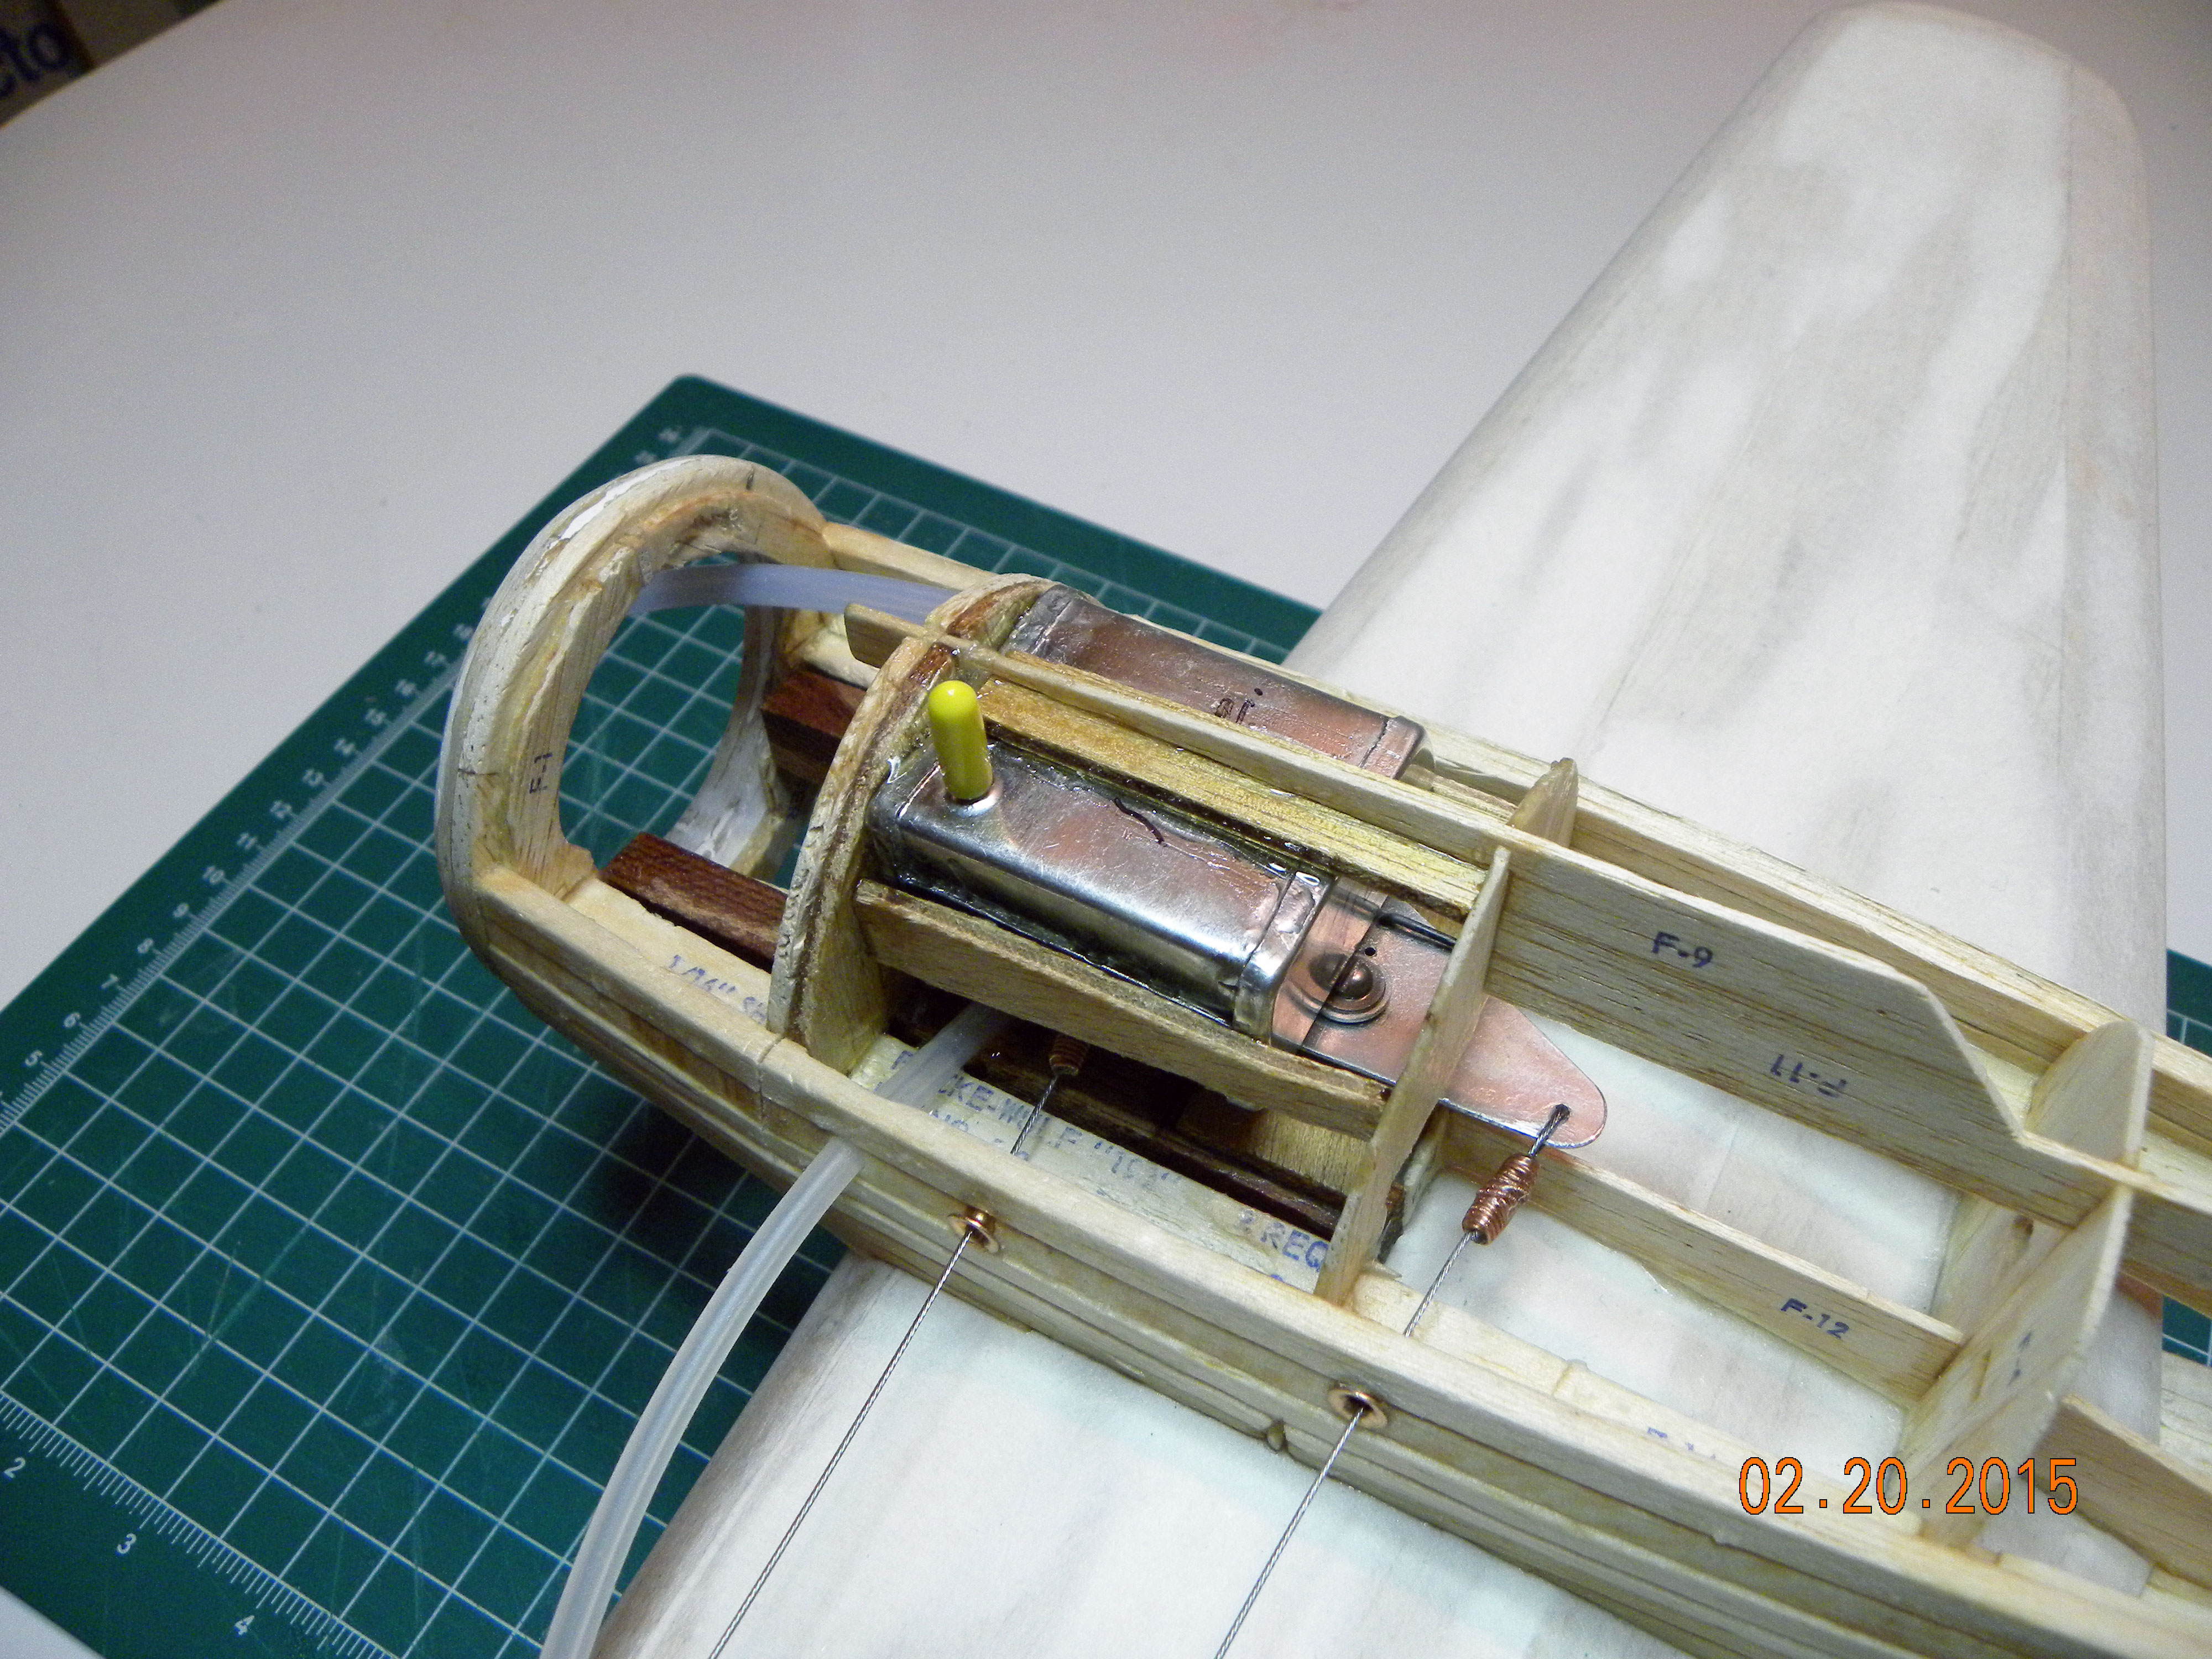
Fuel tank installed over bell crank assembly. Extra plywood scraps and lots of epoxy were used to hold fuel tank into position. Allowances needed to be made for fuel tank overflow vent and tube which can be seen exiting the fuselage to the left of the left lead out wire.
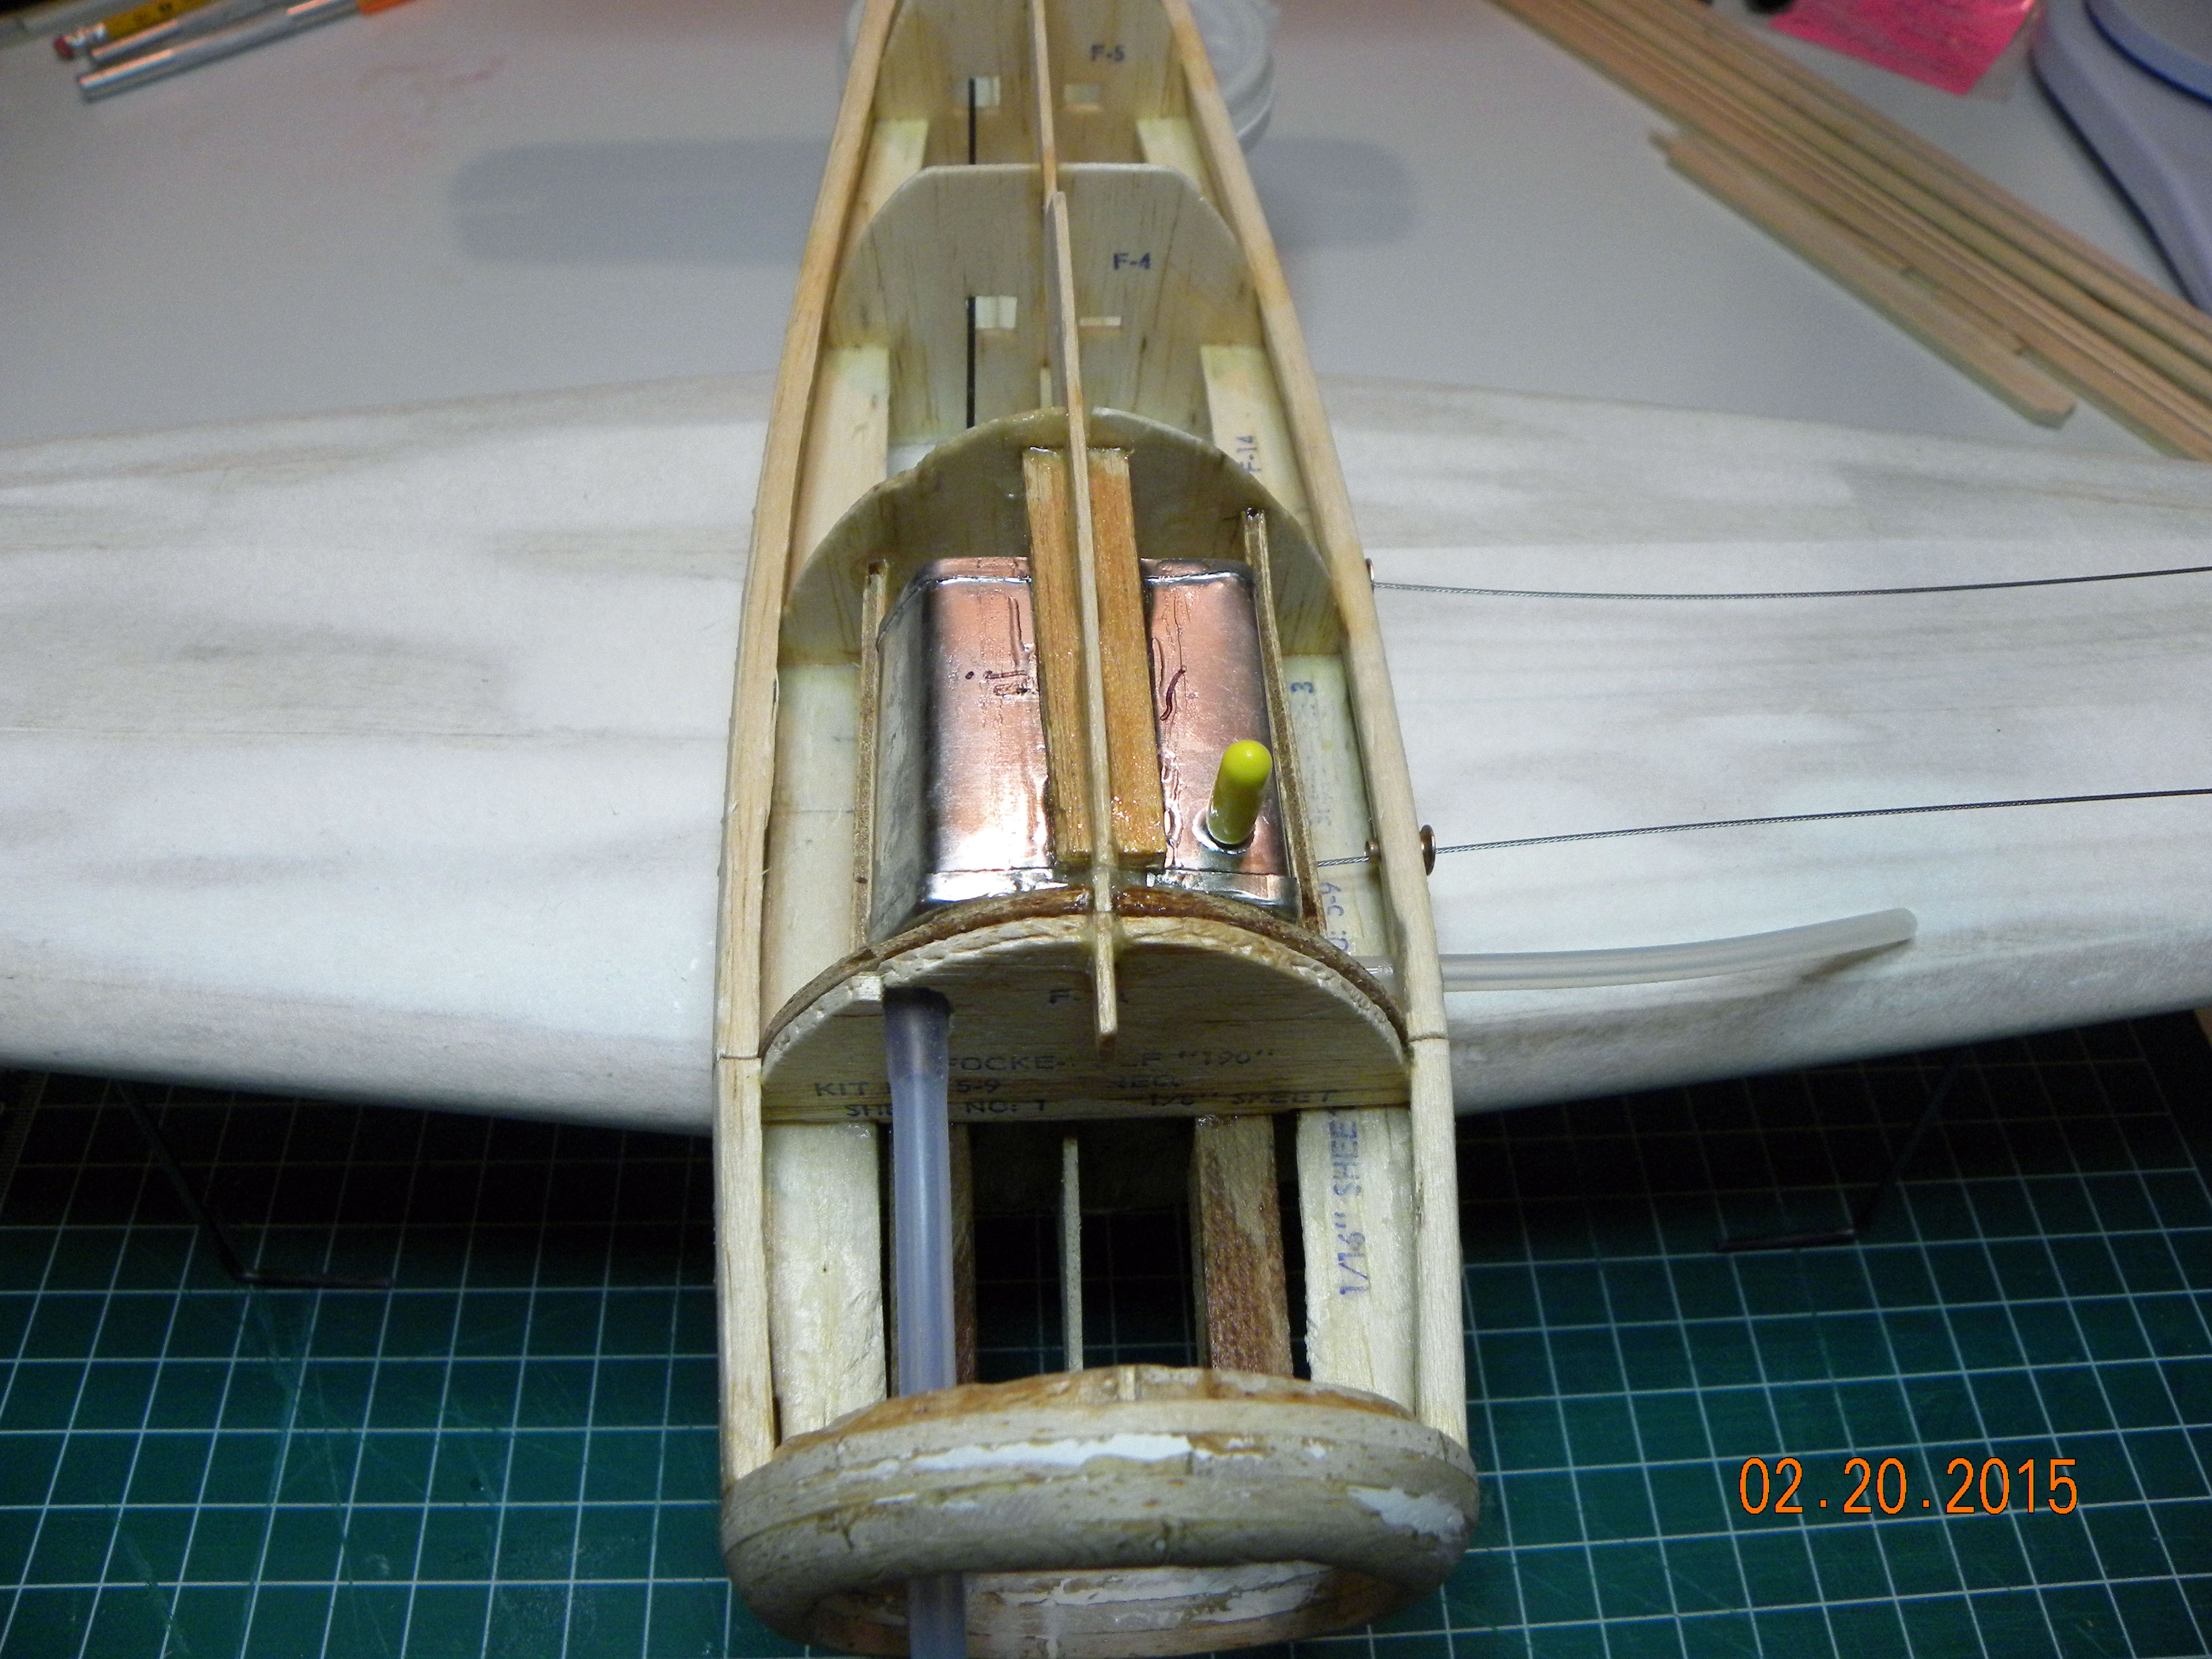
Top frontal view of fuel tank installation showing (yellow) fill tube, fuel tube to engine (left) and tank overflow vent tube (right).
A lot of time and effort was spent getting everything to fit and work correctly in this little fuselage compartment. And it looks like a mess but it all operates. Besides, once covered, no one will see any of it! With this work completed, I can now continue covering the rest of the fuselage with the planking strips. Here are before and after photos of the work done in this compartment.
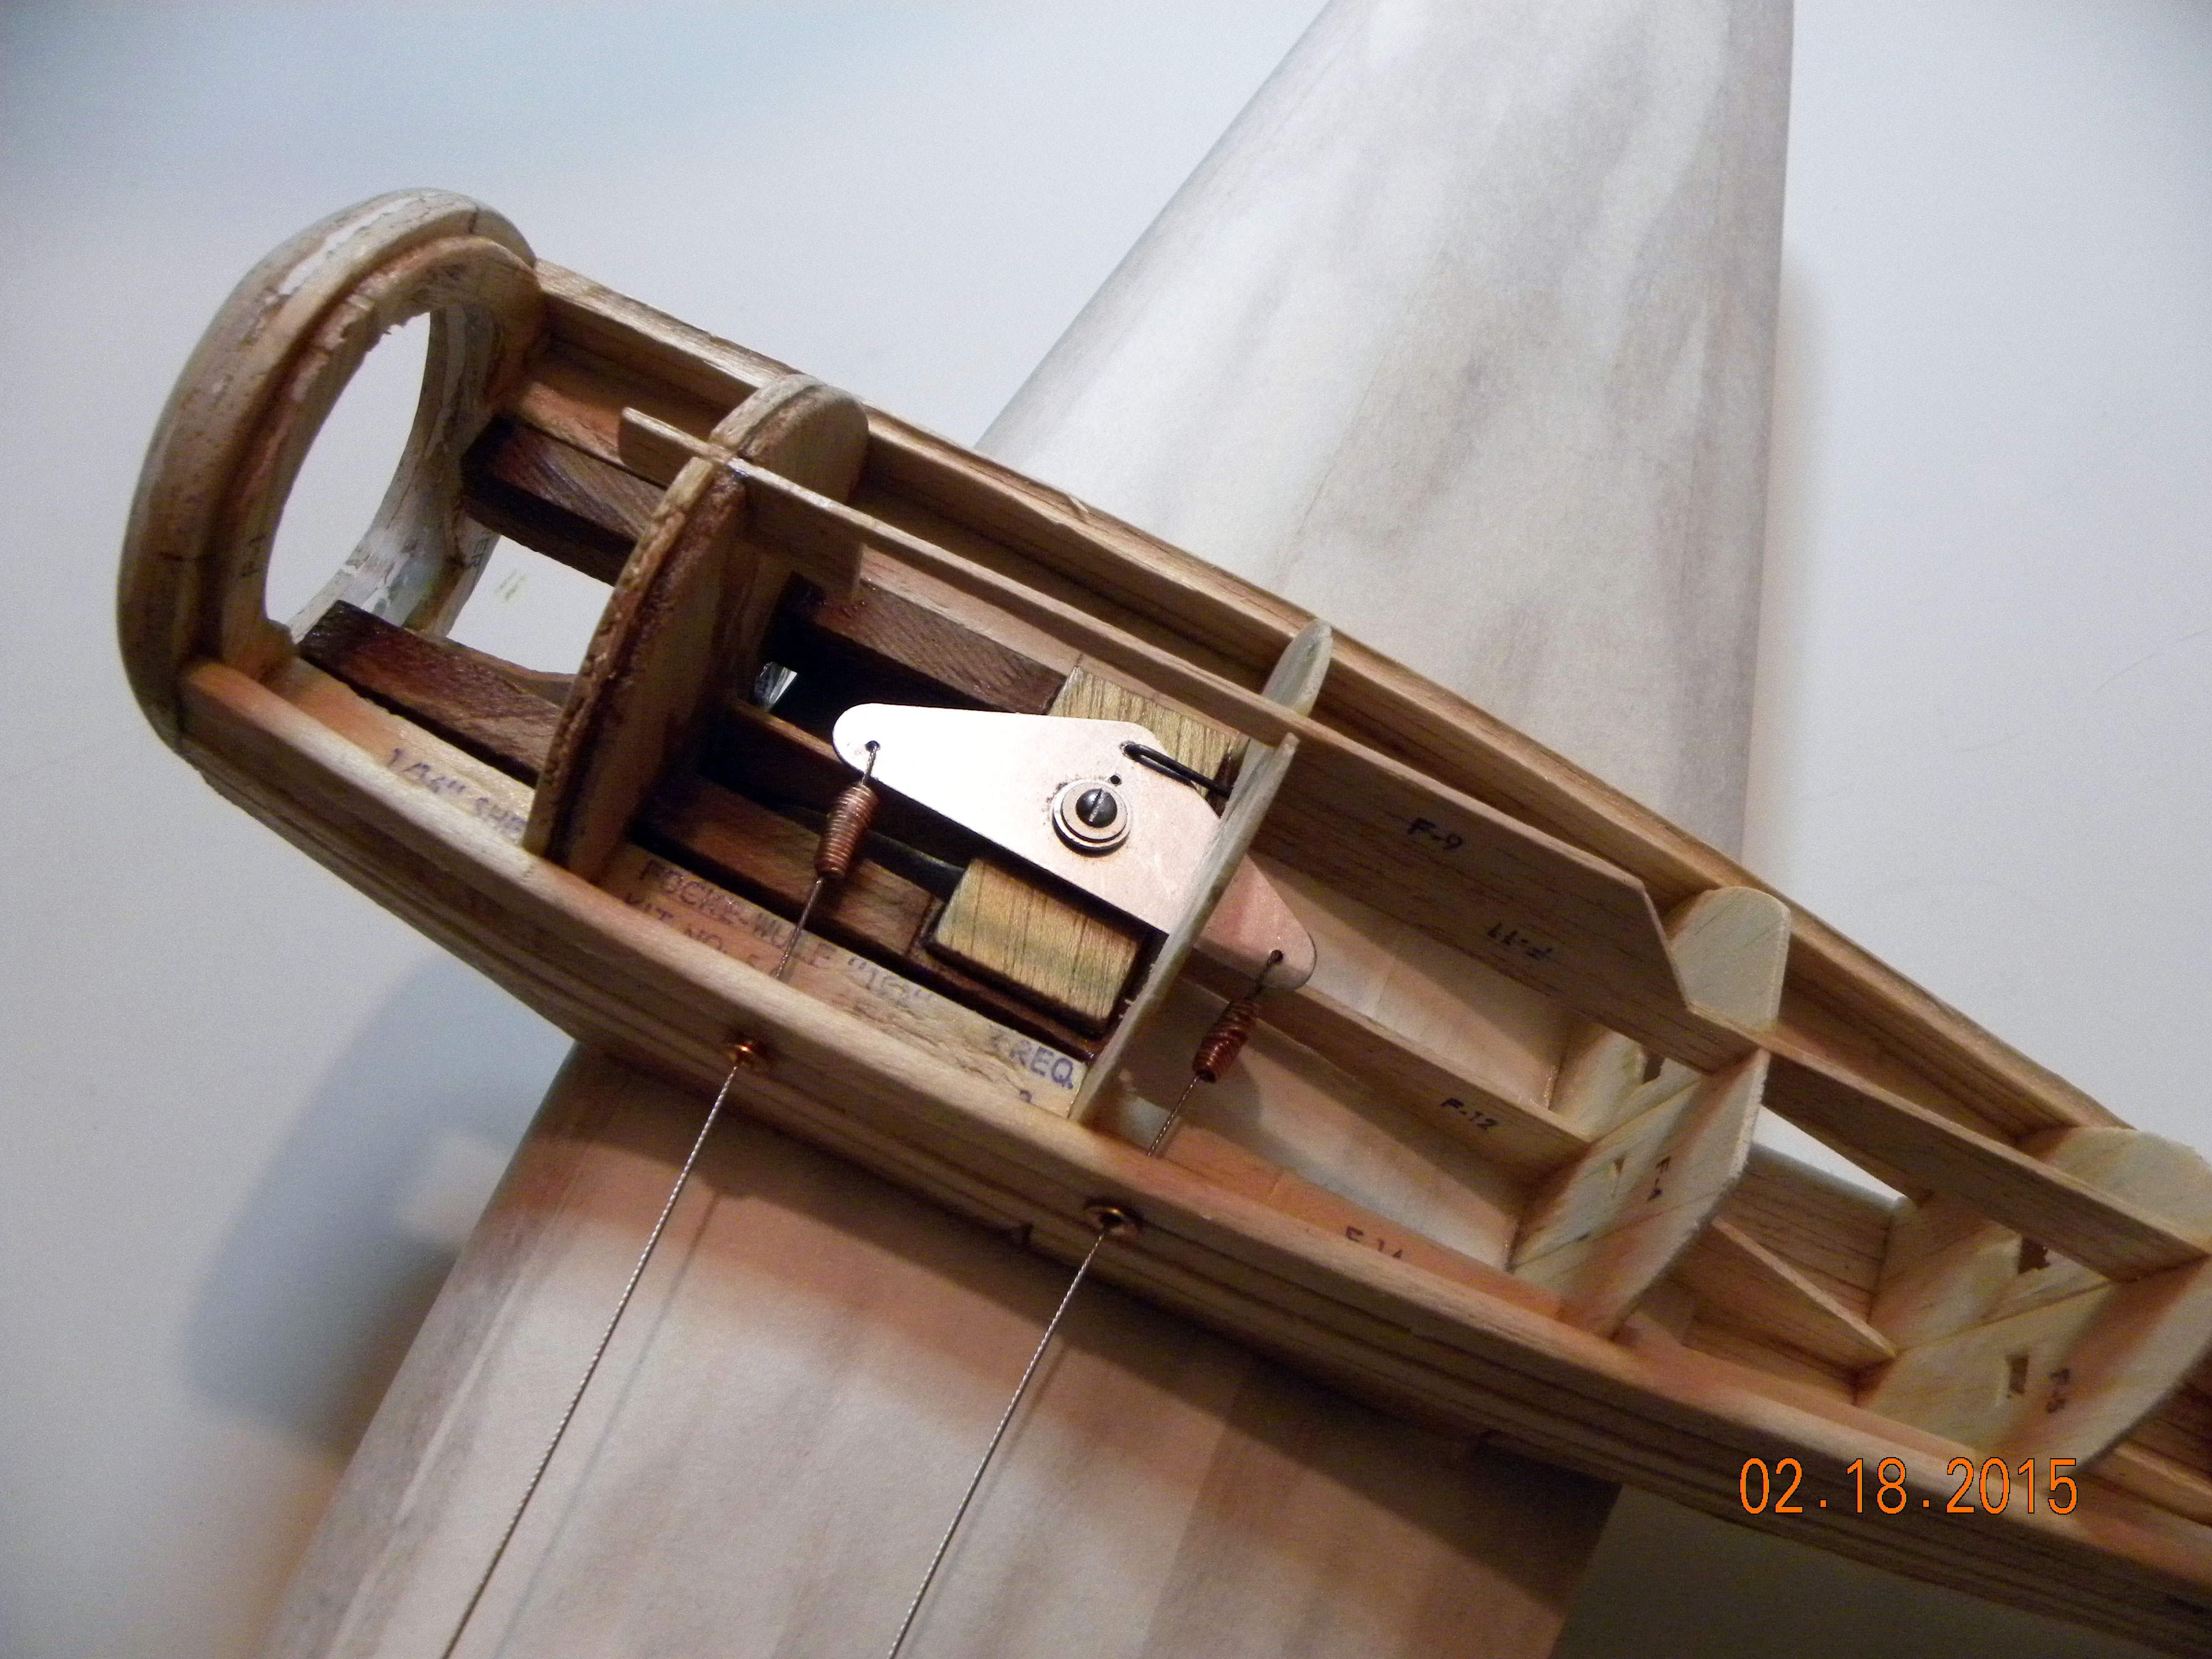
Bell crank assembly installed with lead out wires and elevator pushrod.
Completed bell crank assembly and fuel tank installation. There is a LOT going on in this little compartment!