Back in September, I published a post (Workshop Build – 01) outlining my plans for building my basement model building/woodworking workshop. Looking at the calendar back in September, I felt there was little doubt that I could have the bulk of the shop built out by the first of the year. Yea right! Like everything else in my model building life over the past couple years, my intentions greatly outweigh the reality of what I can actually accomplish in a given amount of time!
So here it is five months later and I am reporting on what is, at best, a barely completed workshop. But rather than wait until the workshop is fully completed, by which time most all my FlyBoyz audience will have gone to that happy hanger in the sky, I have decided to give this report of my progress such as it is.
Over the five months, my goal has evolved from completing the full workshop before getting back to any modeling, to getting a minimally functional workshop that will allow me to work on models and projects while continuing to build out the workshop at the same time. I think that I have now reached the point of that minimally functional workshop.
Before going on, I have to say that after my original post on this topic, I received some really great feedback on my plans. The feedback included a complete physics analysis on lighting lumens and how many lumens I should use in order to ensure proper lighting throughout the shop. This was much appreciated as good overall and specific task lighting was one of my highest criteria given that the basement workshop area started as nothing but a dark dungeon. In my mind, adding appropriate lighting even extends to the colors used in the workshop in order to reflect whatever lighting is made available. As a result, the walls are being painted satin white and the floor is being painted a light sky blue. All in an effort to increase lighting, get rid of the dungeon look and feel, and make the workshop a more inviting and enjoyable place to spend an evening working on models and projects.
I also received great input from a professional architect relating to access to the heating/ventilation ductwork, venting the paint booth, and the location of a door into the workshop. It was suggested that an entry door be placed at the other end of the workshop from my intended entryway. This would locate the entry door closer to the stairway that leads into the basement. Unfortunately, while I had also originally considered that doorway location, it won’t work. There is a steel support beam that runs the length of the house and it is located right where the door would need to go. At 68 and 1/2” off the floor, the beam in that location is too low for a workable doorway. There are also several ventilation ducts in that area that also interfere with headroom and a door. Even though that idea won’t work, I appreciated it and I appreciate any and all additional comments as this build progresses!
One thing that required a lot of time before I could do any building on this workshop was the tear out of 38 year’s worth of obsolete technology wiring (alarm systems, phone, cable, etc.) that is no longer used; tear out of previous electrical wiring that was ill-conceived and implemented; and tear out of a thousand nails, hooks, and other metal and wood devices that were used to support defunct shelving and other storage contraptions. Basically, the entire area was a rat’s nest of junk that needed to be removed before a proper building job could be started. I still have more tear out to do, but the areas that I show in this post were reduced to a bare slate from which I could then build upon. None of that work is visible in the photos, but it does represent a good chunk of the work to date.
I have been able to re-purpose a few items from the tear out in an effort to keep the costs of this build down. The electrical wall outlets and wiring I removed were reused to add outlets at workbench height along two walls. A 4’ x 6’ sheet of plywood from a stub wall I removed was able to be reused in what will be the wood storage area. Gorilla shelving and a workbench from our former house have been put back into use once again, as have several old storage shelves and an old computer desk that will make a great model building desk. And, I even used up some old paint that I had left over from our previous house.
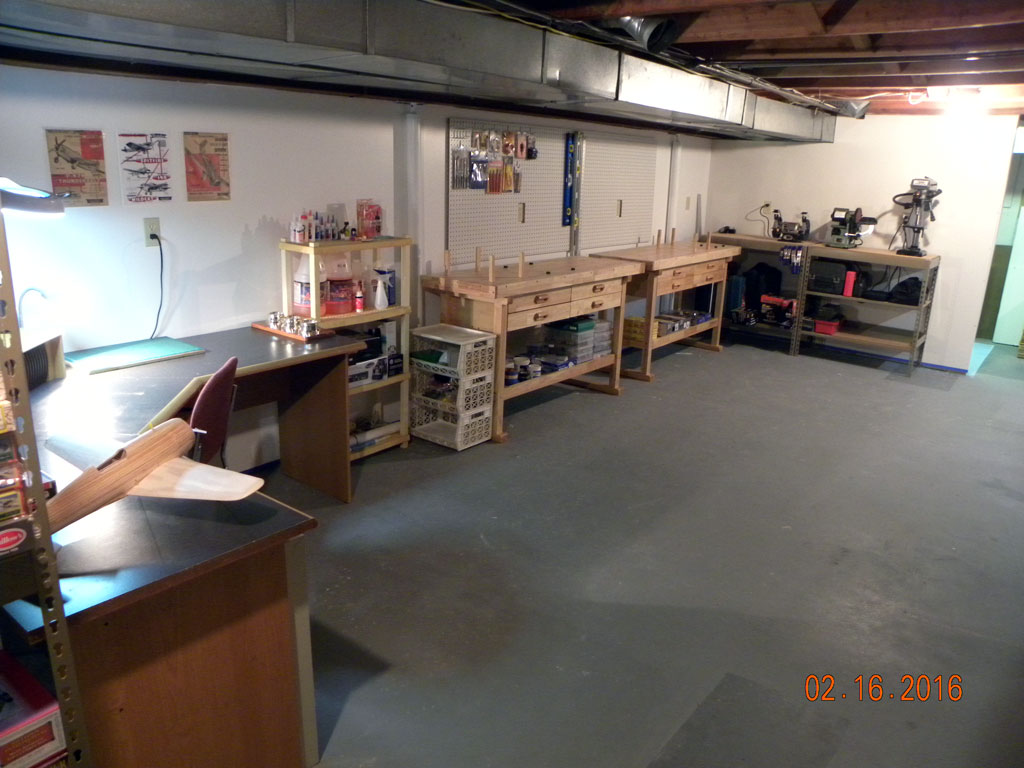
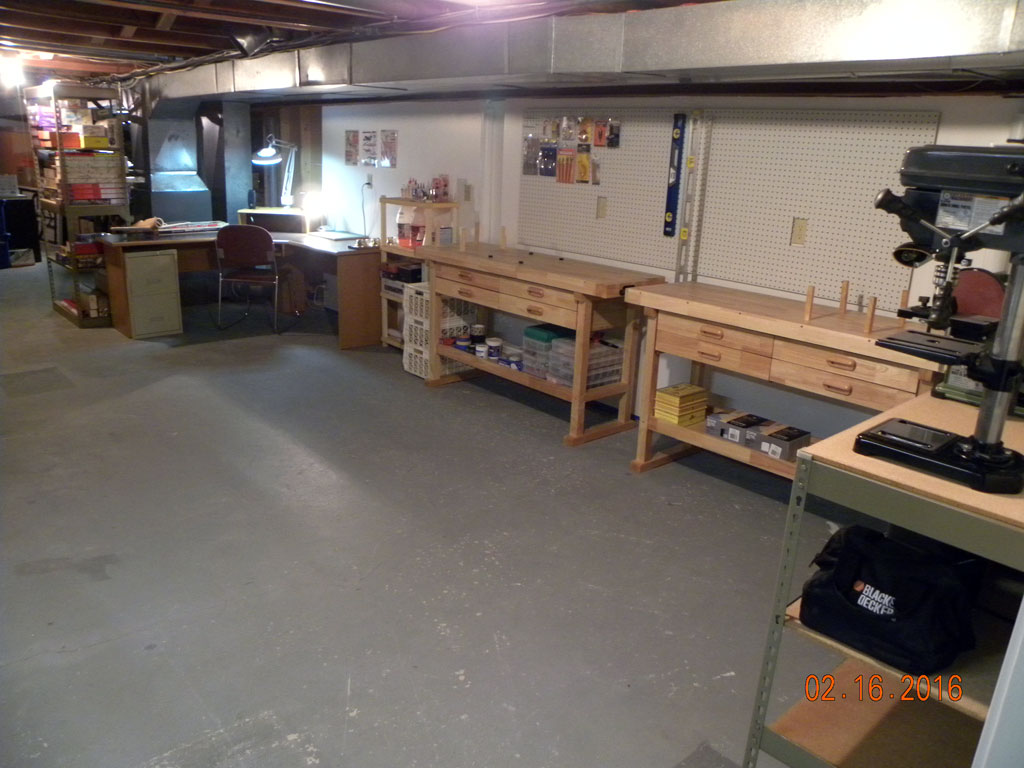
But I have not been afraid to buy new when it makes sense. I purchased three new workbenches from Harbor Freight. Two of them are visible in the below photos. I am very pleased with these benches. They were affordable and they are solid, very functional, and offer good storage…including felt lined drawers! I have also purchased a few small shop tools (grinder, drill press, belt sander) that are visible on the Gorilla workbench in the photos.
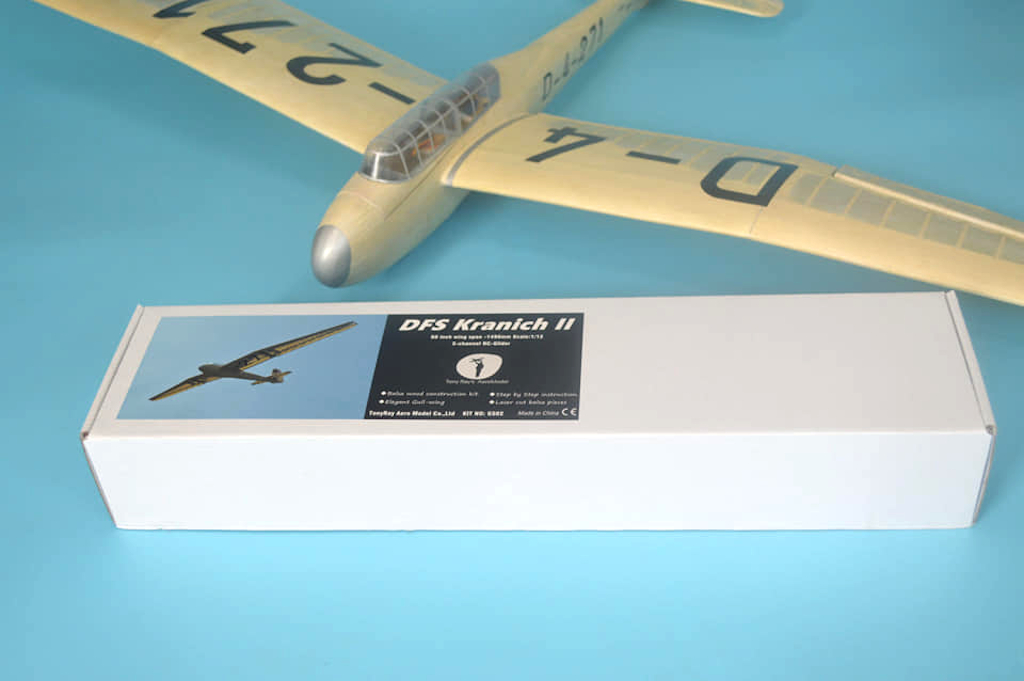
The thing that seems to have excited me the most so far is getting my plane models out of moving boxes and stored on a set of shelves. They are very visible now and are a constant reminder and motivator as to what this workshop build is all about.
What I am presenting here are a few before and after photos that show the progress that has been made to date.
(Click on photos to zoom in on them)
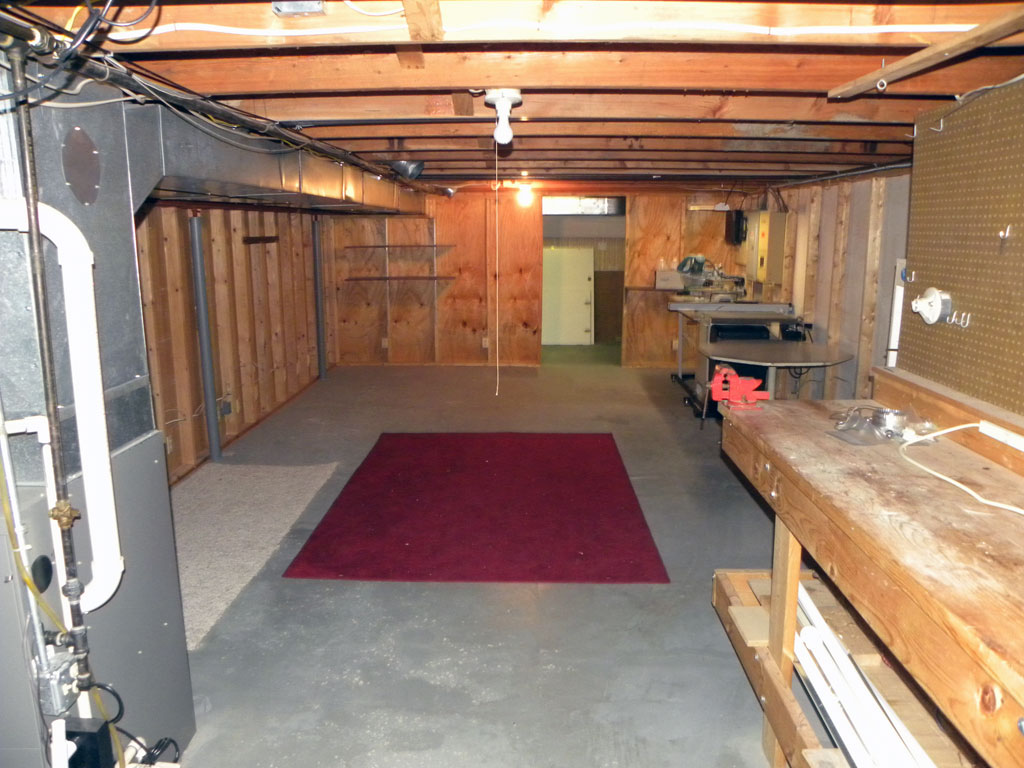
View looking ‘into’ the future workshop.

Completed walls with new bench top height electrical outlets, pegboard, and work benches and storage shelves.
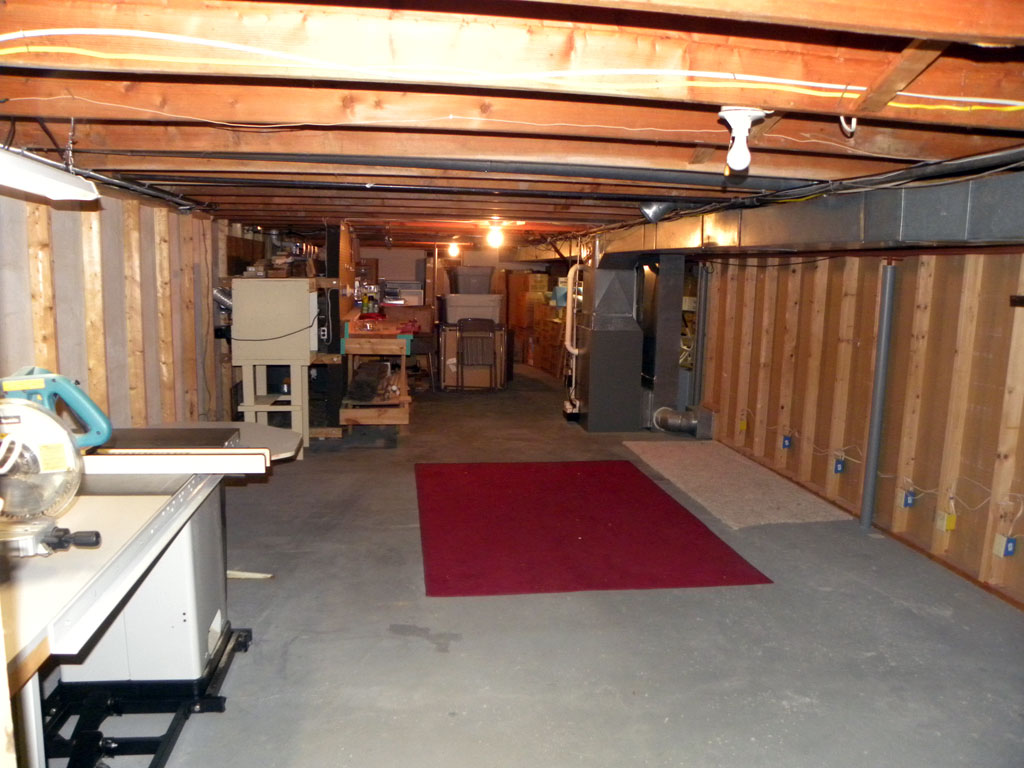
View looking across future workshop towards future HO train layout area.
Looking from the wood storage area towards the center of the basement.
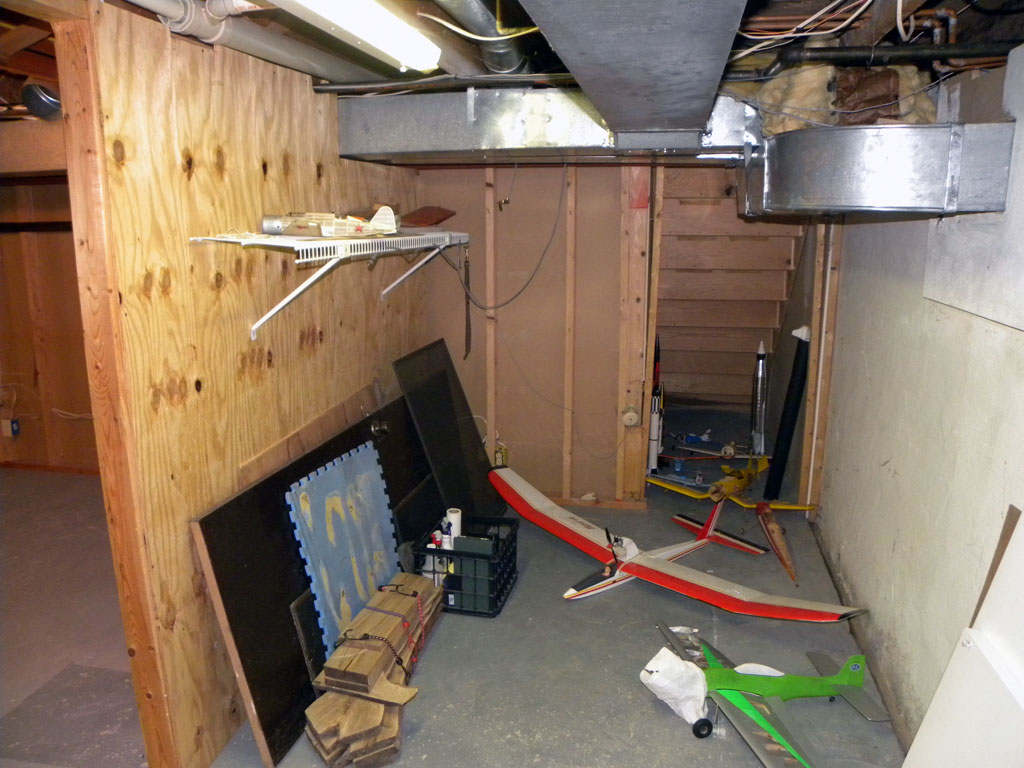
Future wood storage area.
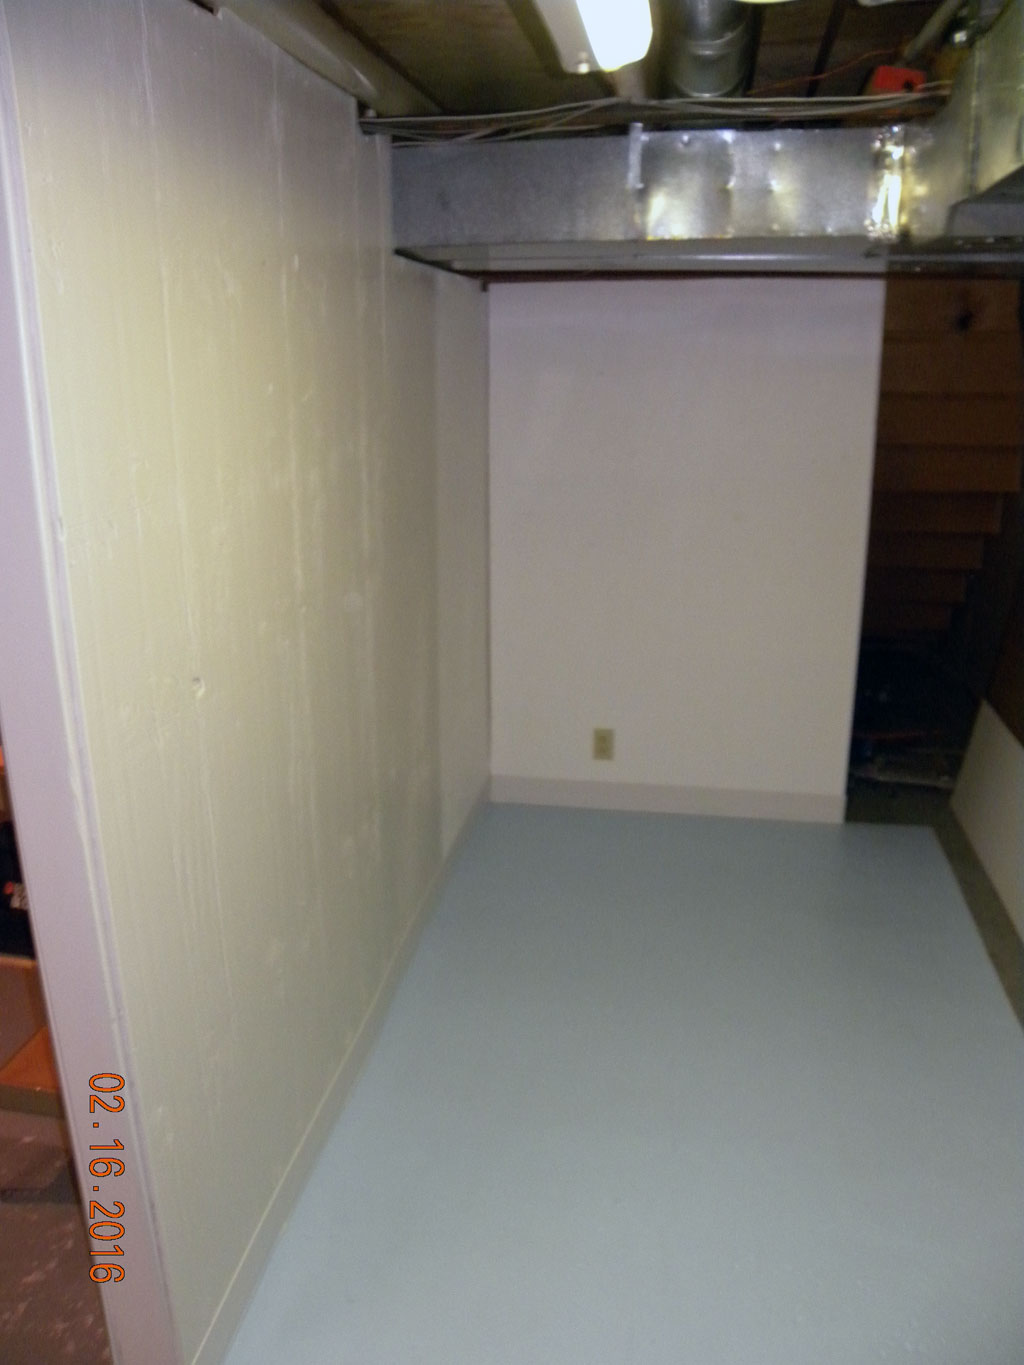
Wood storage area ready for relocation of the wood storage rack. The back wall studs were covered with repurposed plywood (this is where the location of a shop entry door was proposed). The walls are painted with left-over paint…thus the two different colors. The floor is painted the color that the entire shop floor will be painted with.
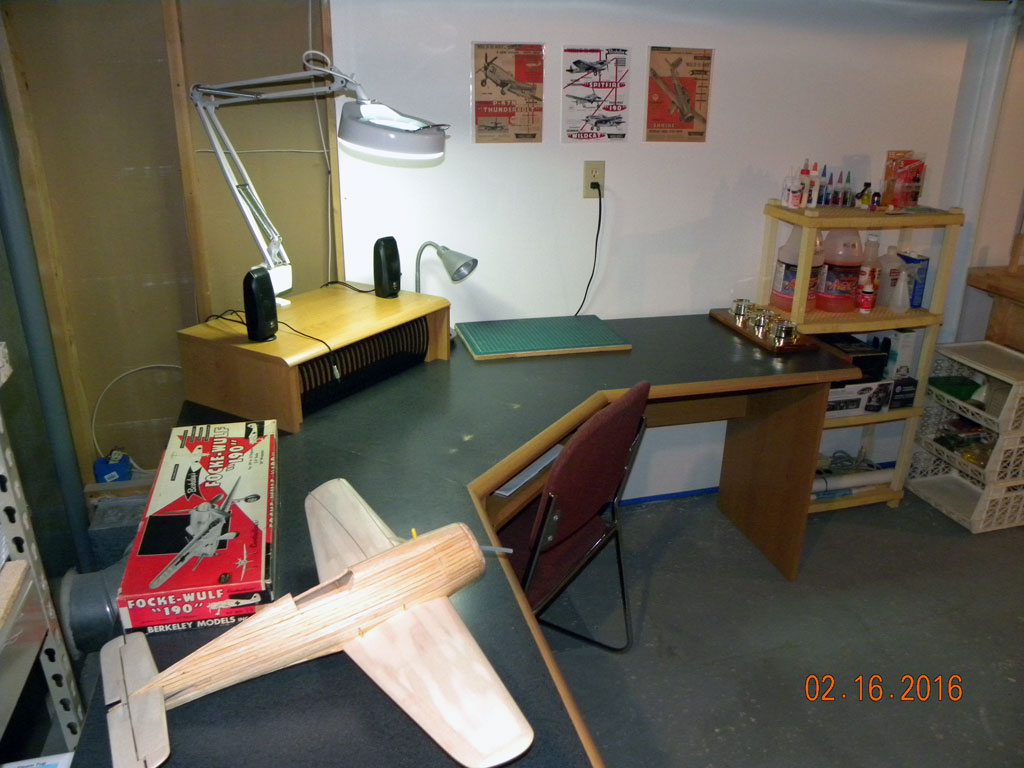
Old computer desk repurposed for model building. The two ‘wings’ on the desk will allow for the simultaneous building of two kits! And the center shelf (with small speakers and magnifying light) allow me to connect and play my iPad while building!
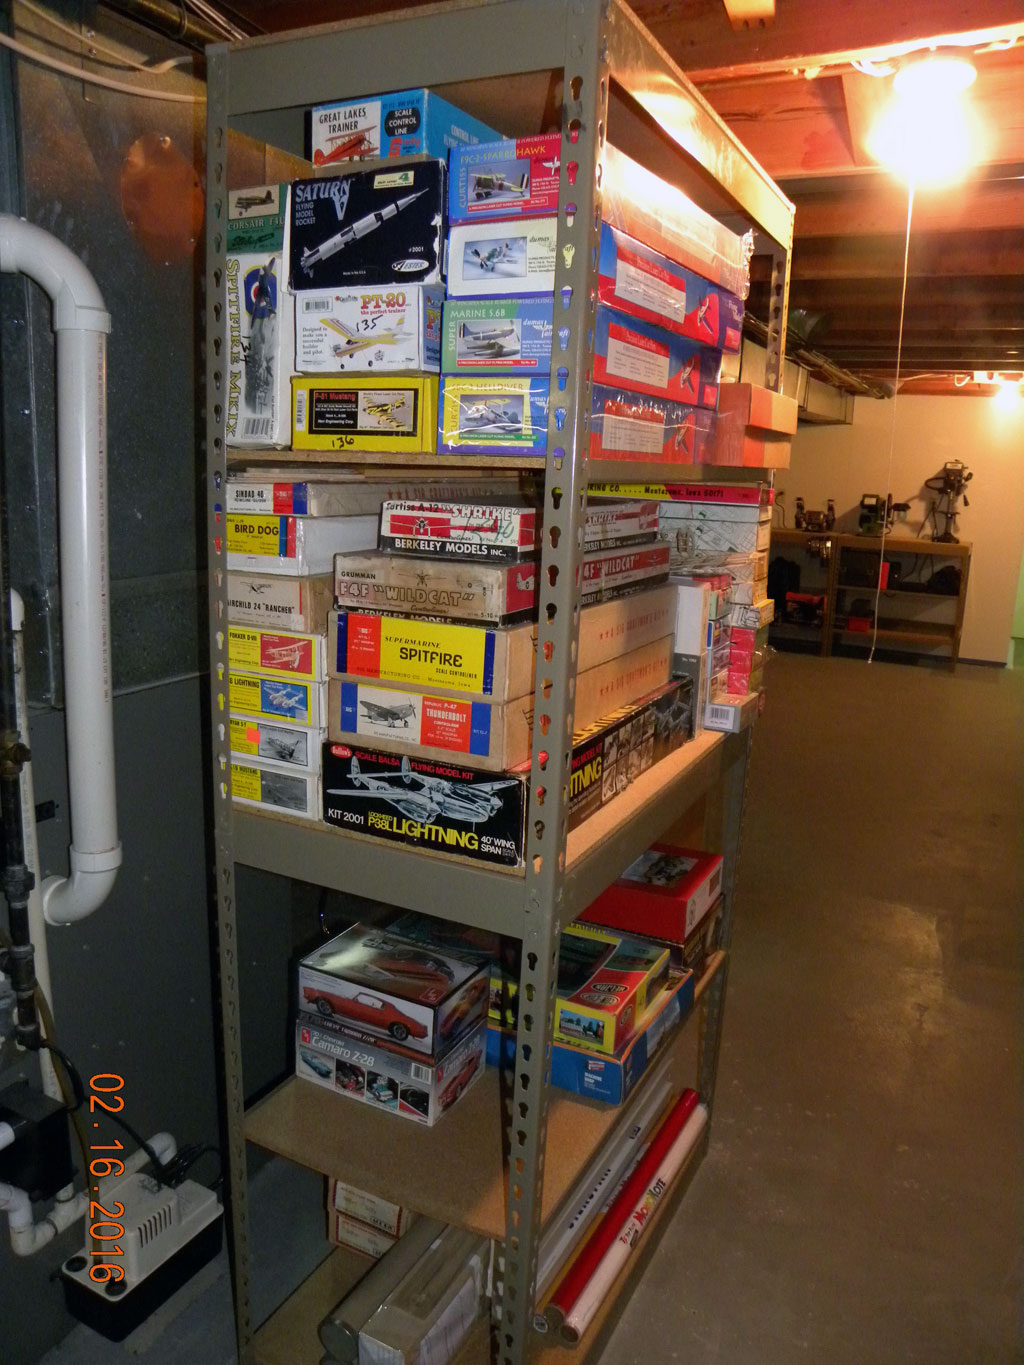
Gorilla Rack shelves with model kits to be built…my motivation for building this workshop!
My next tasks are to relocate the wood storage rack to the new wood storage area and then turn my focus to the long wall opposite the one shown completed in this post. Hopefully, it won’t be another five months before I can show photos of that progress! In the meantime, also look for me to start getting back to some model building!!
P.S. Before anyone comments: Despite appearances in the photos, the model kit storage shelves and model building desk are all located MORE than 12″ away from the furnace behind them!