One of the main drivers behind my re-entering the model airplane hobby almost two years ago was a reference by an old aviation buddy to a SIG P-47 control line plane that I had built back in the early 1970’s. That reference created a desire on my part to seek out a copy of that kit and rebuild the great model plane of my youth. I also sought out a companion SIG control line kit of a Supermarine Spitfire that I had wanted to purchase and build back then but never did. That Spitfire was a rare kit back in the ’70’s and even more so today. I dubbed it my ‘Holy Grail’ of kits! A year long search ensued during which I was able to secure copies of both SIG kits in excellent condition.
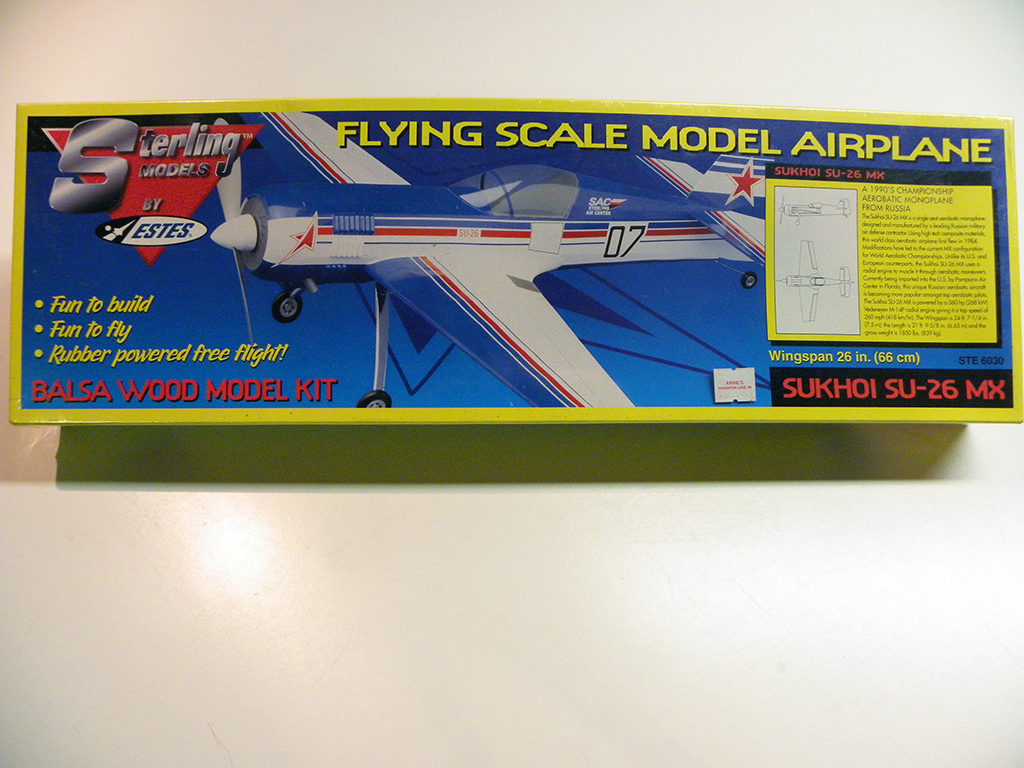
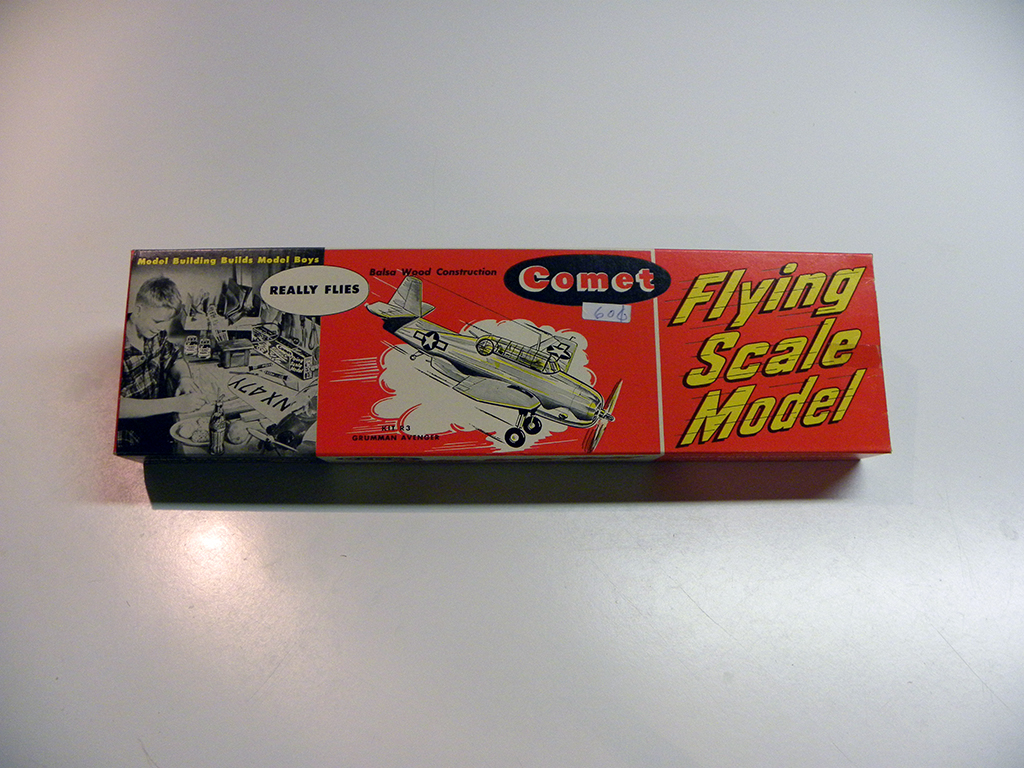
Along the way, I learned that both of these kits had originally been manufactured by Berkeley Models back in the late 1950’s and were two kits in a series of control line WWII warbird planes that Berkeley manufactured and sold. Berkeley went bankrupt a couple years later and the line of kits were first taken over by Fox before being sold to SIG. SIG eventually stopped manufacture and sales of these kits in the mid-1970’s.
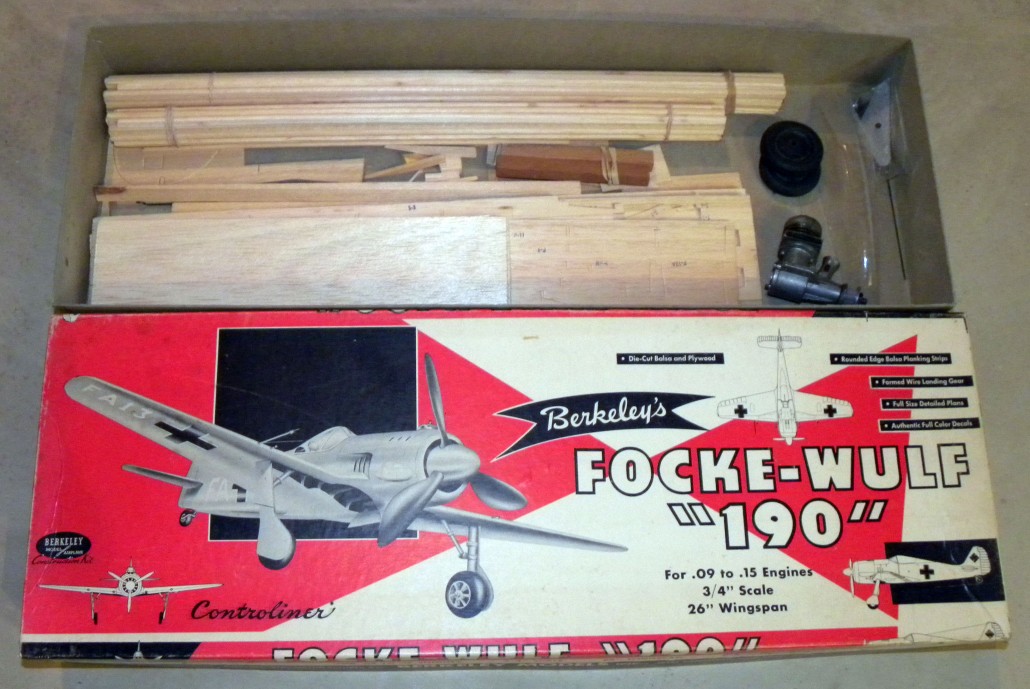
As I was seeking the P-47 and Spitfire, I also came to learn of the other planes in this series and I have managed to secure original Berkeley kits of three other planes, the Focke Wulf 190 (FW-190), the Curtiss A-12 Shrike, and the Grumman F4F Wildcat. With their scale appearance, size, and the nature of the building process needed to put them together, these kits have come to epitomize for me everything that I enjoyed about the control line hobby back when I first started.
I decided to build the FW-190 first so that I could refresh and hone my building skills before moving up to the P-47 and Spitfire. While the kits haven’t changed since they were first published, the tools and techniques available to build them, not to mention my building skills and experience, have evolved over the years. So, I wanted to work out the best building techniques on a plane that wasn’t as ‘near and dear’ to me before ultimately moving on to the ‘Holy Grail’ and the P-47. This FW-190 kit was copyrighted 1959…definitely a ‘vintage’ kit (I was 5 at the time)! Here are the plans and instructions:

Full size plan sheet and building instructions.
(Click on photos to zoom in on them)
About this time last year, I made an initial start on building the wing of the FW-190 but then I put it aside to work on several other planes that I have talked about here in FlyBoyz. Last month, after finishing the Junior Commercial, I finally turned my attention back to the FW-190. And since then I have spent a LOT of time working on that wing! While I have also made substantial progress on the fuselage, this first built report focuses solely on my wing efforts to date.
One of the things I had heard about Berkeley that apparently contributed to their demise was the poor quality of the balsa supplied with their kits during their final years of production. While I have no other kits from the late 1950’s to compare to, I have found that assessment of their balsa to be accurate when compared to the balsa I have worked with in several more modern kits. And while the die-cutting of the balsa has been good by comparable standards, I have found that the ‘fit and finish’ of the various balsa components has made for a lot of re-work and extra work during the assembly and finishing process. I’m not sure how many ‘modern’ builders, who weren’t approaching this kit build from an emotional standpoint, would be willing to invest all the extra effort needed to bring this build up to respectable standards.
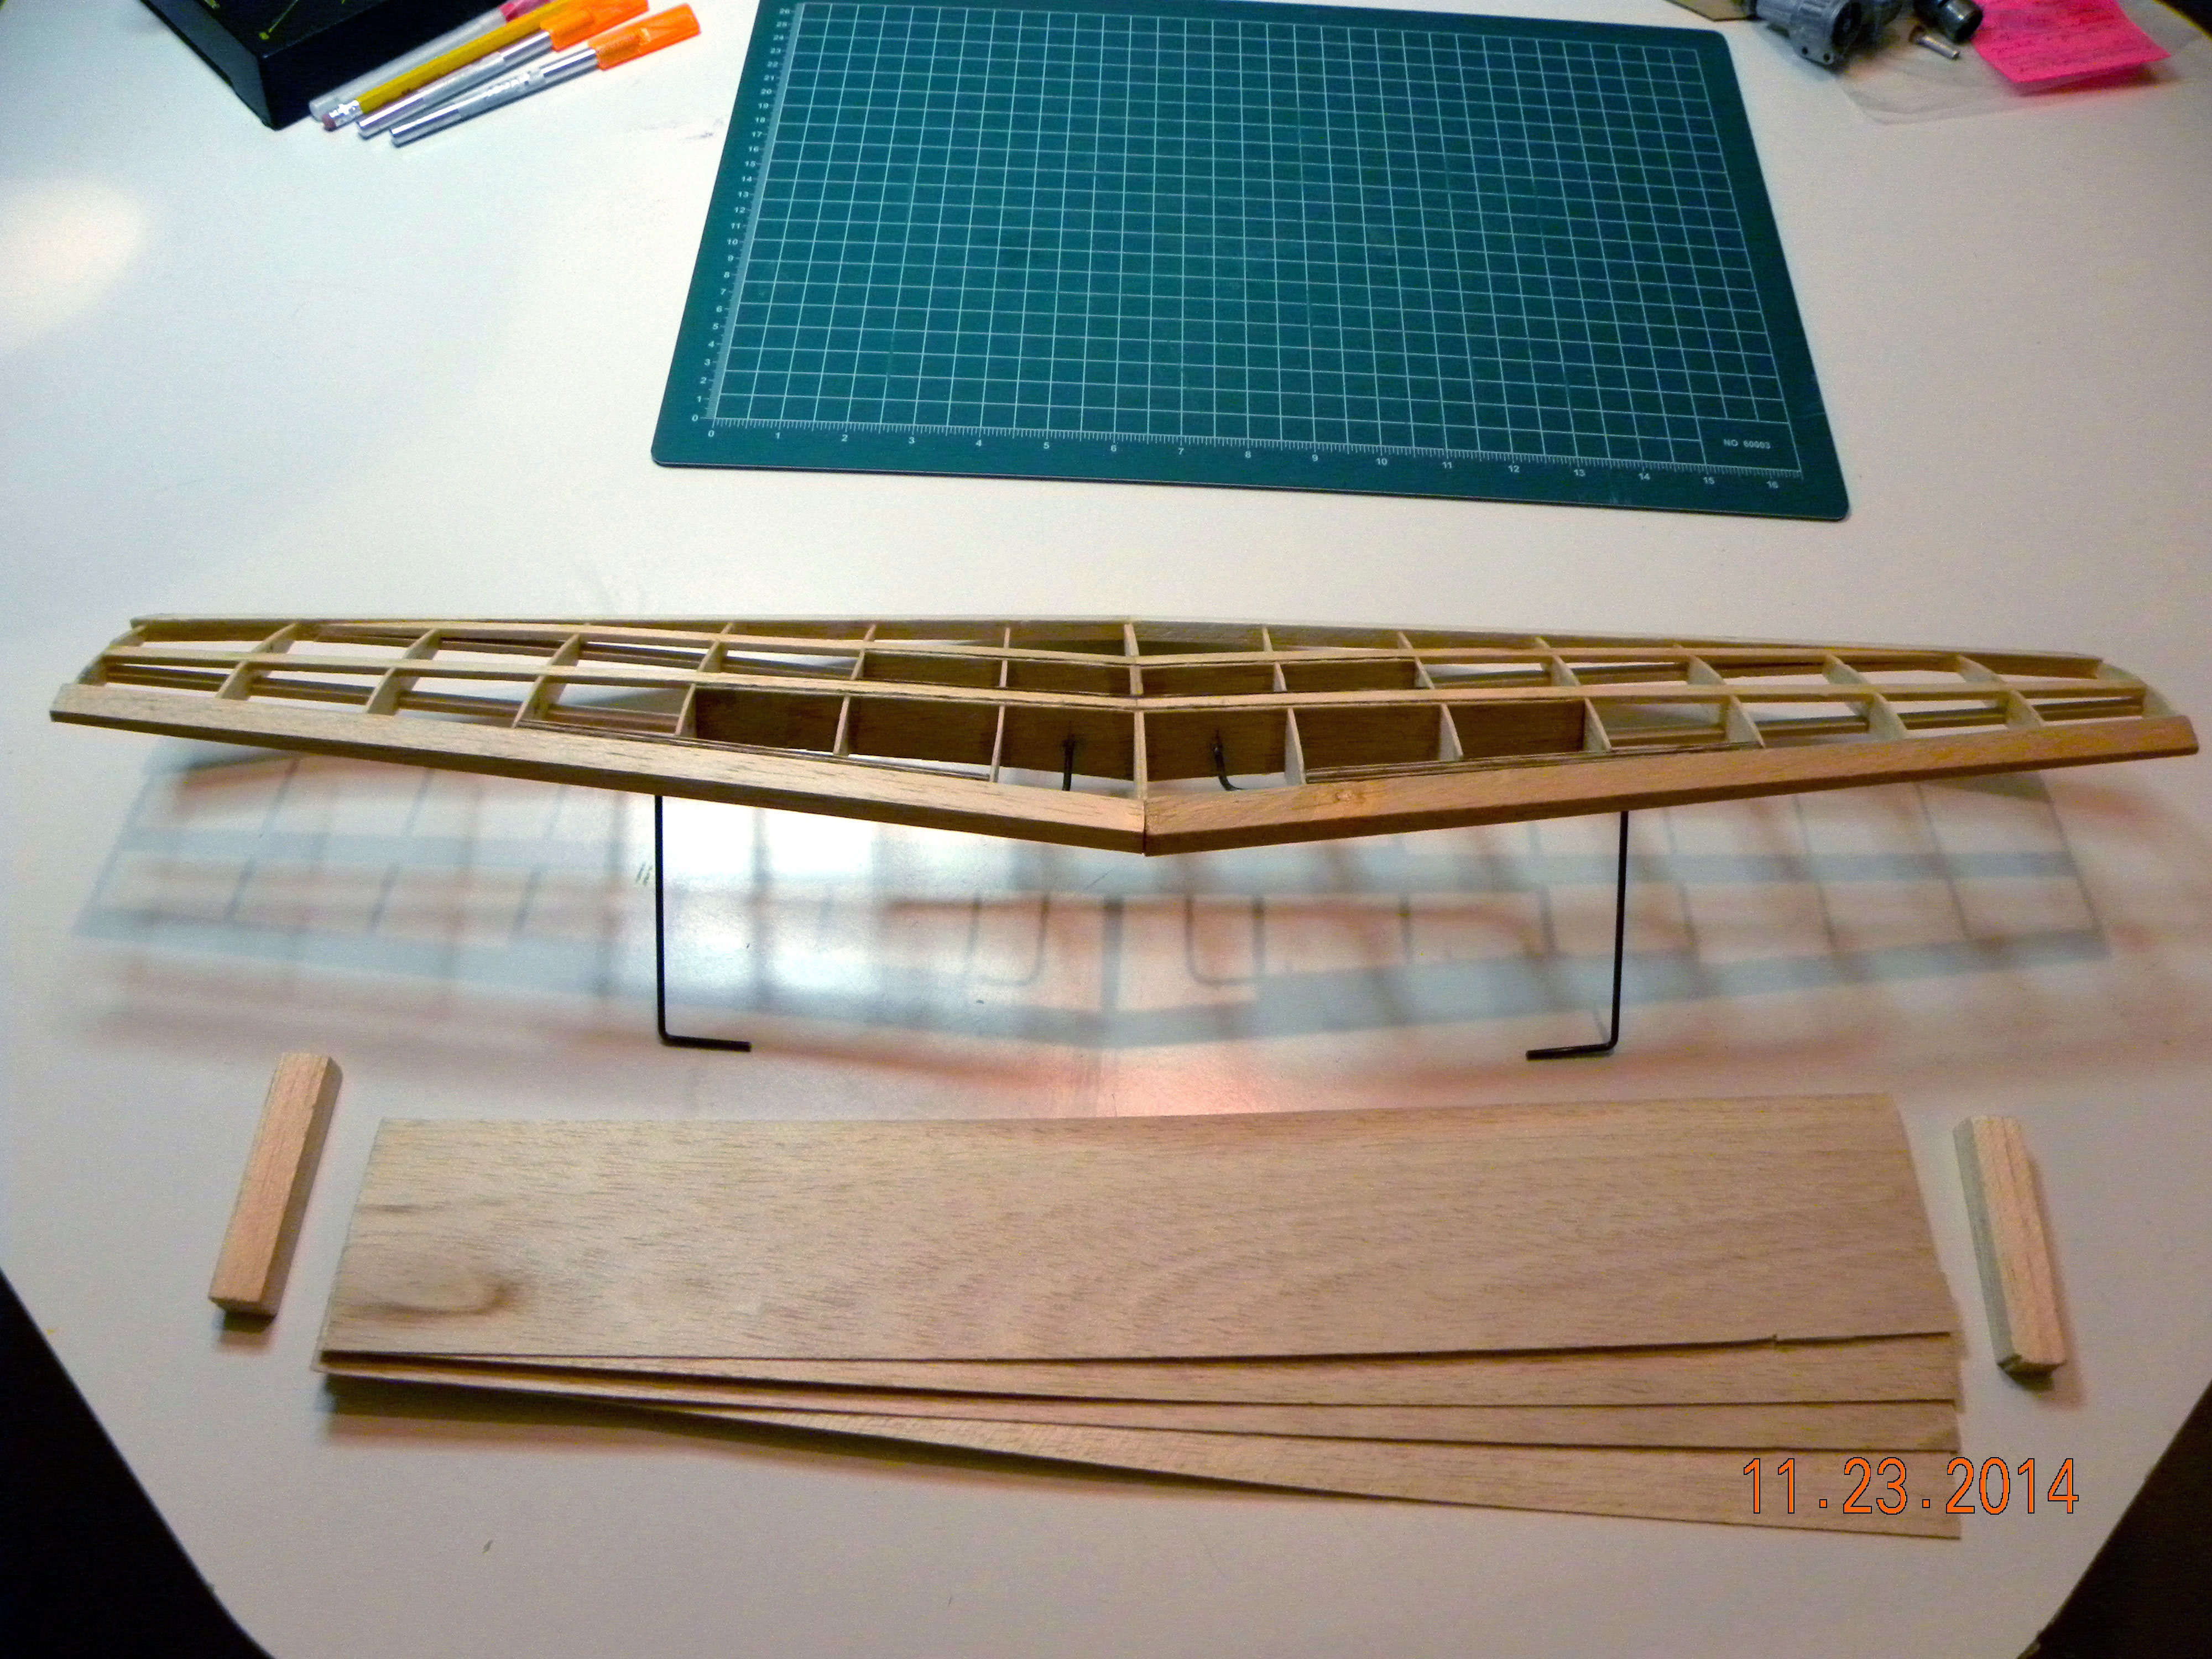
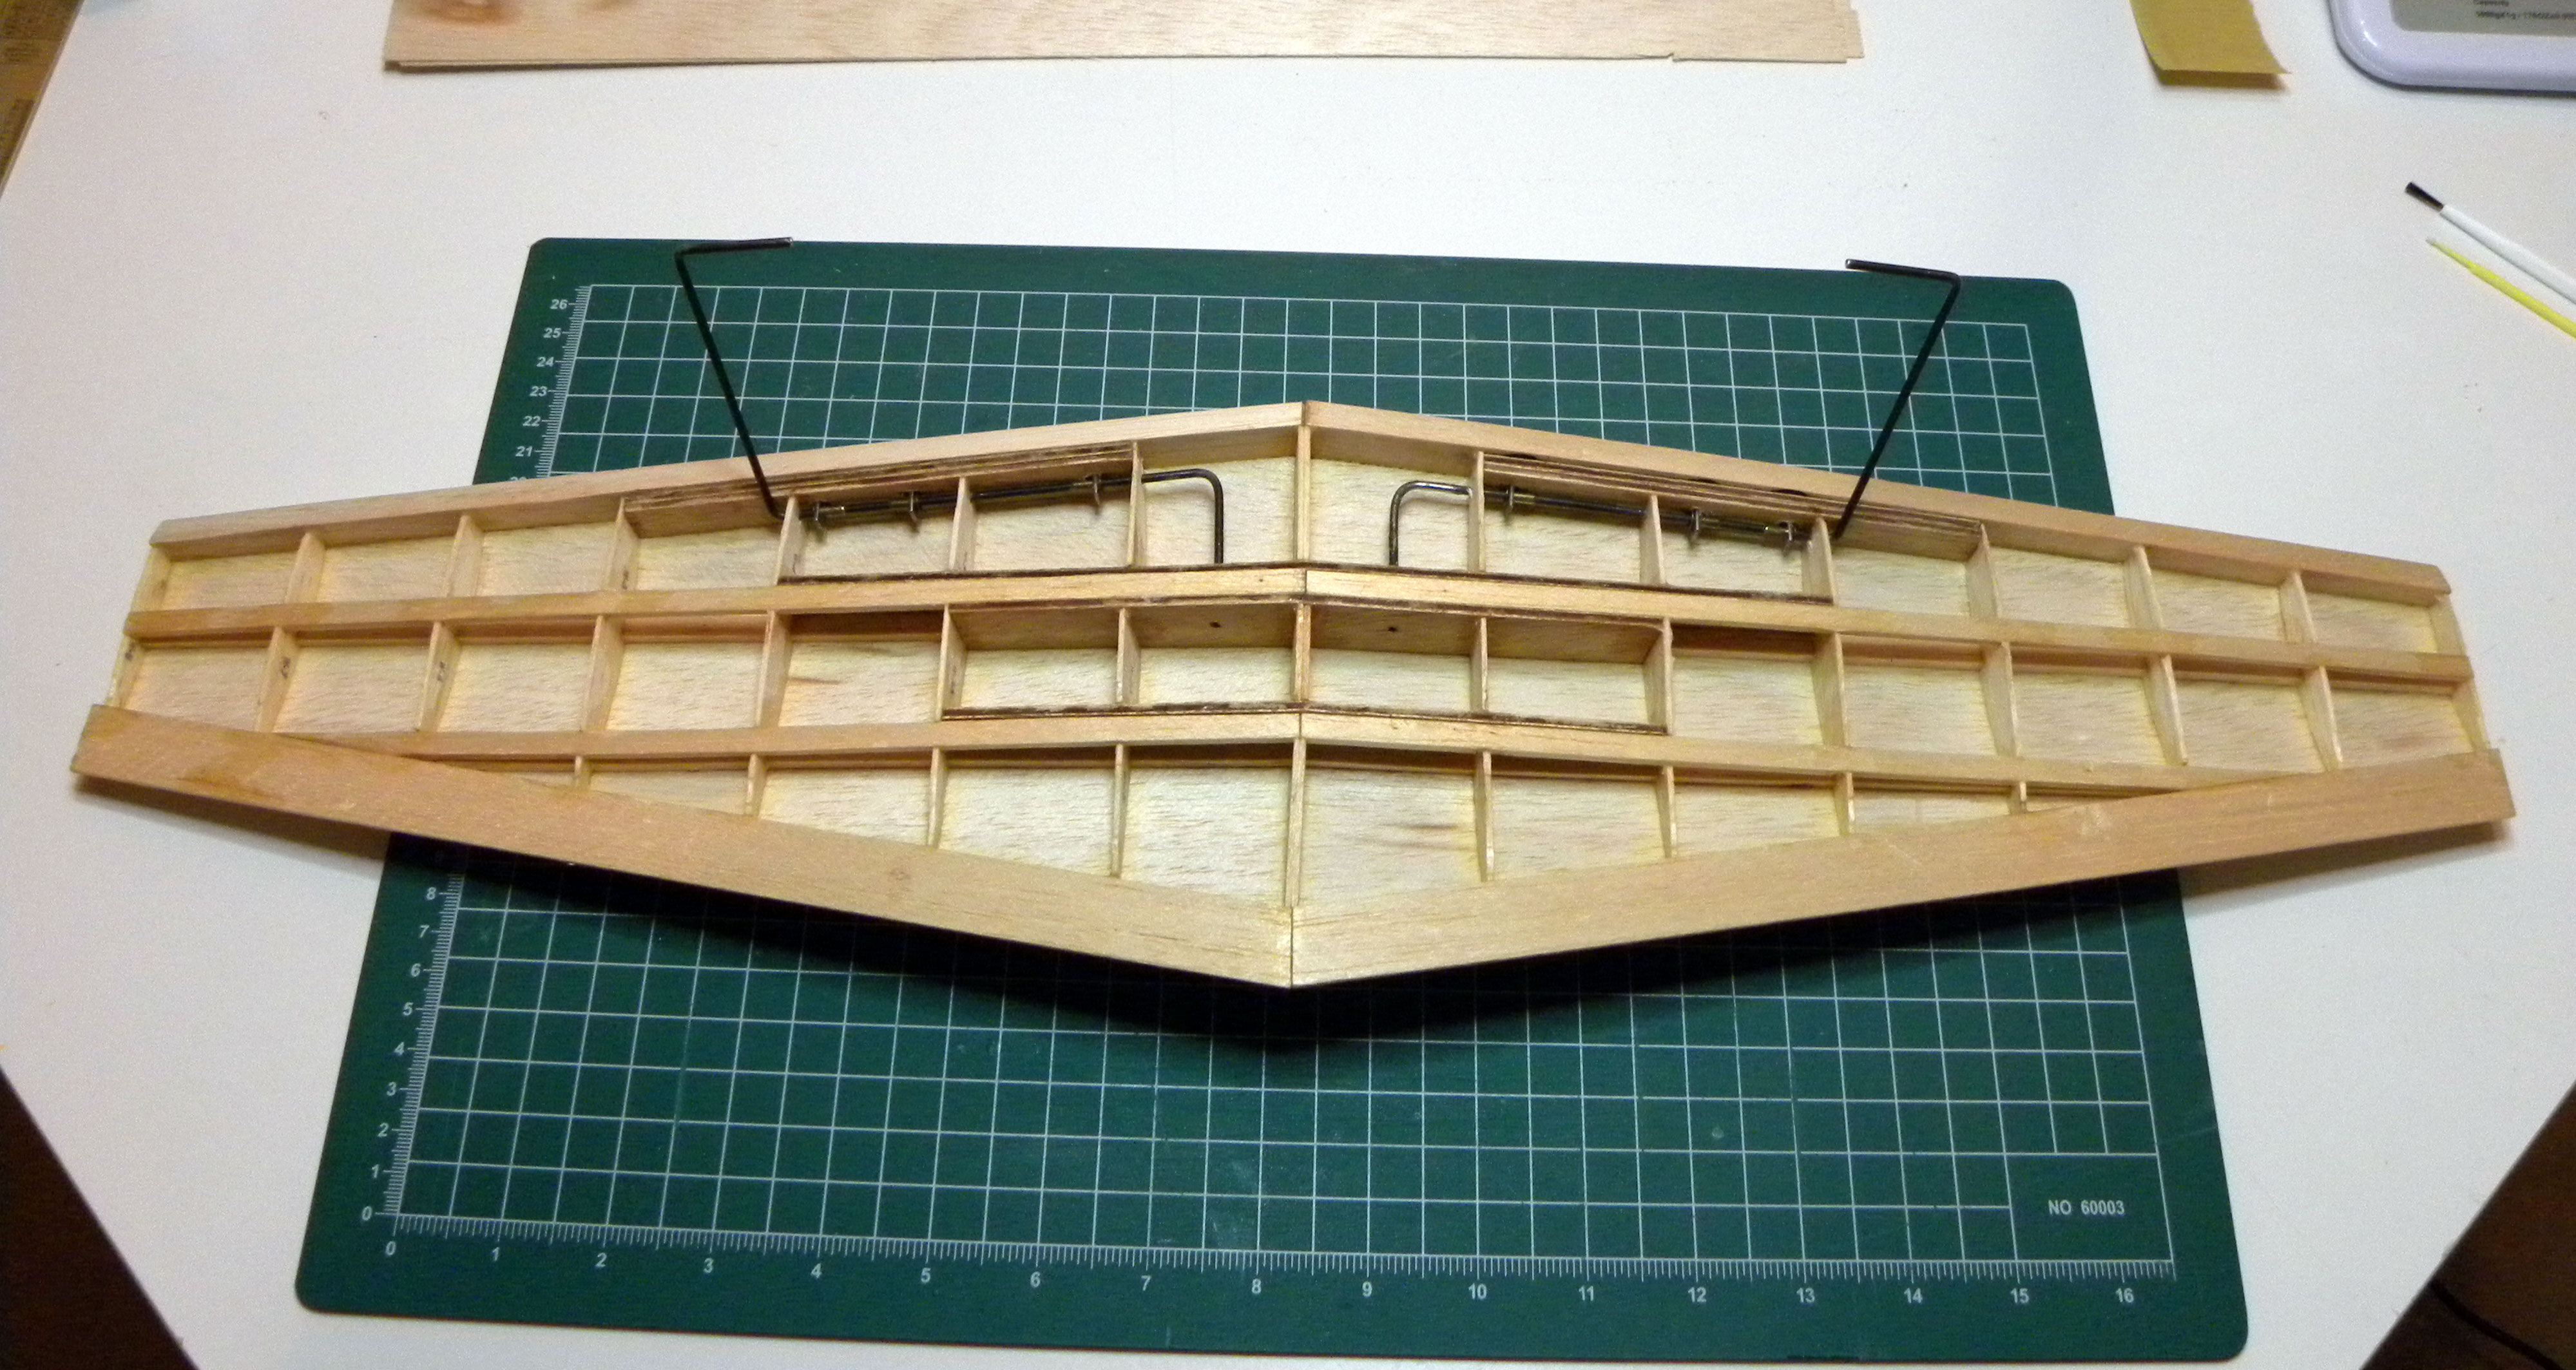
Topside of wing, leading edge view – build complete, before sheeting and wingtips.
Topside of wing- build complete, before sheeting and wingtips.
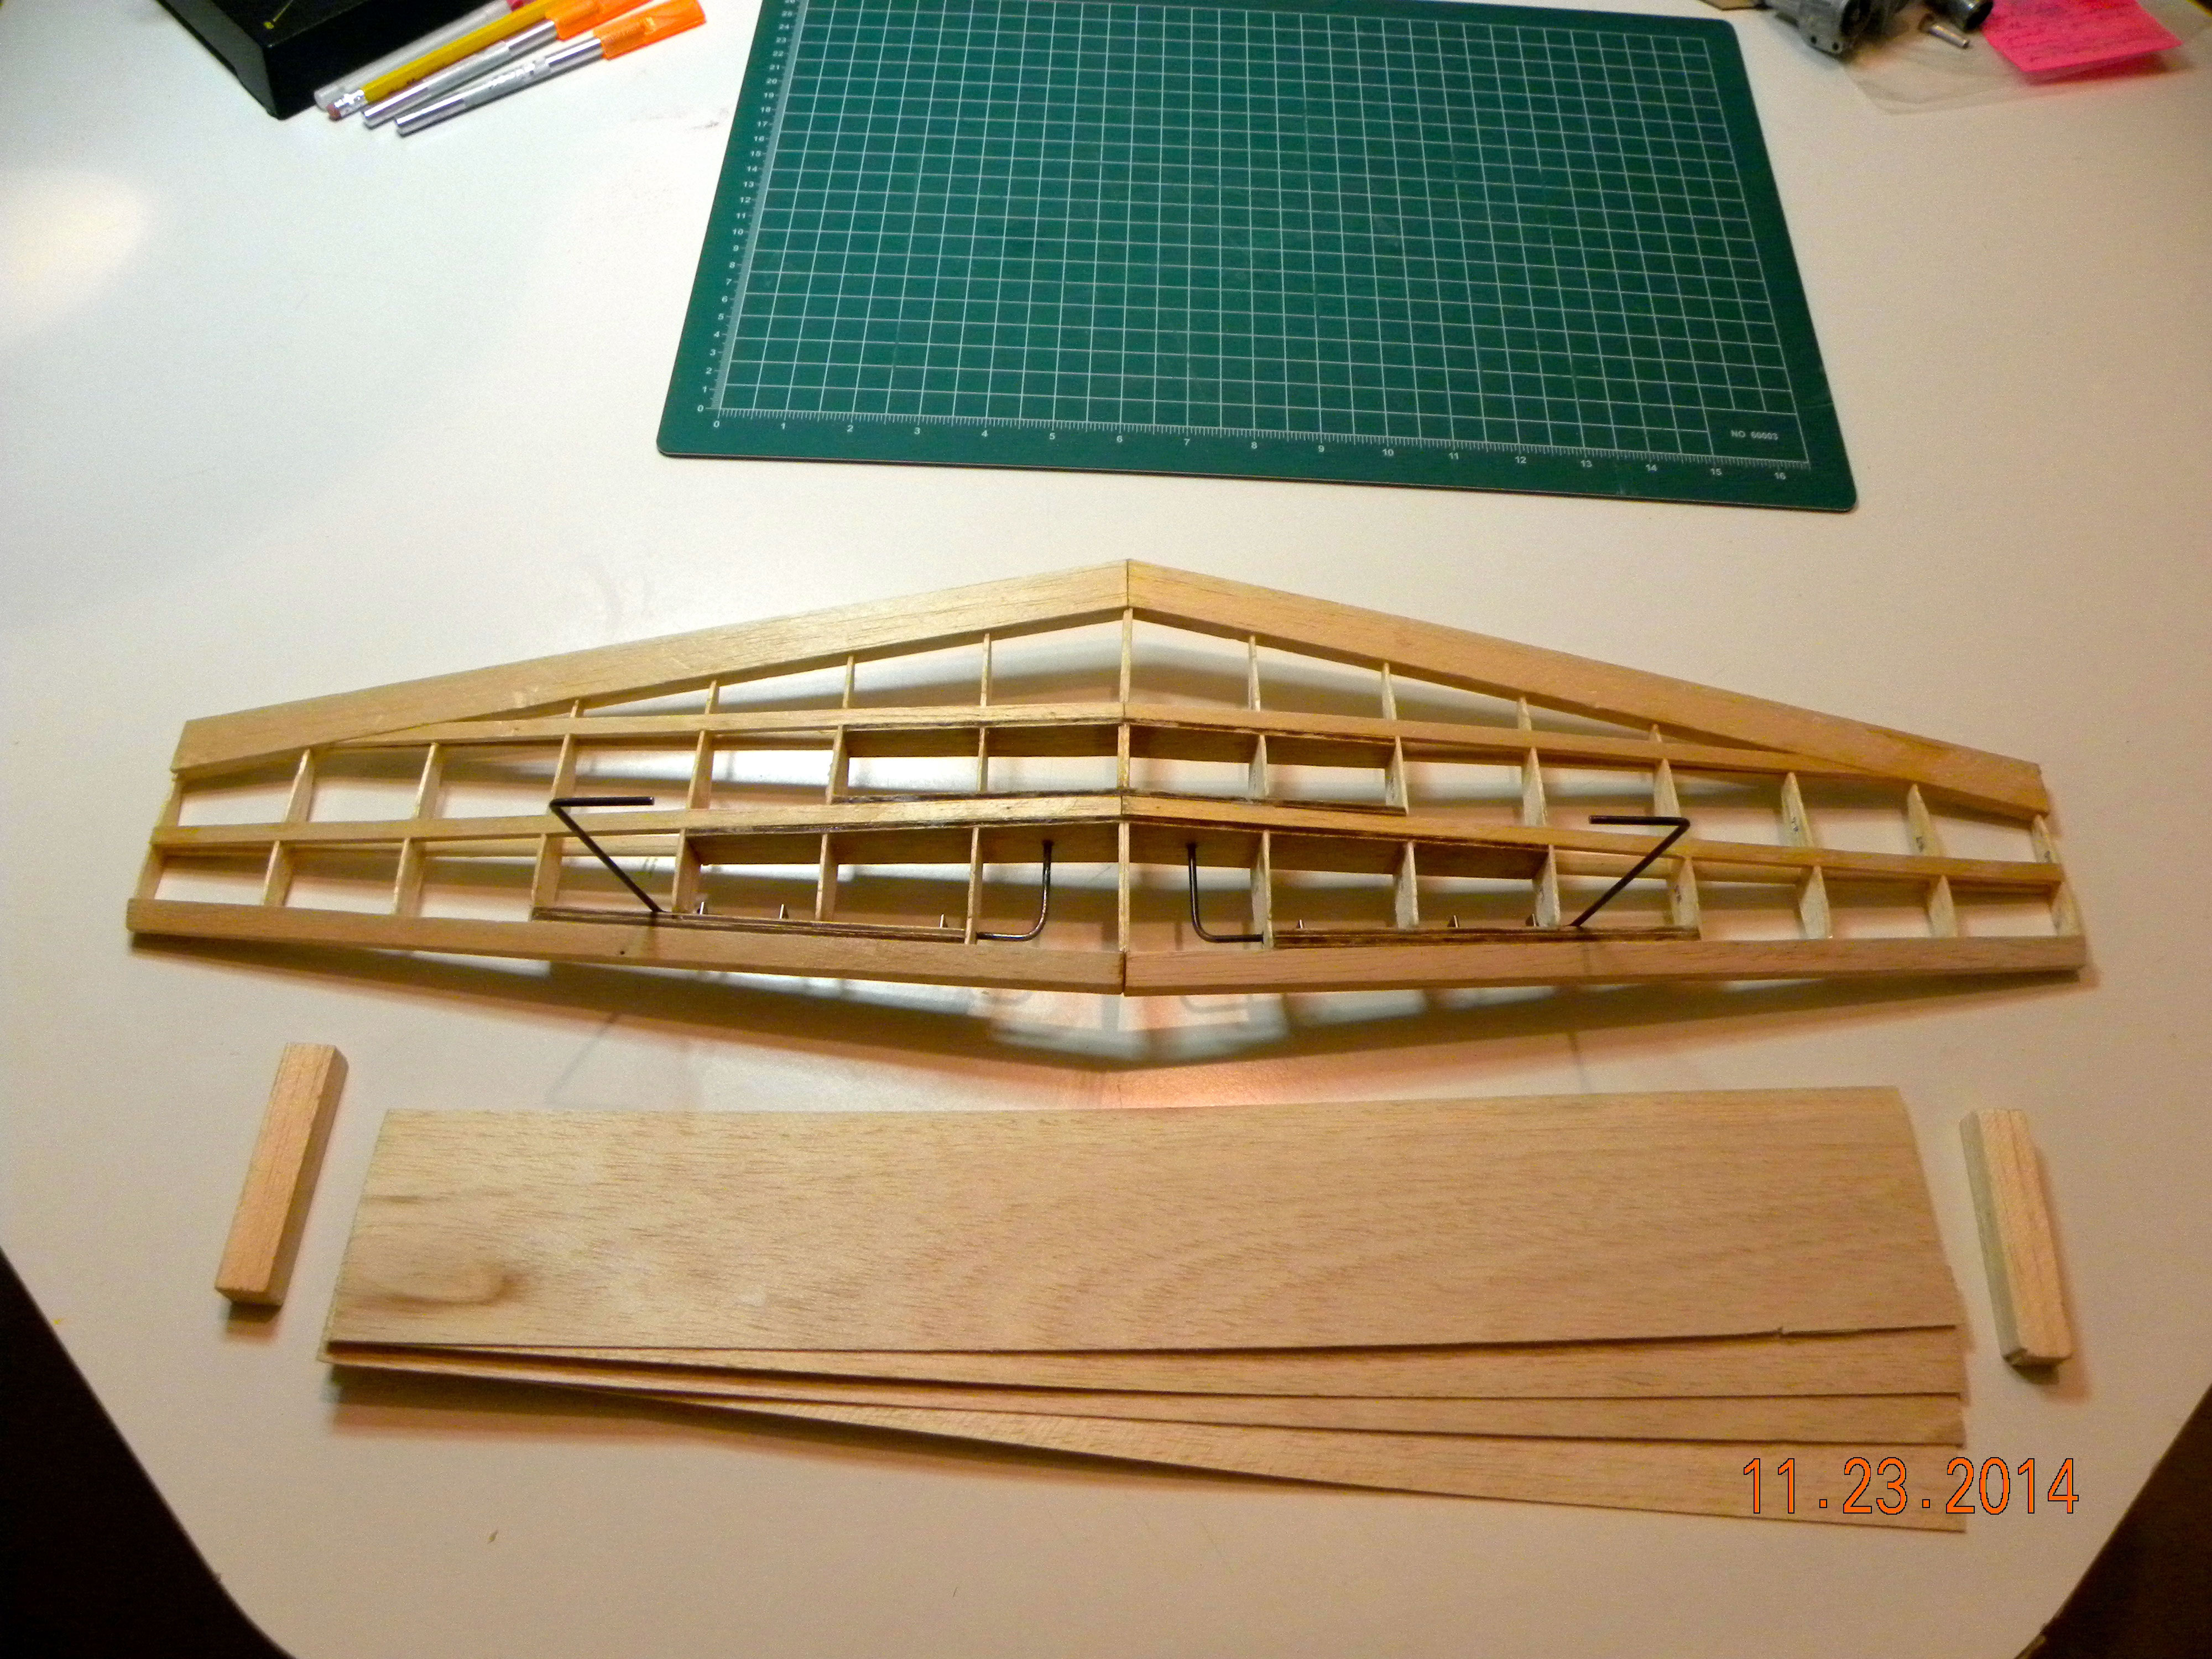
Underside of wing- build complete, before sheeting and wingtips.
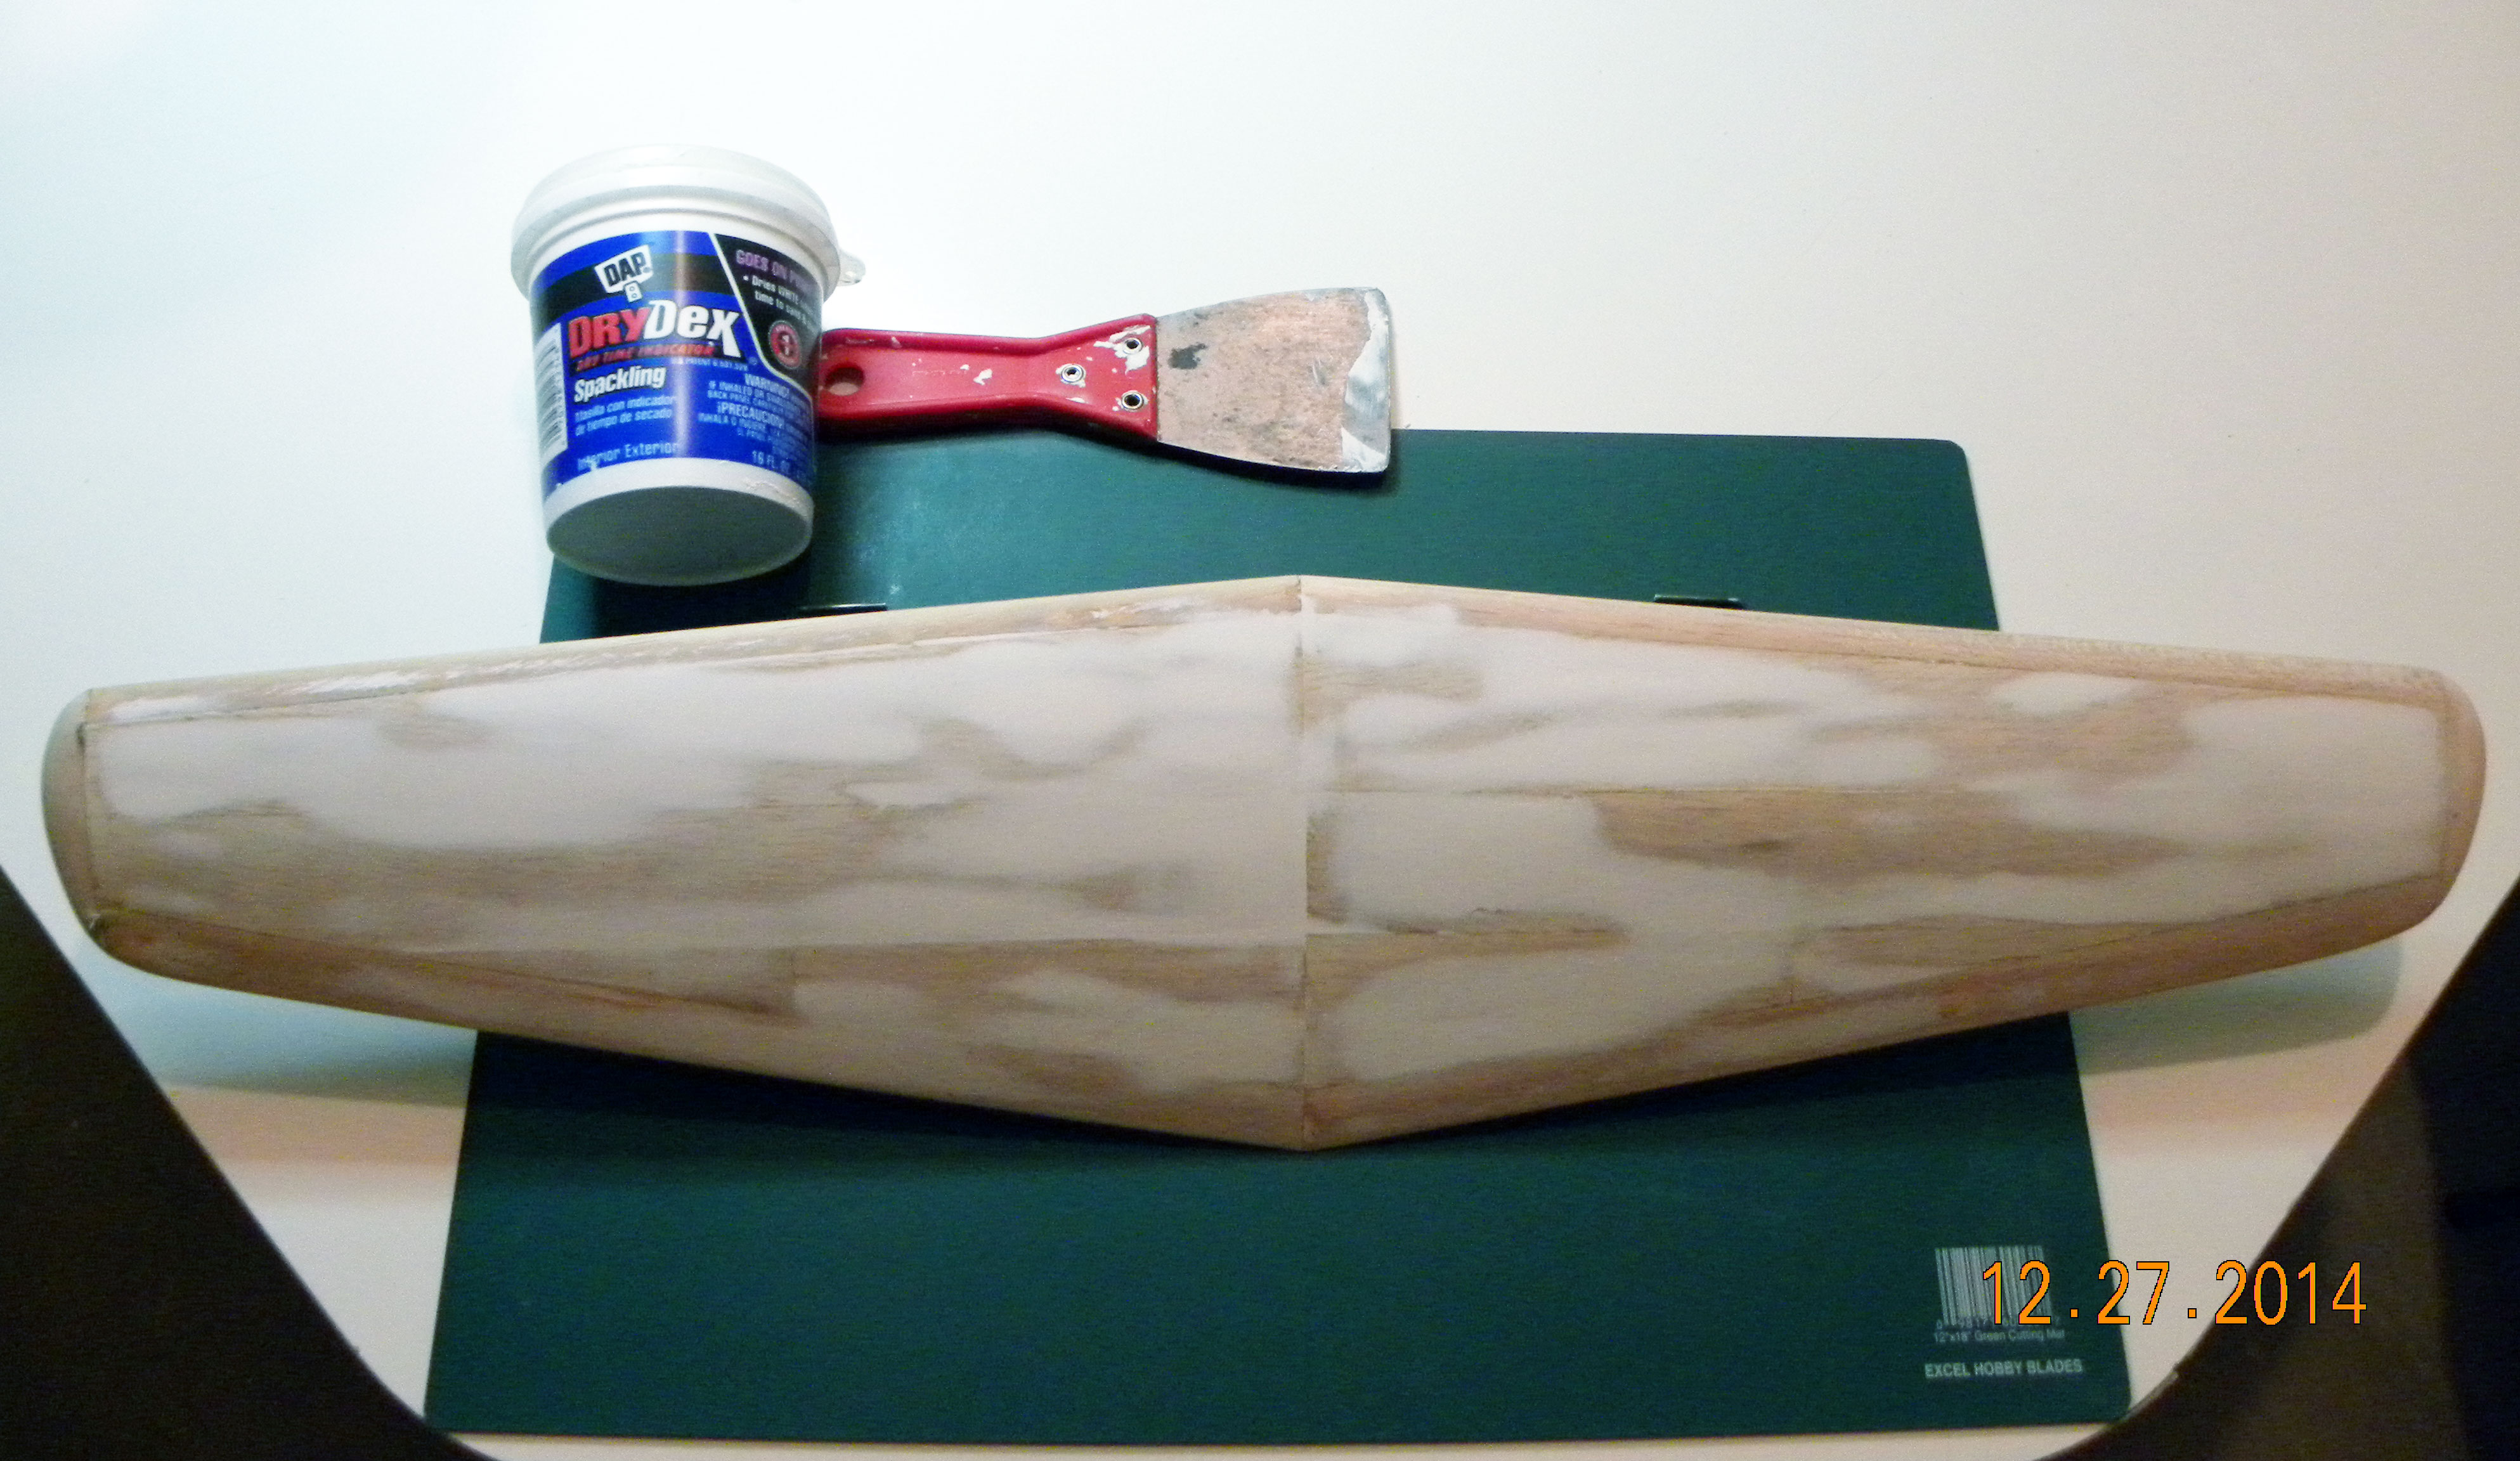
In addition to fit and finish issues, I ran into another big issue during the wing build that was self inflicted. I decided to mix up a slurry of Hobbylite Filler and water and ‘paint’ it on the wing sheeting in an effort to fill the grain of the sheeting. What I didn’t account for was the thin balsa sheeting absorbing the water in the slurry and then warping and buckling like crazy! Even after fully drying, the sheeting still had a lot of warping. Given the amount of ‘fill’ needed to smooth out the sheeting, I ultimately decided to try using common wall spackling compound for filler. The only issue I ran into with this was that the moisture in the spackling did tend to make for some warping in it’s own right, however, by using several thin coats, I was able to avoid adding any permanent additional warping. Initially, I was very concerned about how much weight the spackling might add but in the end, it proved to not be a concern. Once dried and sanded, the remaining spackling proved to not add any significant amount of weight. And it proved to be very easy to work with, easy to sand, and it resulted in doing a great job repairing most of my mistakes. I will be using the spackling method in the future!

Topside of wing after sheeting. Leading edge view.

Topside of wing after sheeting.
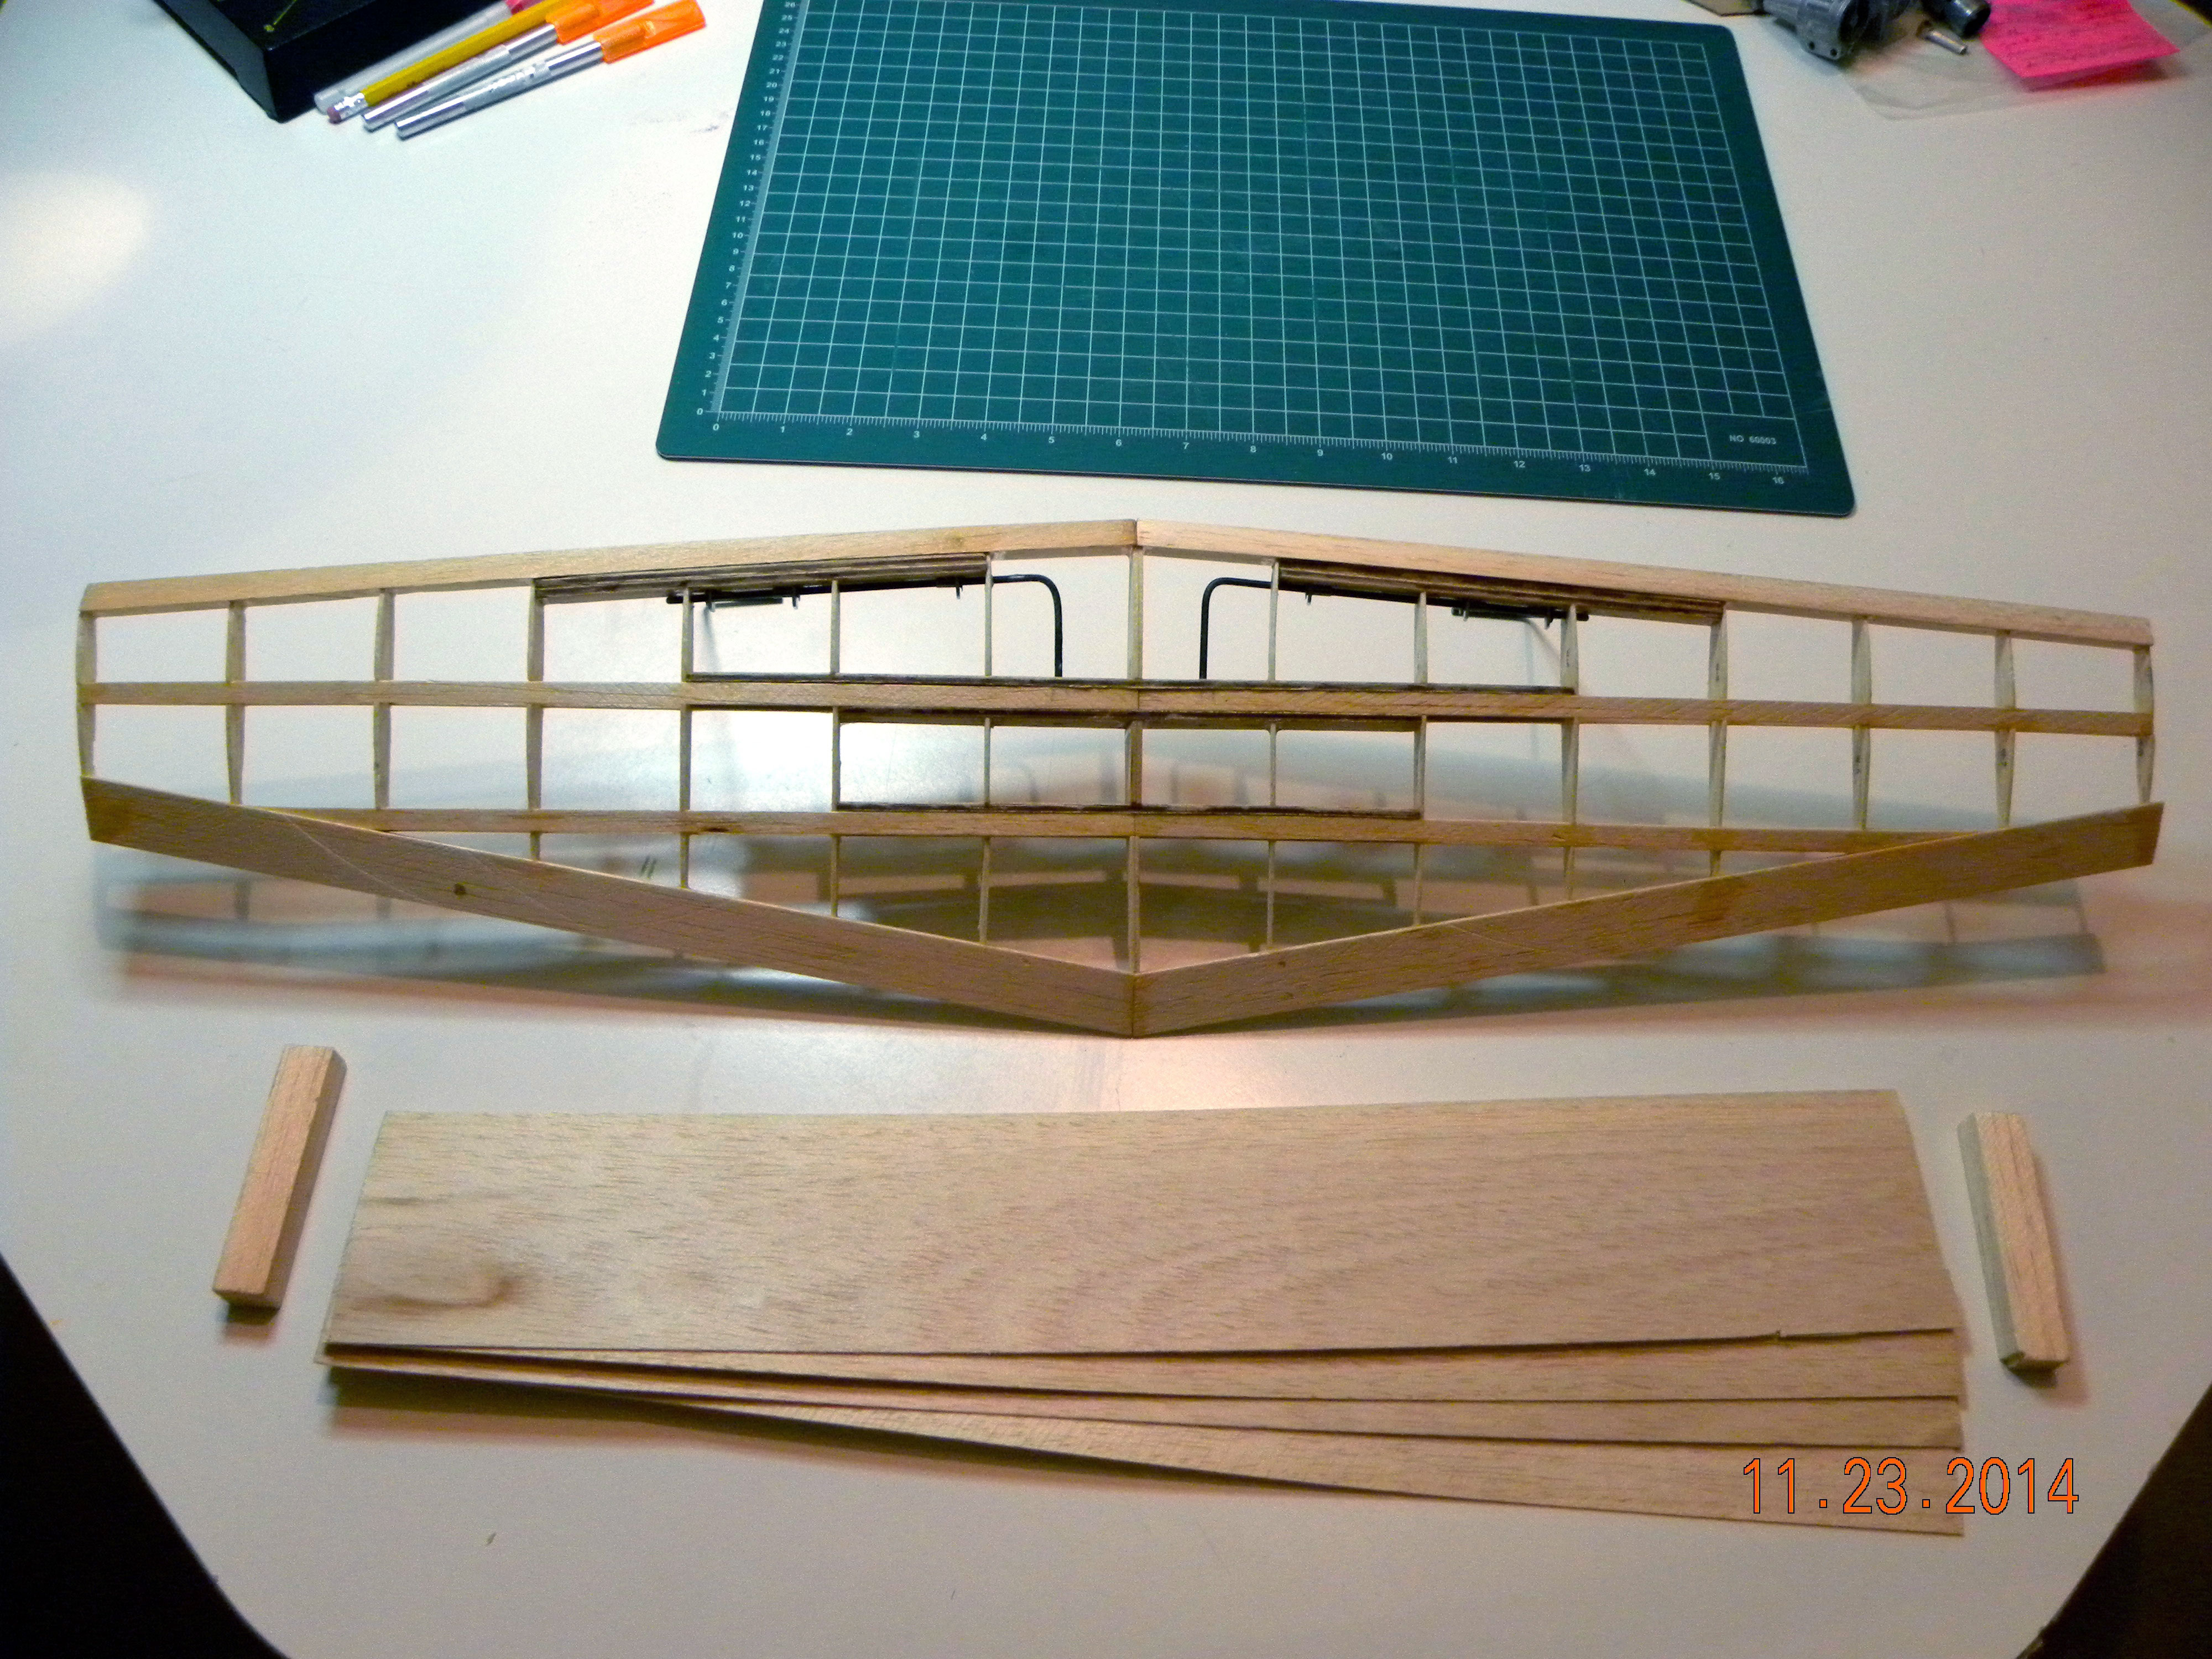
Underside of wing prior to bottom sheeting.
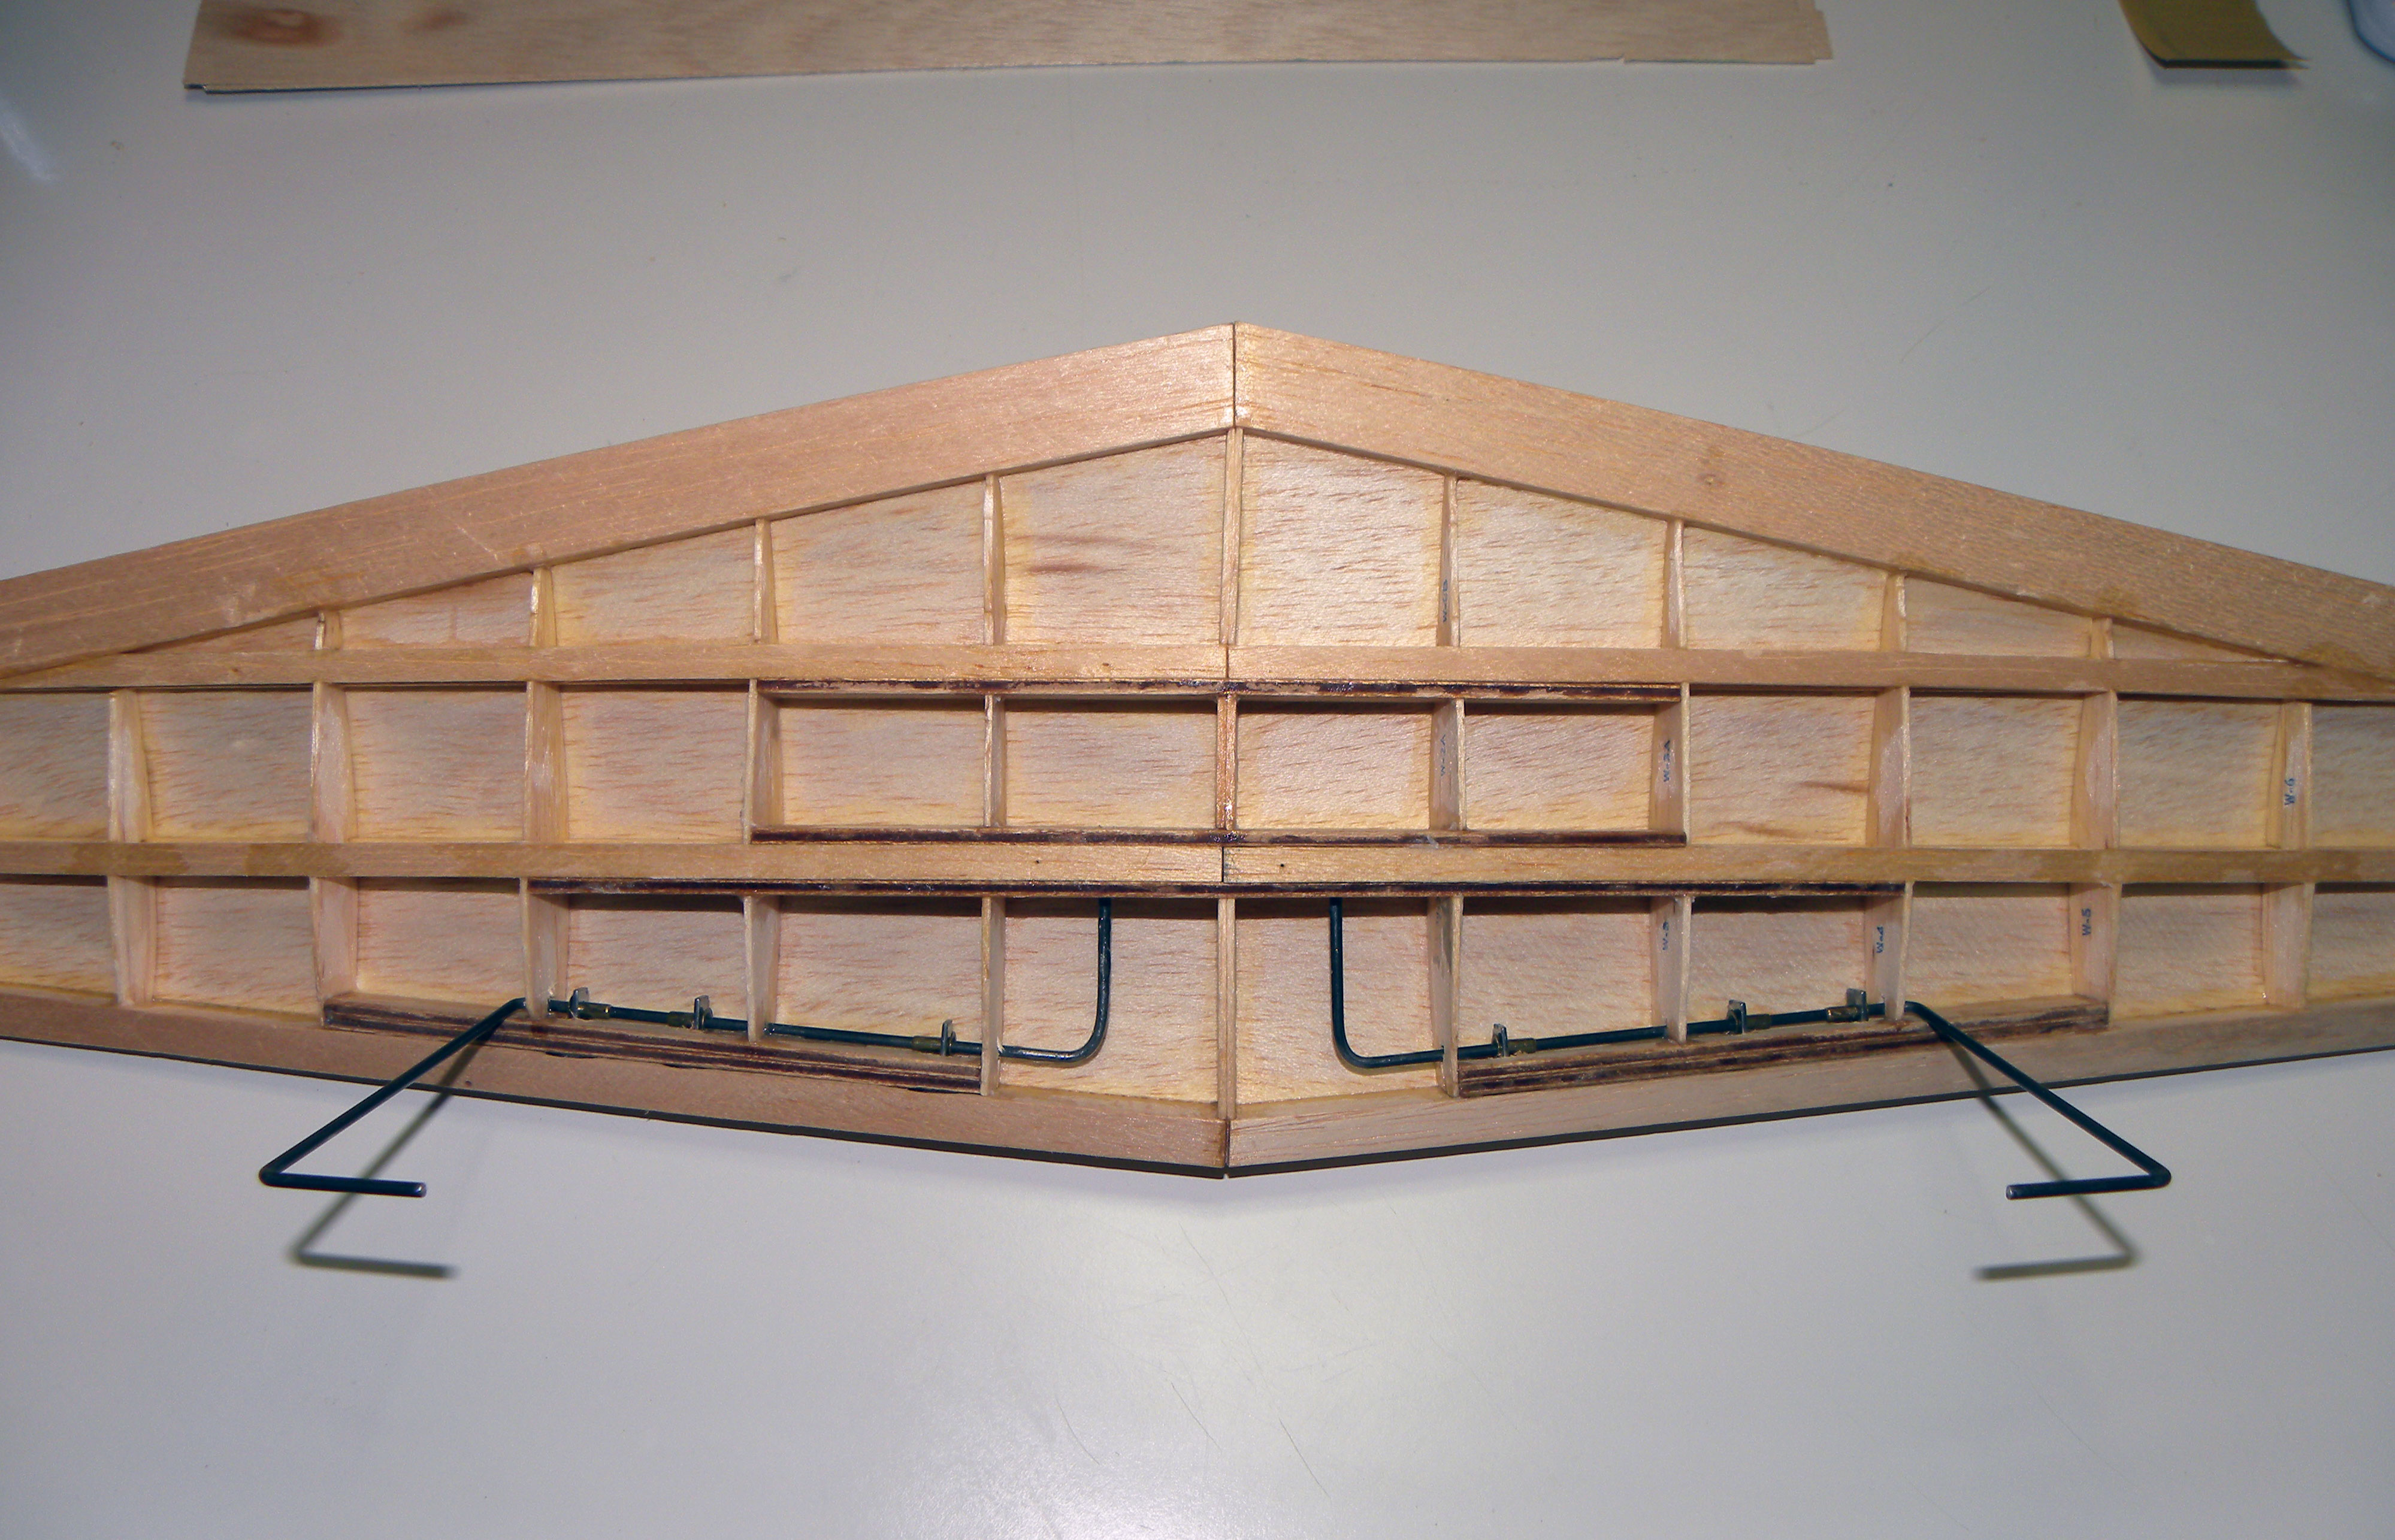
Underside of wing prior to bottom sheeting, showing landing gear assembly.
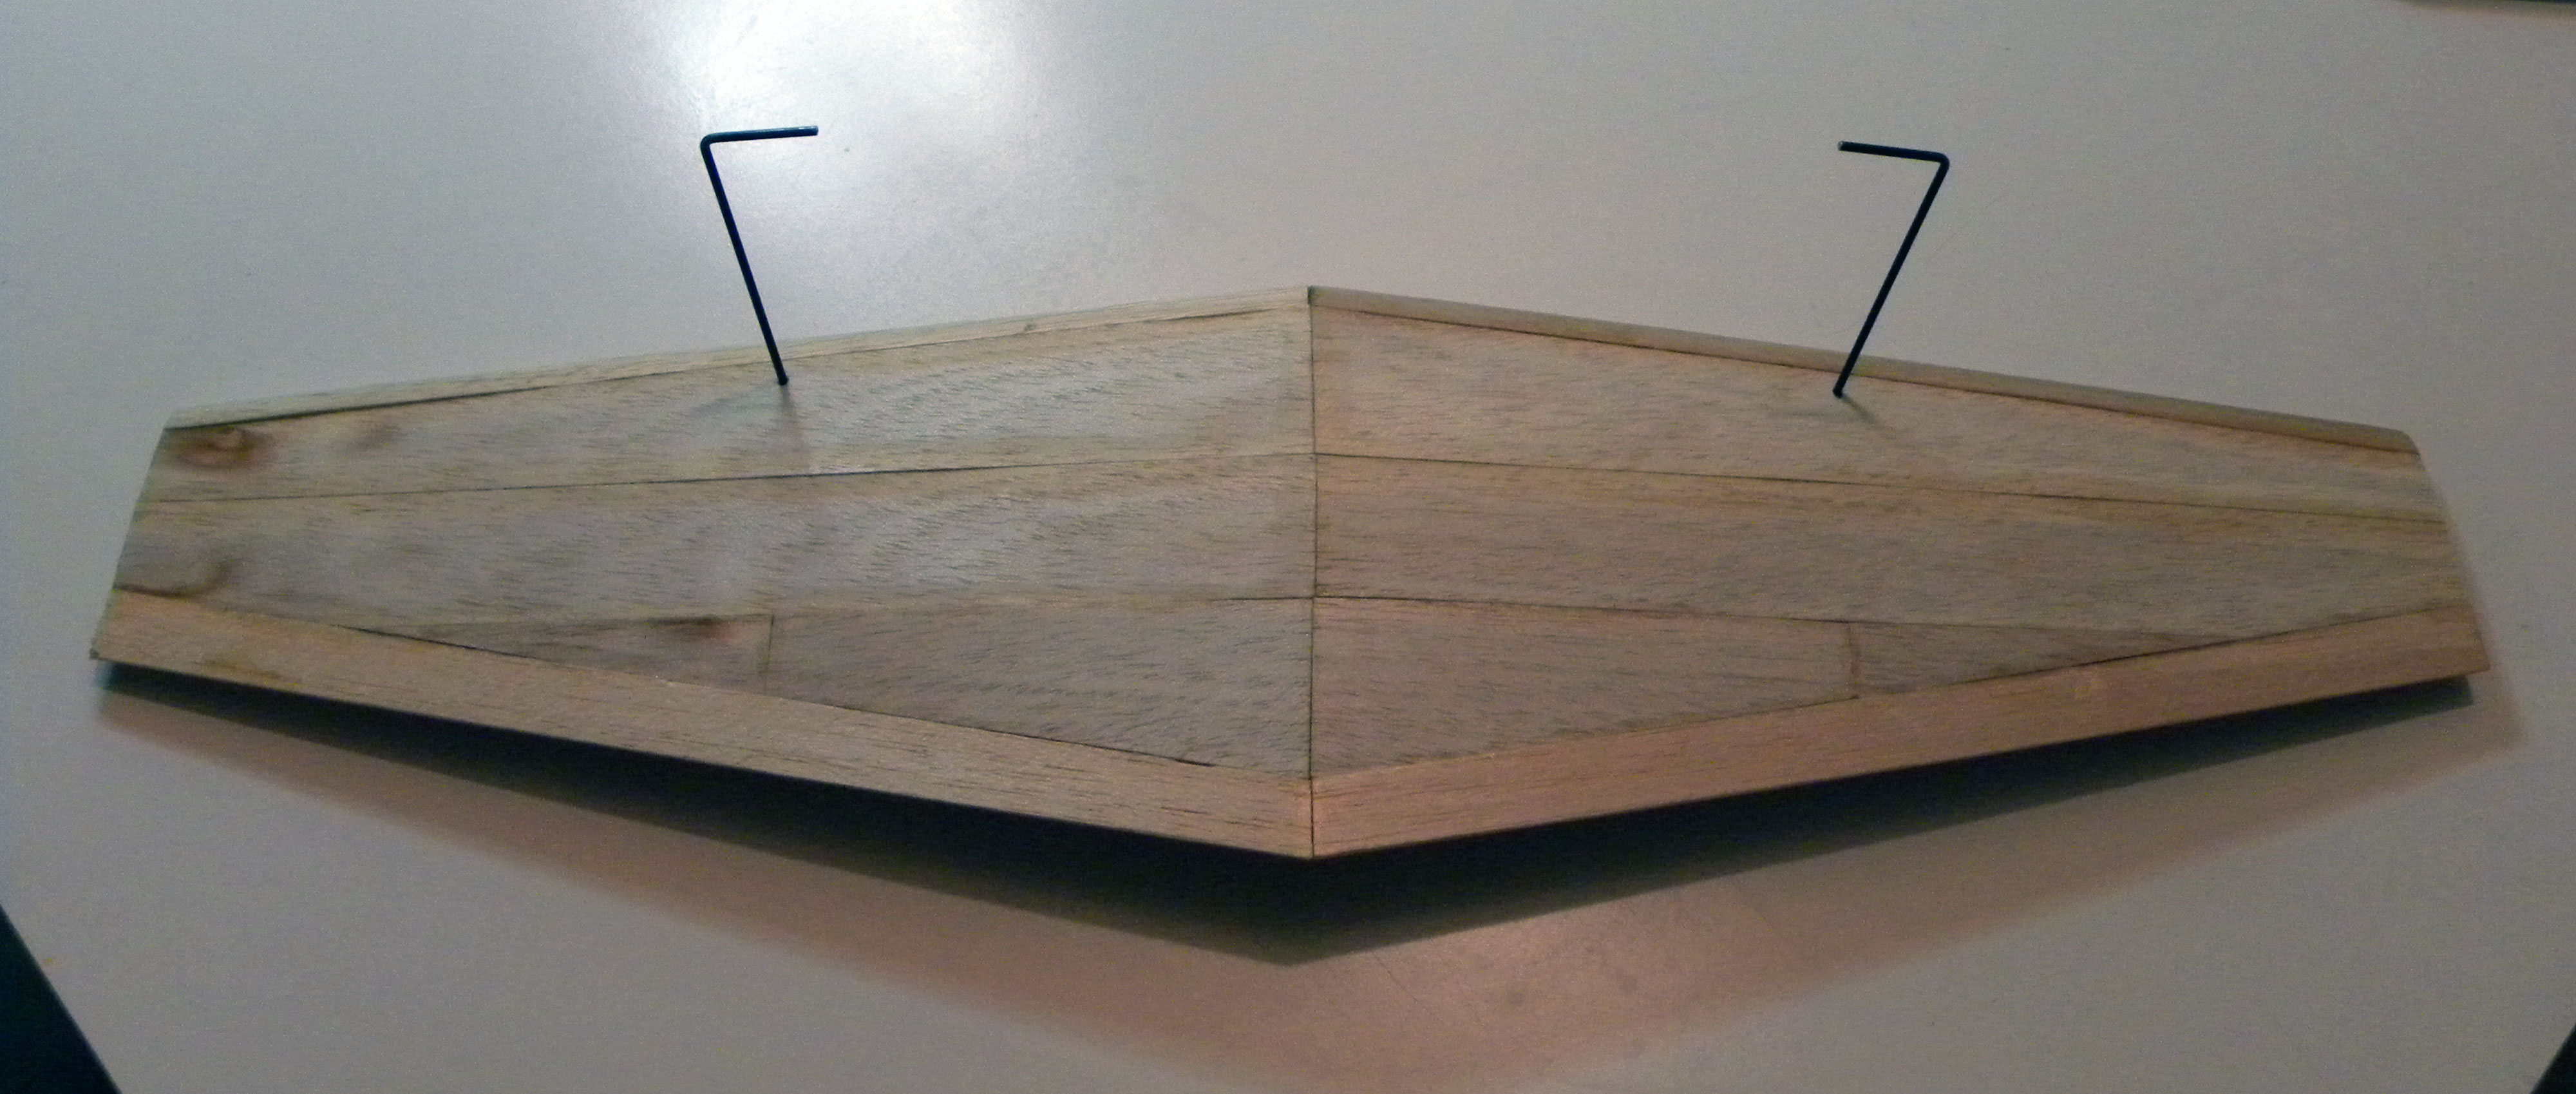
Underside of wing with sheeting added and trimmed for wingtips.
I ultimately decided to try using common wall spackling compound for filler
Topside of wing with carved wingtips and filler prior to sanding.
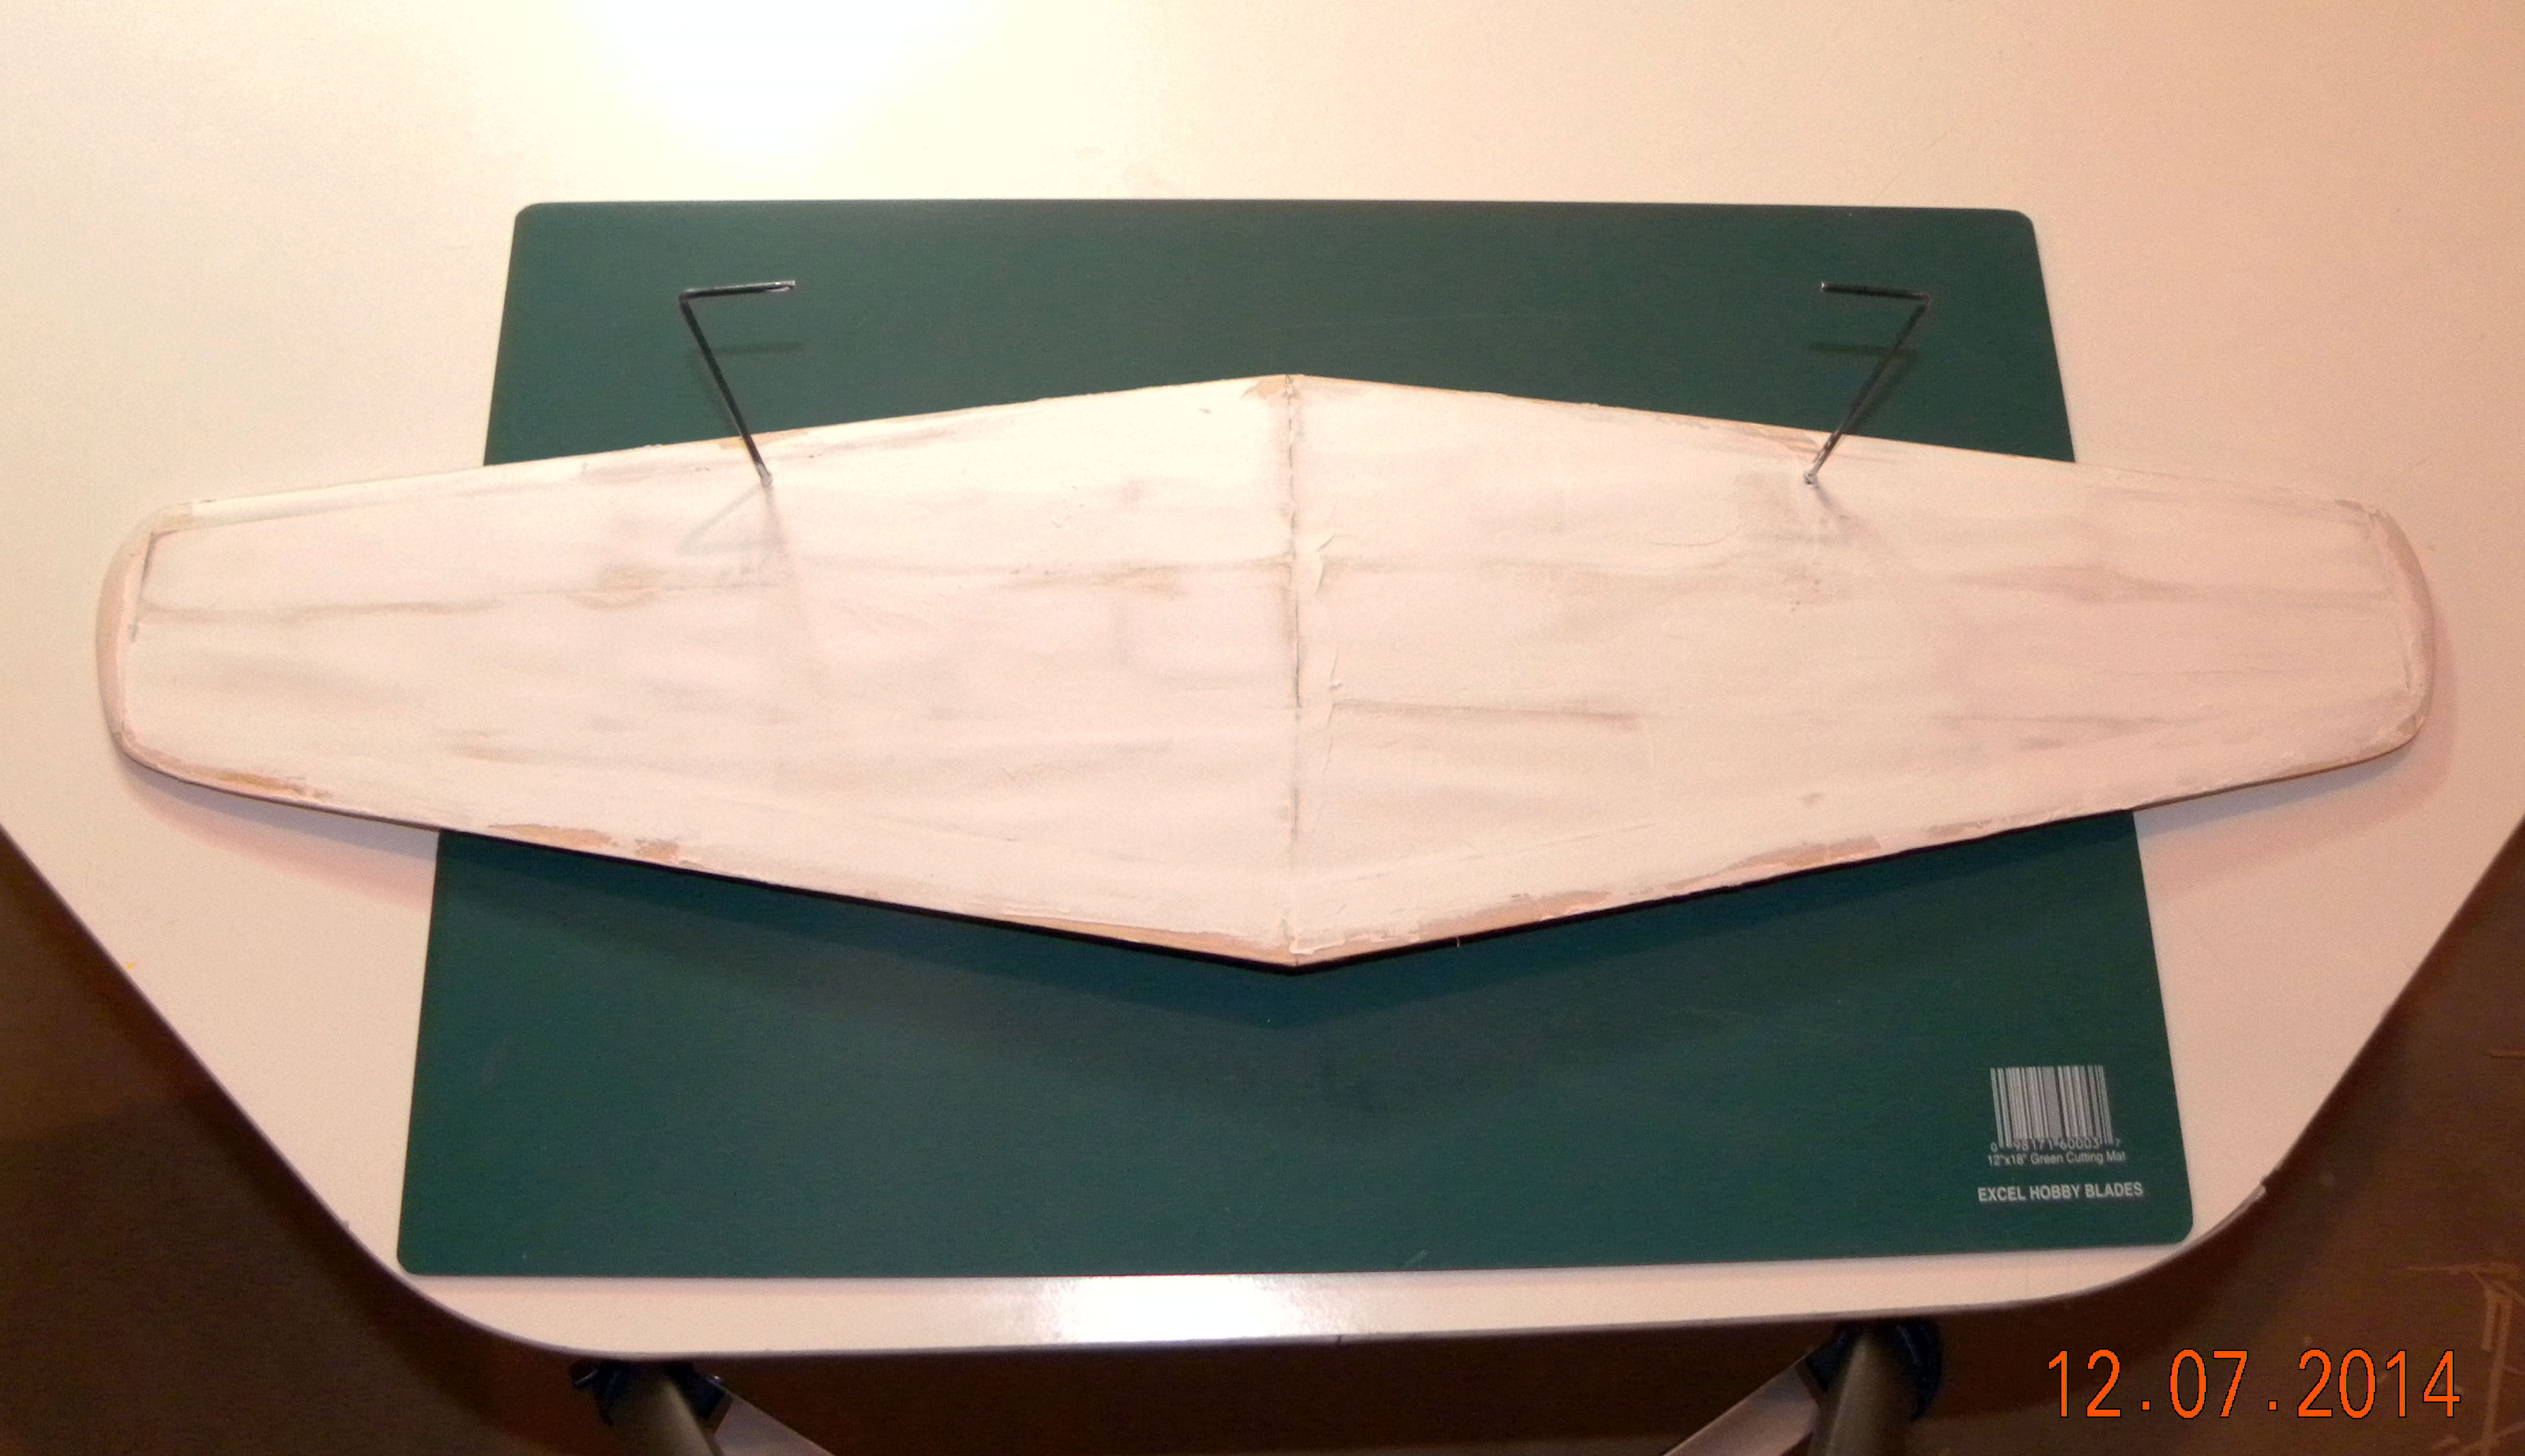
Underside of wing with carved wingtips and filler prior to sanding.
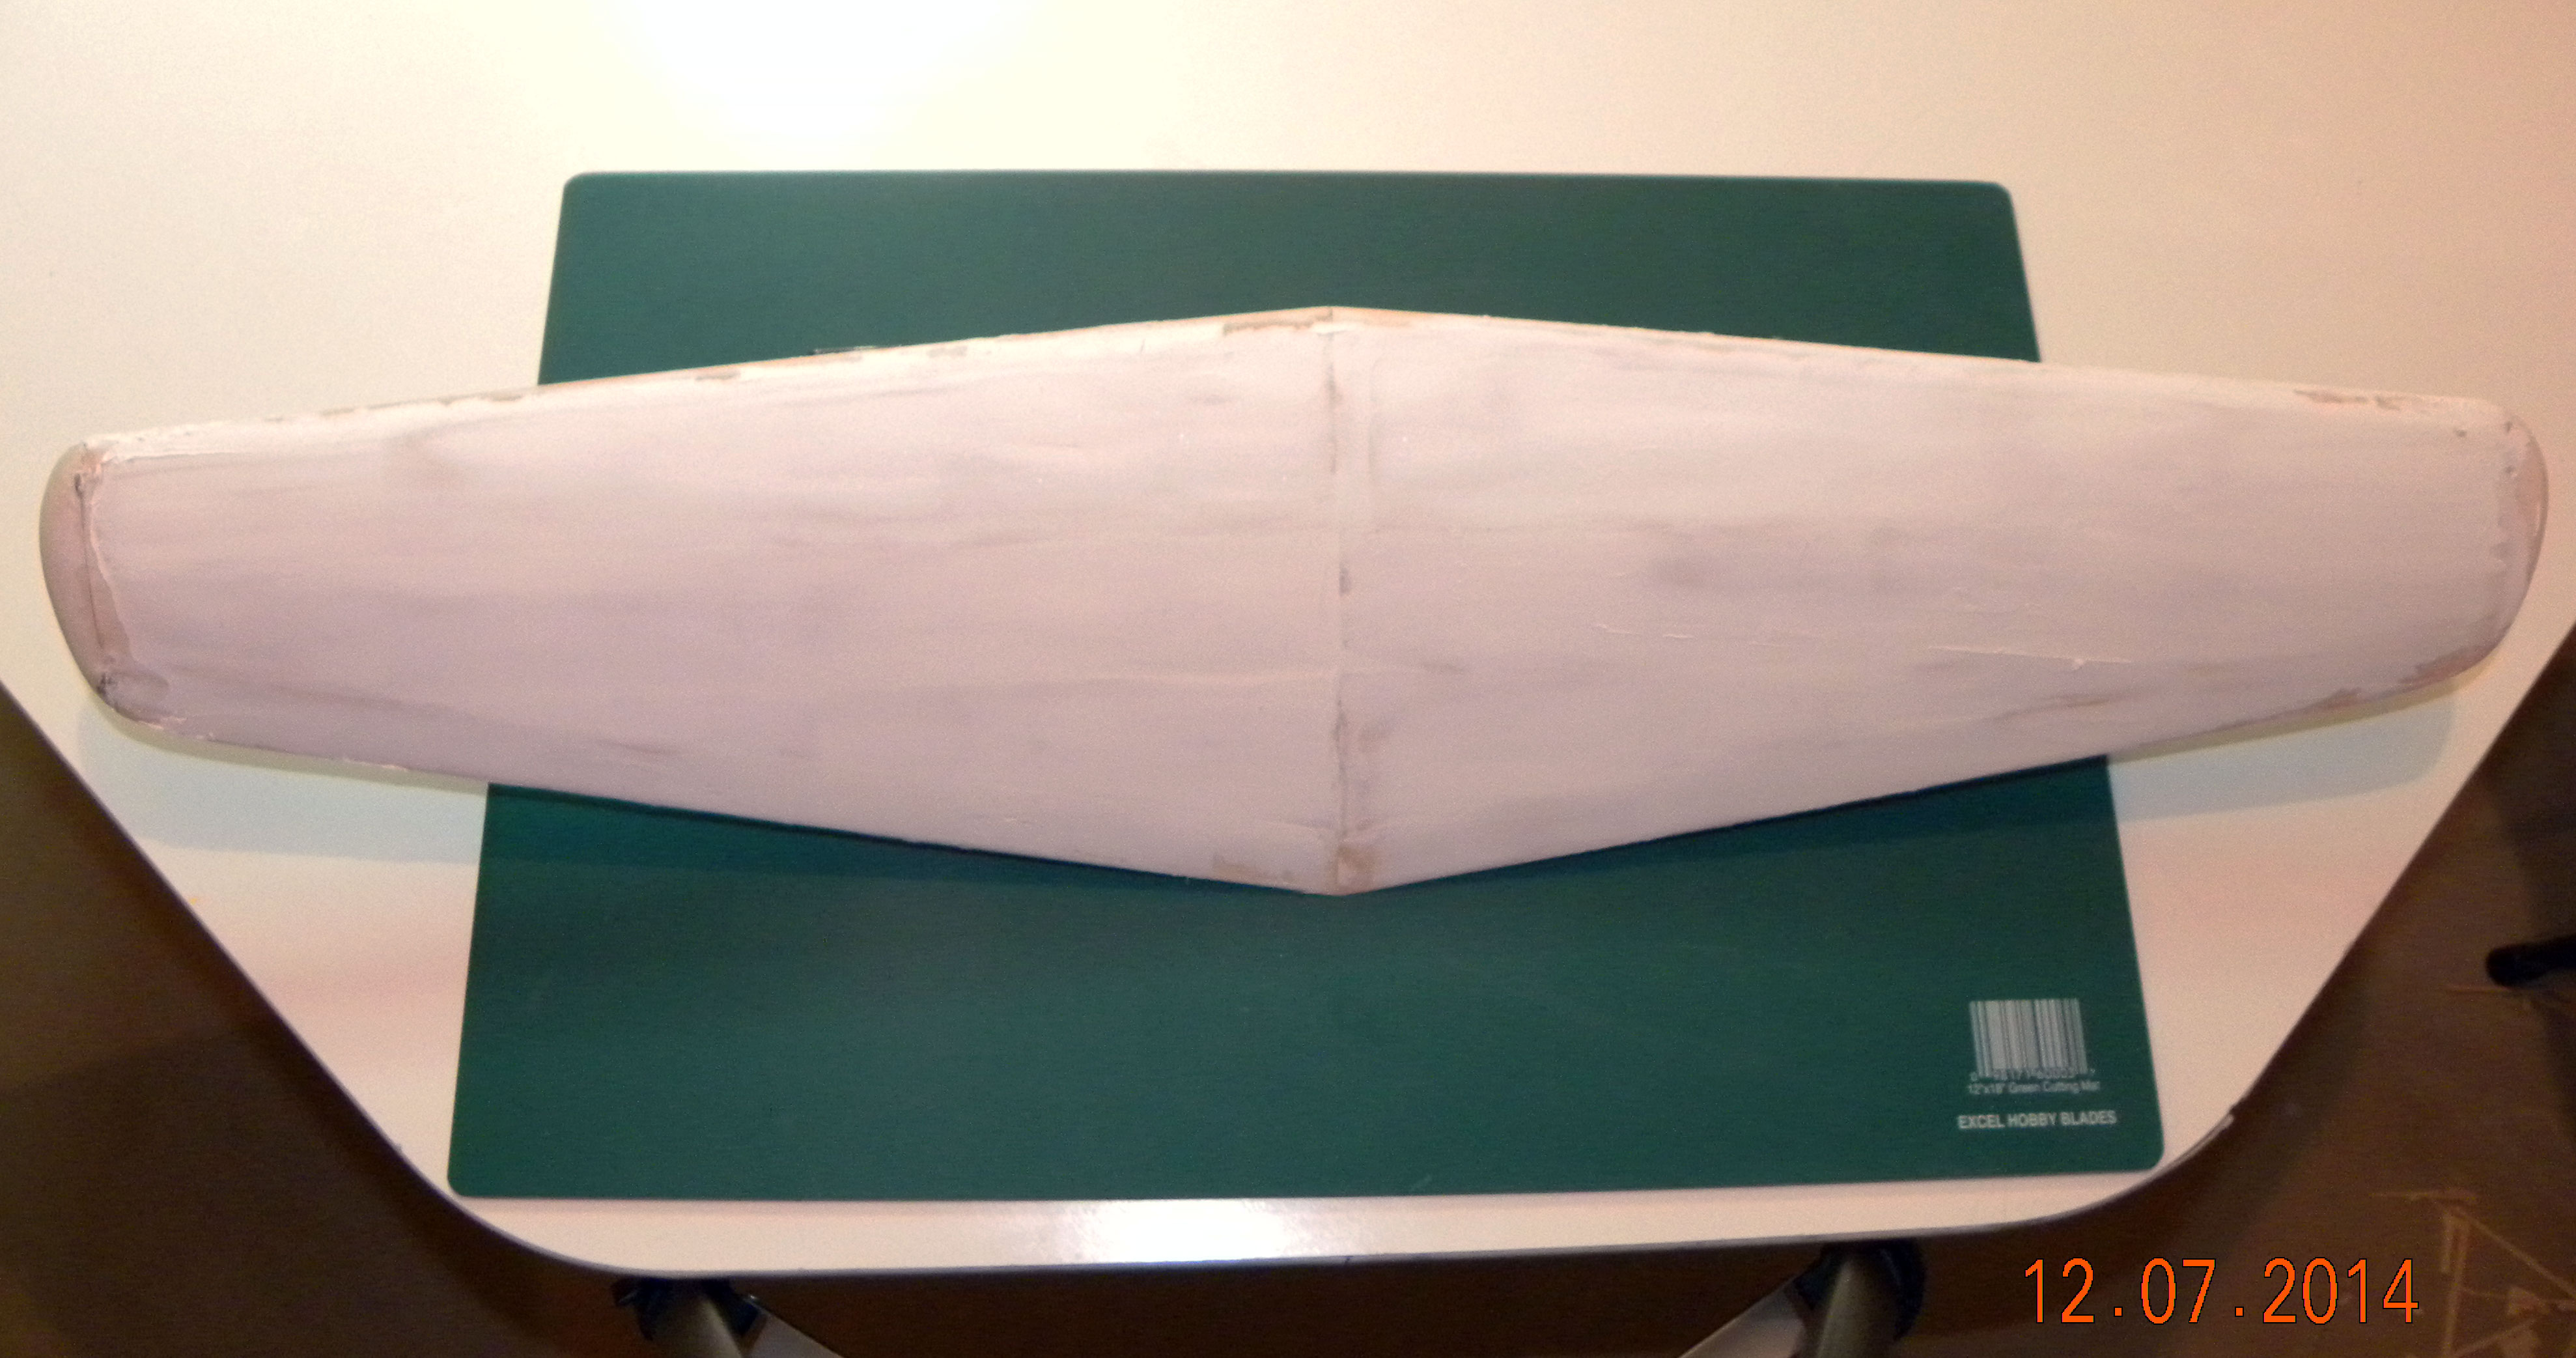
Topside of wing with filler and wingtips. Wing is sanded and ready for dope and silkspan.

Underside of wing with filler and wingtips. Wing is sanded and ready for dope and silkspan.
One of the things that I am really pleased with the results of are the wingtips. These needed to be carved from solid balsa blocks and after a lot of time spent carving and sanding them, I’m very happy with the results. The right wingtip even has a (counter) weight embedded in it for control line purposes.
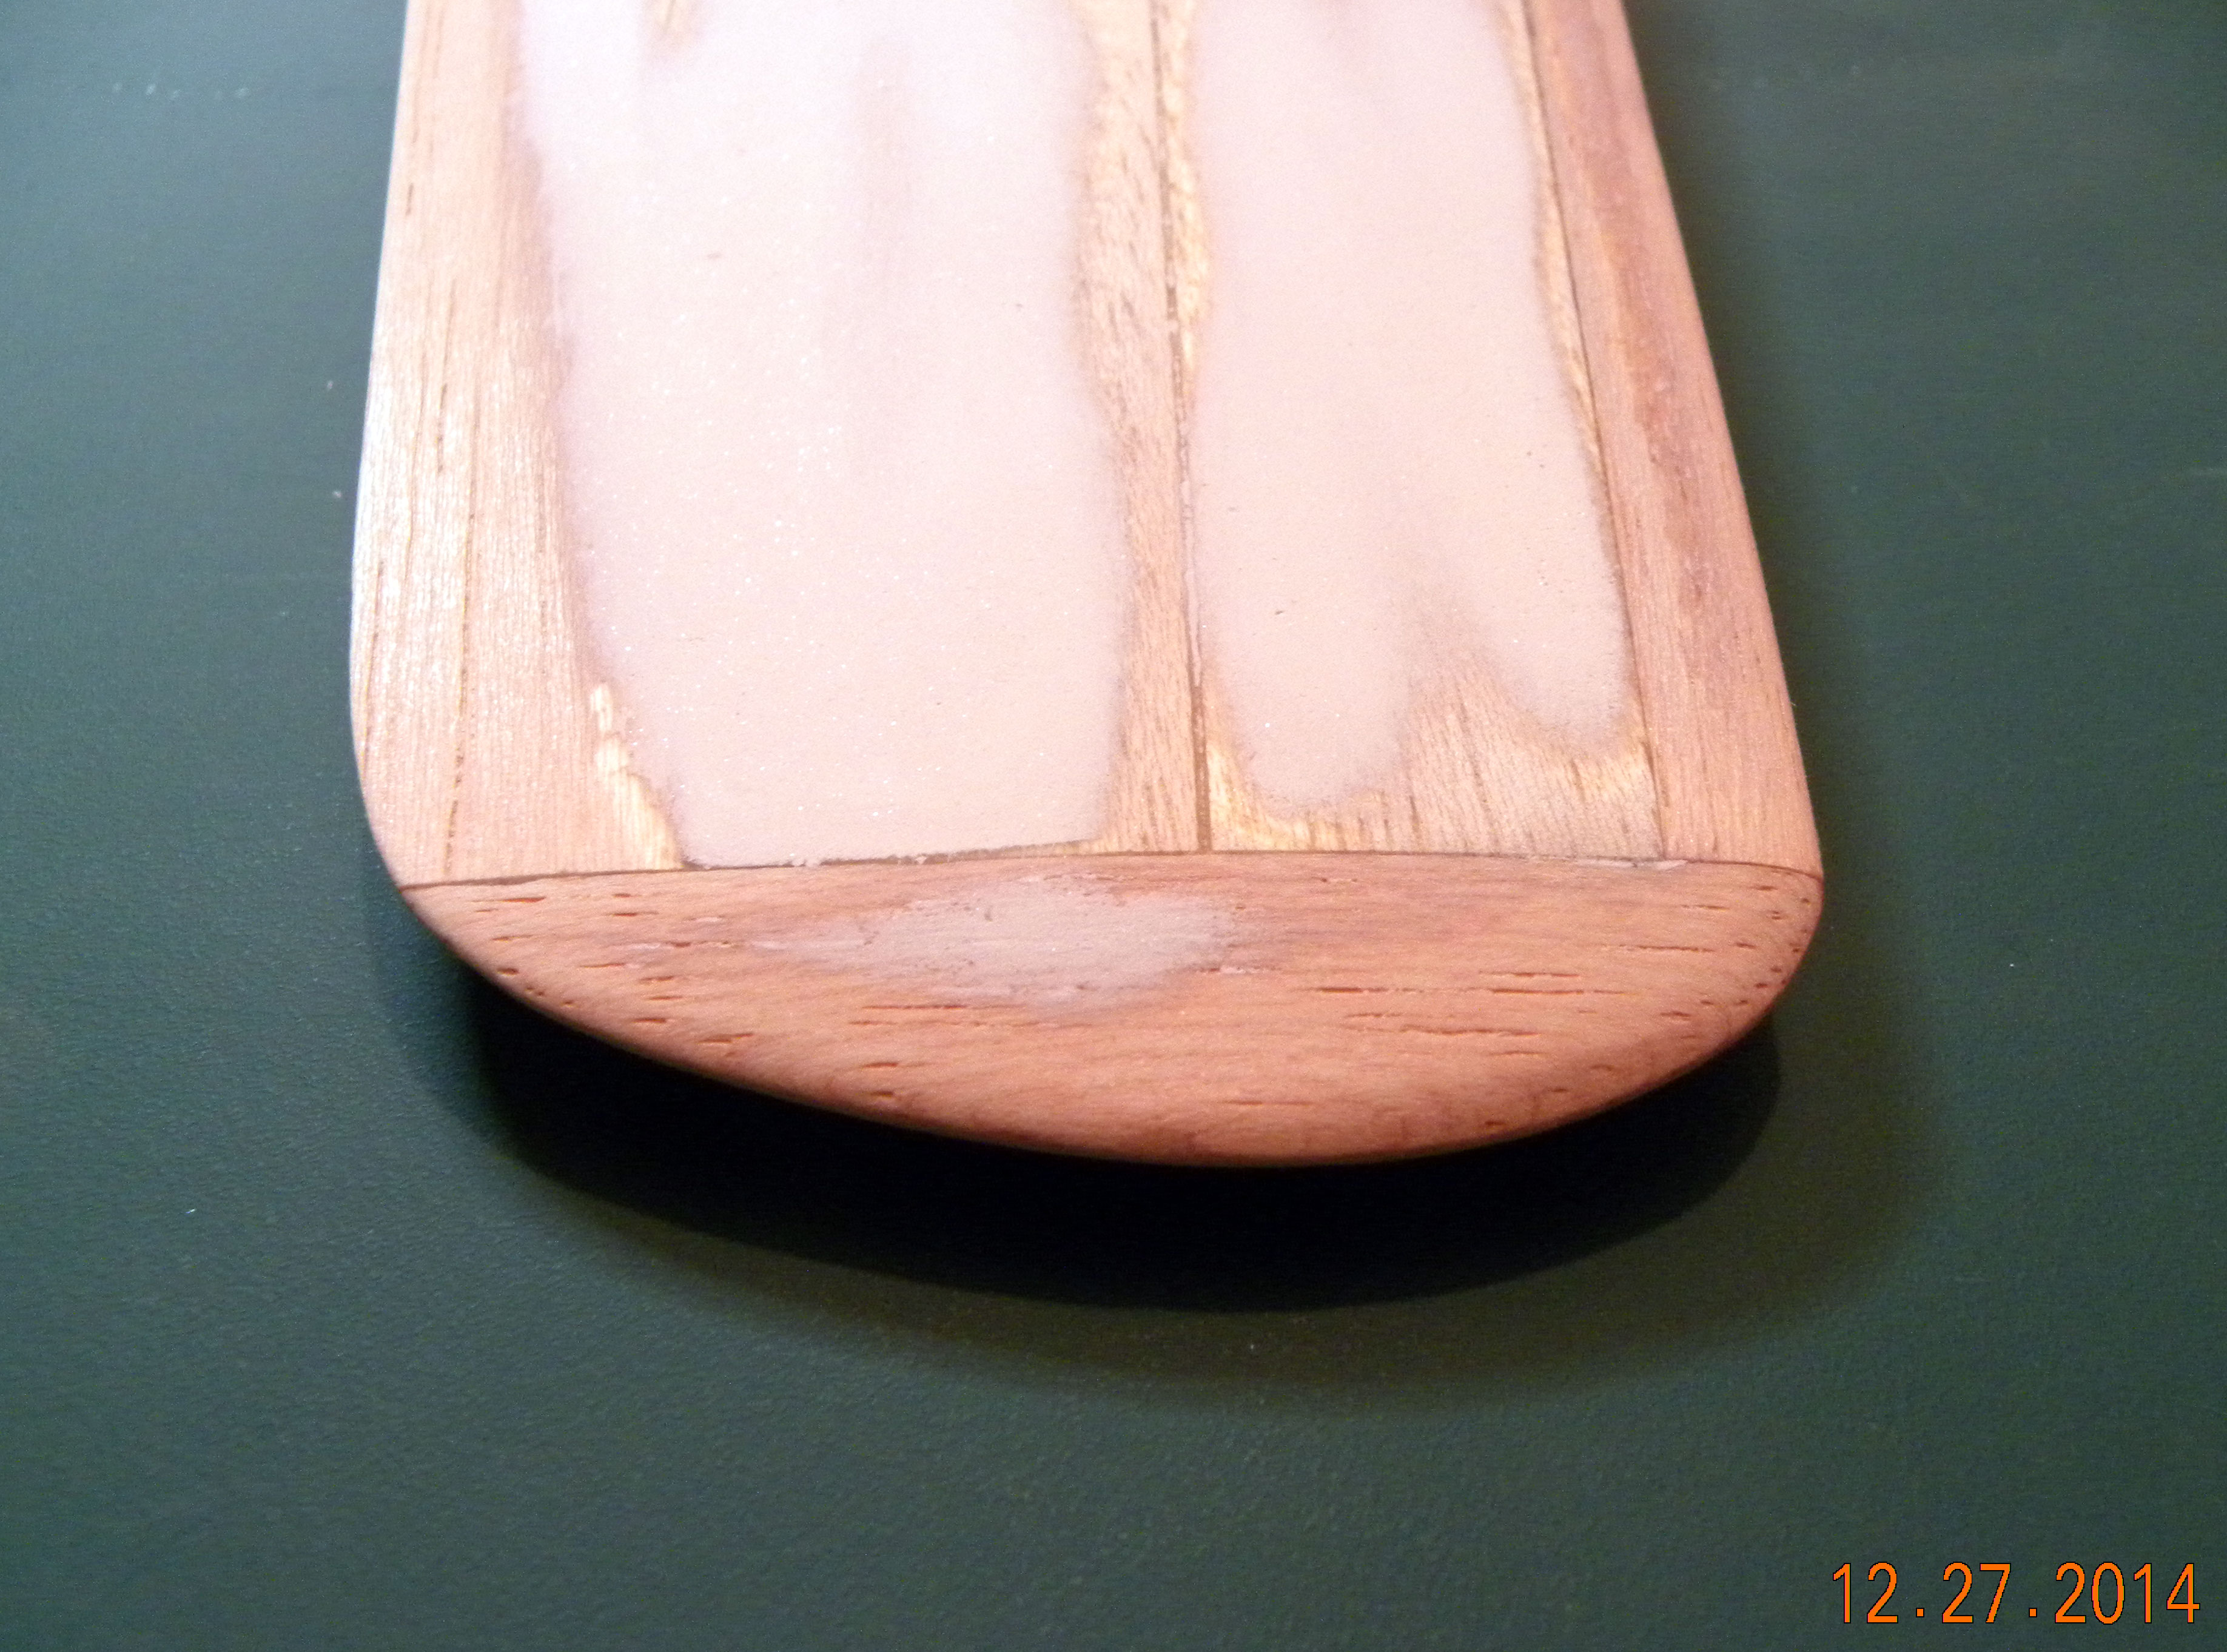
Underside of left wingtip.
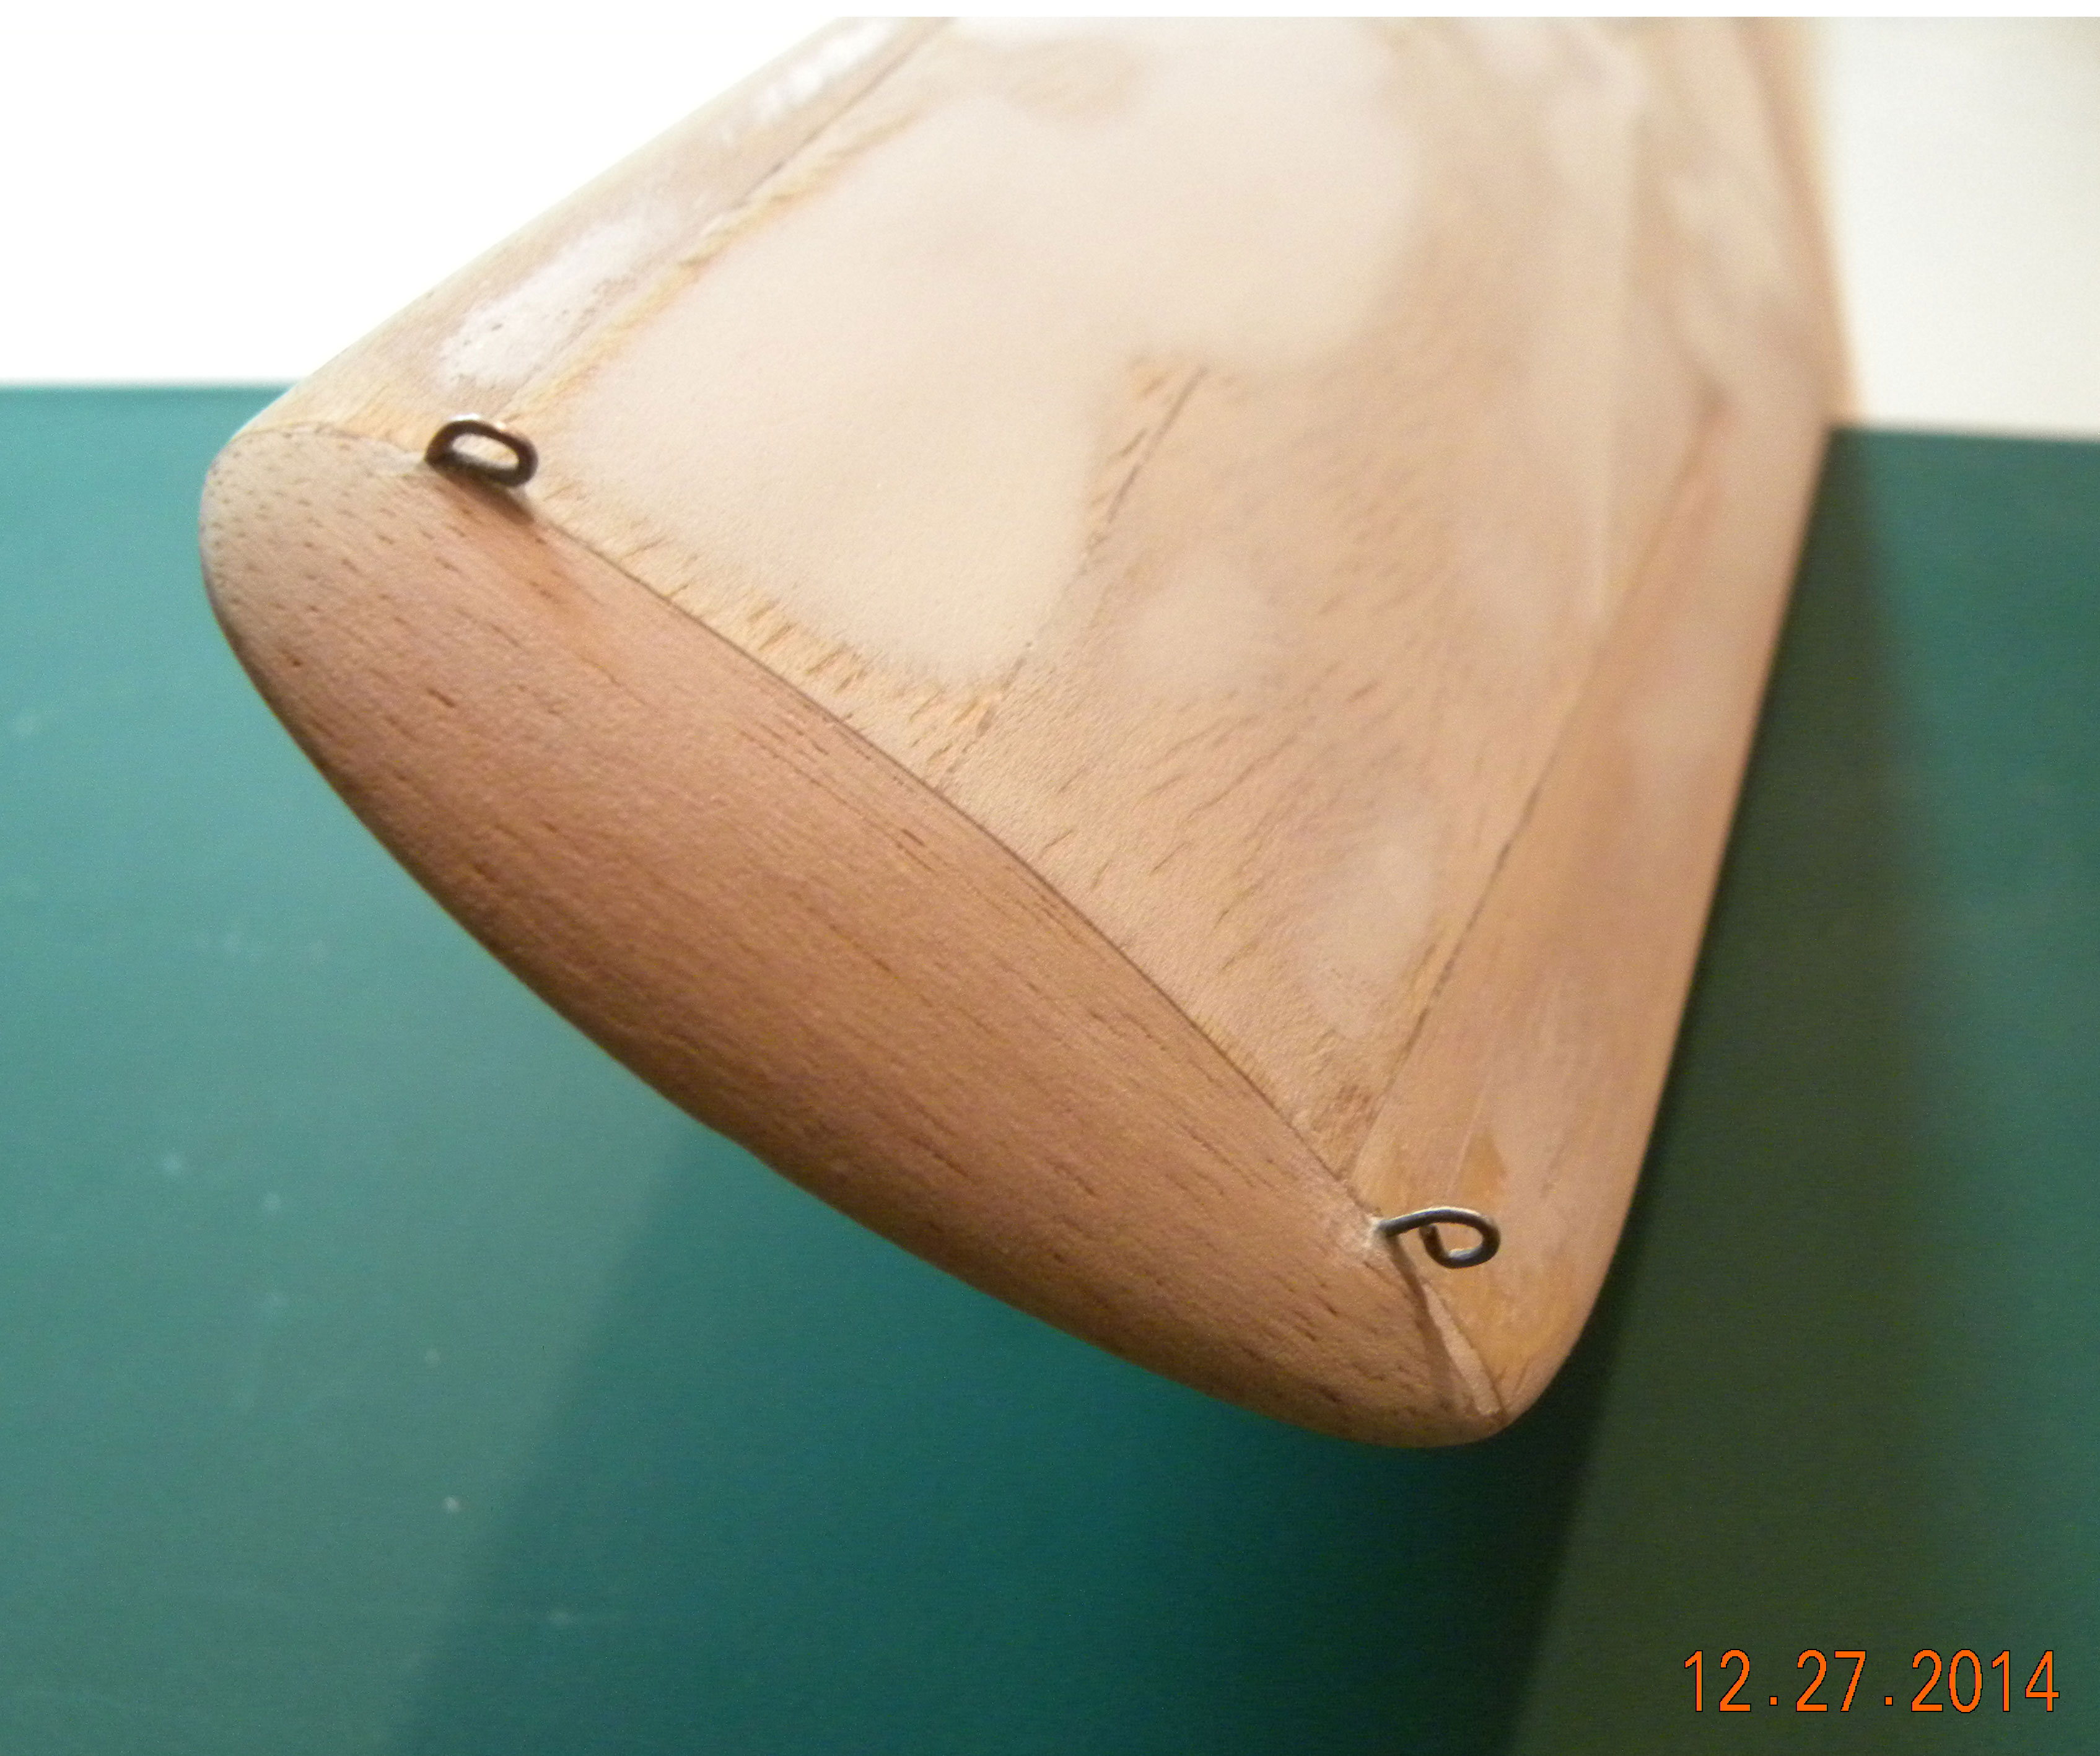
Top of left wingtip with control line lead-outs.
At this point, I am busy covering the wings with some vintage ‘SGM’ (Small Gas Model) silkspan that I have. Several coats of dope will then be applied and the wings will be ready for mating with the fuselage. The fuselage build will be the subject of the next Focke-Wulf 190 build report.