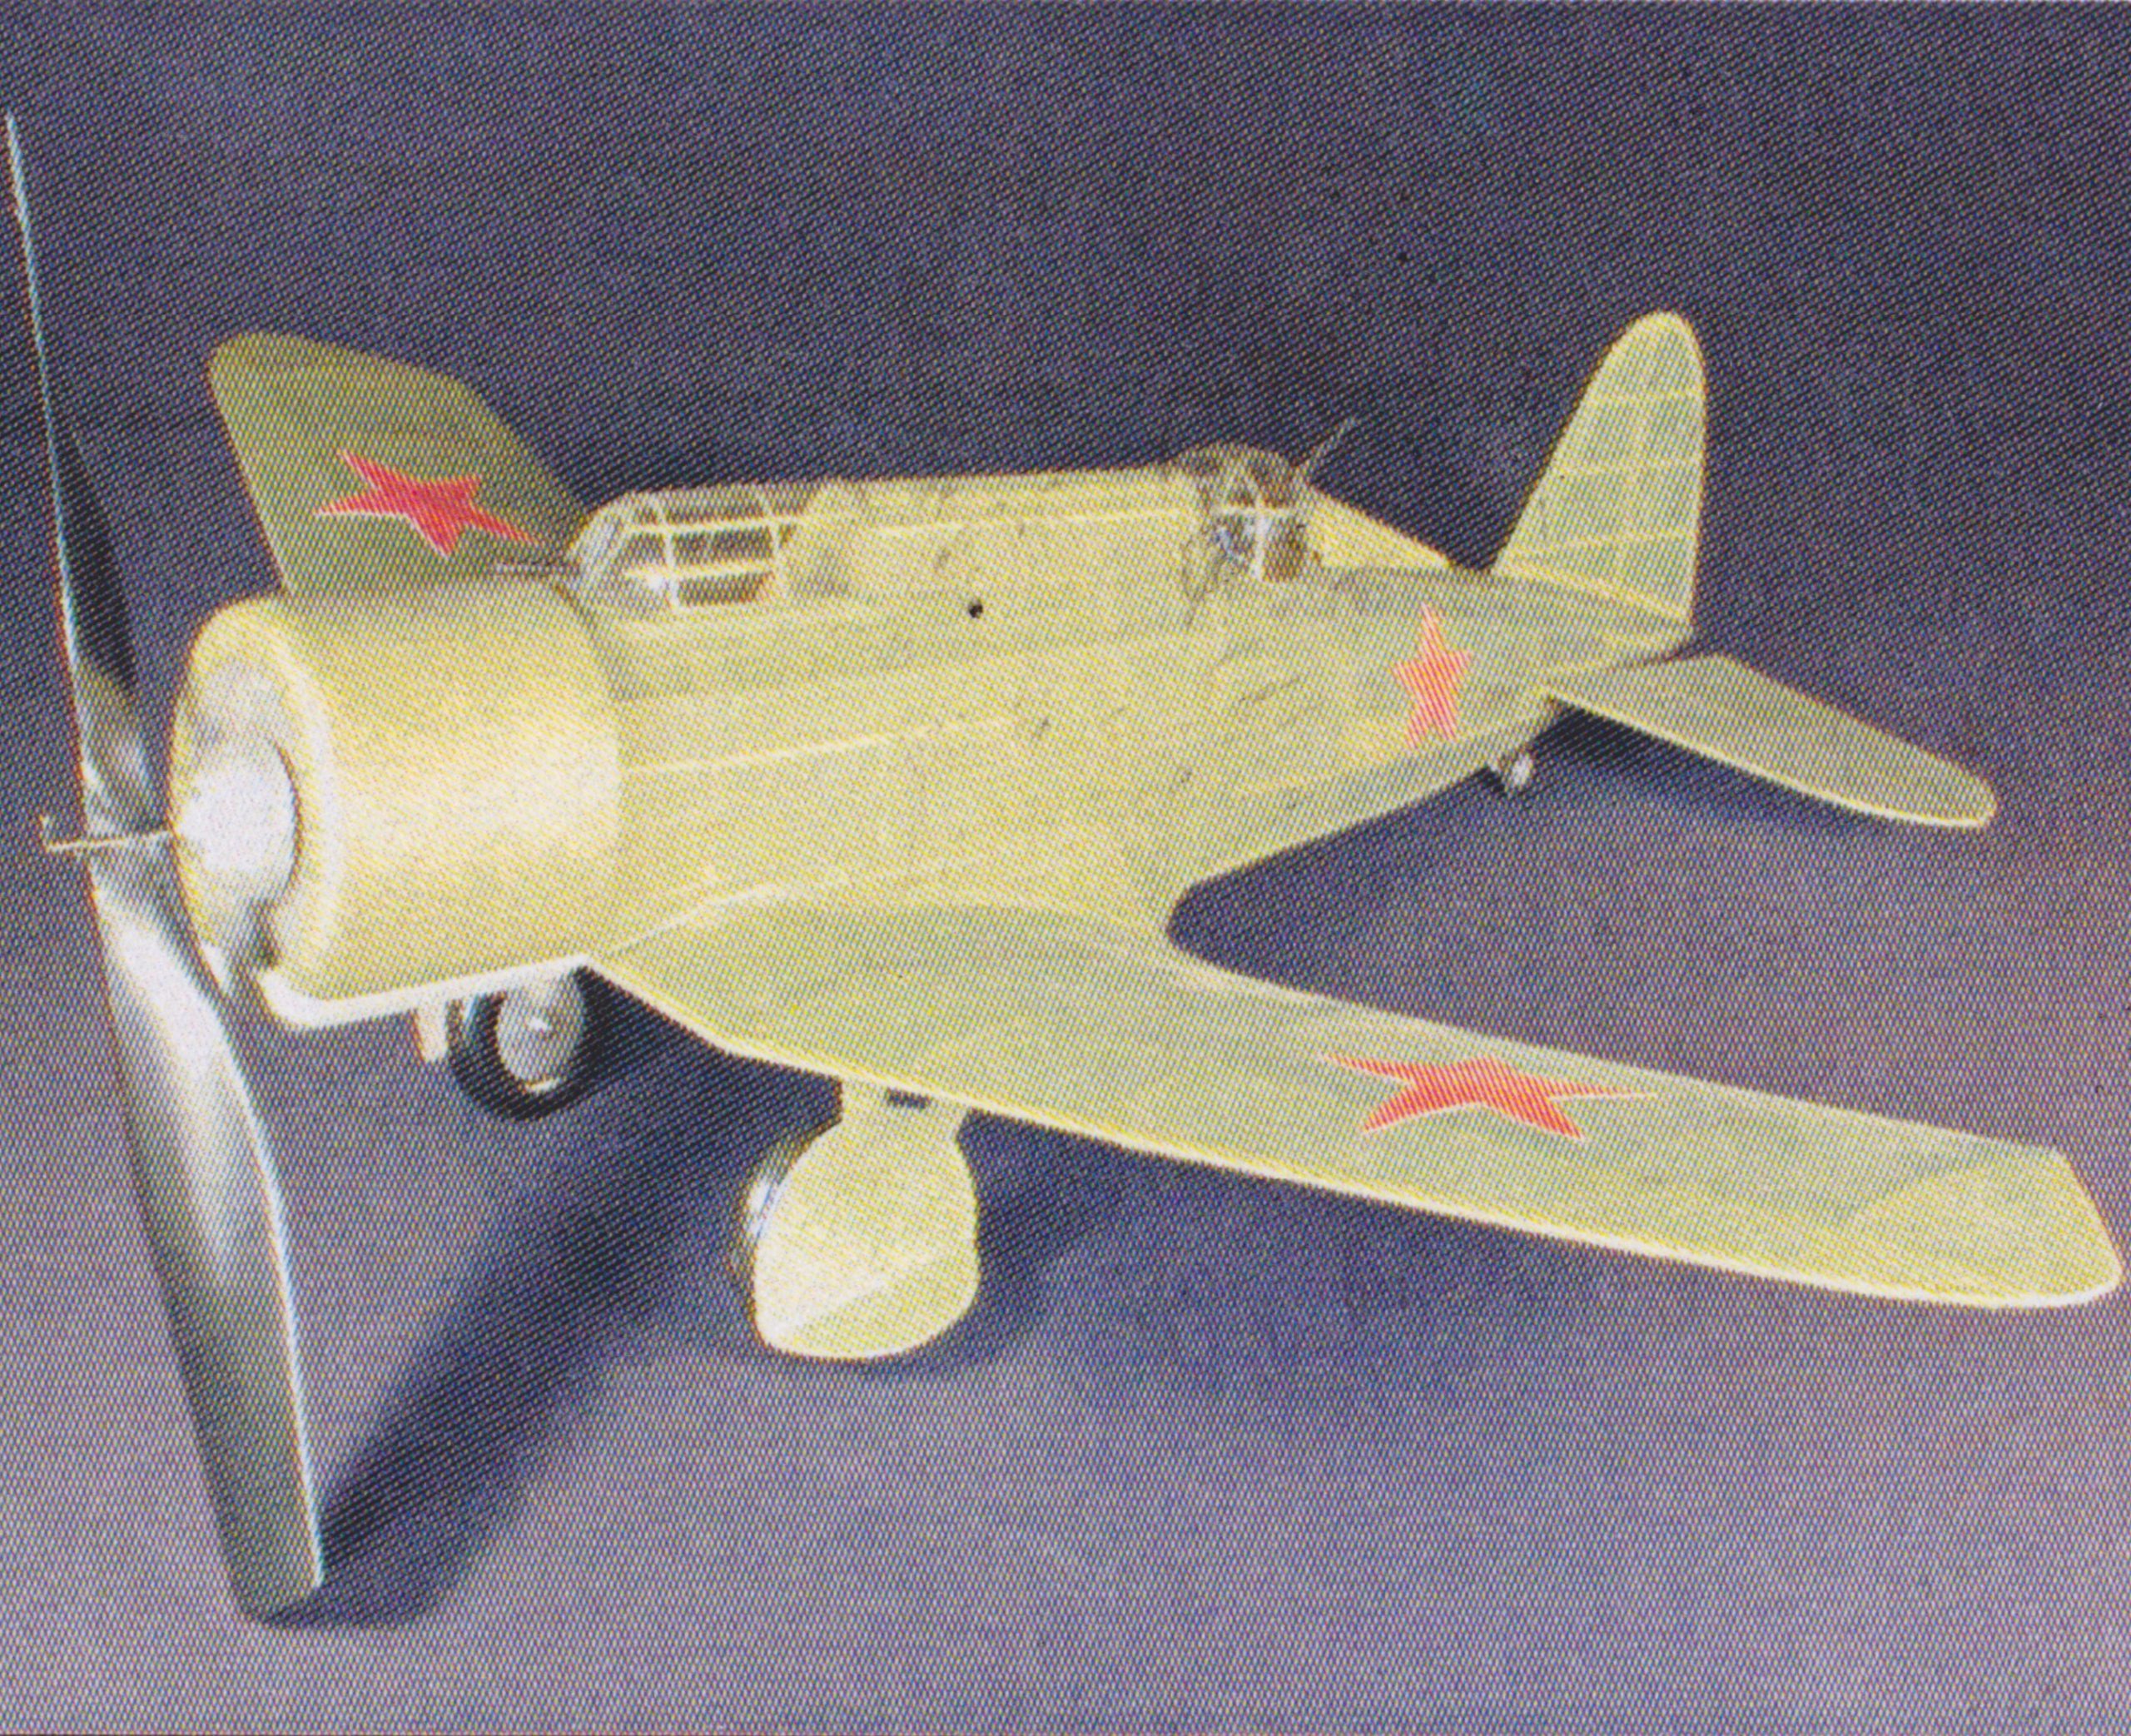
Since my last build update on the Kharkov, I have spent a serious amount of time working on it, however, it seems like there is not much to show for the effort.
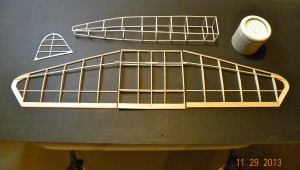
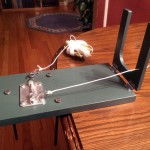
A small bit of progress has been made on the wing since my last build report. The left wing section has been trimmed and completely sanded and is ready to be joined to the other two wing sections. However, both of those still need to be trimmed and sanded prior to being joined. For reference with the below photo, the wingspan on this model is 22″.
A majority of my time has been spent on the fuselage assembly. More specifically, the inner ‘box’ of the fuselage assembly. As is typical of many free flight models, this fuselage is built up as a ‘box’ which comprises the central core of the fuselage. Formers and stringers are then added to the box thus forming the final shape of the fuselage. To date, I have completed the ‘box’. A couple factors have made this assembly proceed at an agonizingly slow pace. First, the ‘box’ is completely made up of 1/16″ square balsa strips which all need to be hand cut and assembled to exacting tolerances or the ‘box’ (followed by the rest of the fuselage) will not be square, or properly aligned and true. The ‘box’ seen in the below photo is made up of 46 individual balsa strips all forming an assembly 12″ long. Working with these small strips is an agonizing process given their small and delicate nature. That and the fact that I have Essential Tremors and no depth perception (a topic for a future post!) made for more than a few broken pieces during the construction process. However, all 46 pieces were finally cut and assembled, some of them several times, into what is now visible in the photo. The build of this ‘box’ assembly was further complicated by the lack of adequate instructions and plans as mentioned in my first build post for the Kharkov. I had to guess at the placement of many of the stringers but in the end, and after several re-do’s, I think I have it all correct so far.
The engine cowl, which is visible in the photo, started out as a very quick and easy build but I ran into an issue when I attempted to sheet it. The kit comes with a thin sheet of 1/32″ balsa for sheeting the cowl but, even after prolonged soaking in warm water, the sheet of balsa could not be wrapped around the small diameter of the cowl without splitting. I finally resorted to using a sheet of 2-ply cardboard like that found on the back of a pad of writing paper. I soaked the cardboard until the 2-plies split apart and then I wrapped one of the plies around the cowl. This was not a perfect solution but it was a workable solution. The cardboard ended up being thinner than the balsa sheet so it left a ridge where it met the balsa ring at the front of the cowl. Some Hobbylite Balsa filler took care of the ridge and the cowl is now complete. I think that my solution ended up with the advantage of being even lighter weight than had I used the balsa supplied in the kit. What I find truly amazing is the finished weight of each of these components. When I hold everything visible in the photo in my hand, it feels like it weights less than a single sheet of paper!
Finally, I built, trimmed and sanded the rudder. This was a simple and fast build.
Even though this kit appears from the photos to be a very simple construction project, I would reinforce what I said in the first Kharkov build post which is that I would not recommend this kit for the first time model kit builder. In my case, I have been able to work thru several questions and techniques based on my previous building experience. Also, I have found the book ‘Rubber Powered Model Airplanes‘ by Don Ross to be a great reference resource.
To date, this build has been a bit frustrating (for reasons already outlined), but as I finally work each component thru to completion, I end up feeling pretty good about the final result. And I am learning (and re-learning) a lot about this style of (free flight) model building. However, when I’m done with this model, I will be looking forward to working on something with a bit more ‘substance’ before tackling my next free flight model!
Here is a photo of the plane assembly as it currently stands:
(Click on the photo to get a large image with higher resolution)


